6 Step Mirror
I grew up with my parents always doing projects on the weekends. Saturday rolled around and Dad was out in the yard digging a koi pond, or Mom was sewing new curtains to match the window treatments she also made for the guest room. I used to think they were crazy. I used to think, “Geez guys, don’t you want to RELAX on Saturdays and Sundays???”
I am now in my twenties and guess what... I am my parent’s child. Because now I LOVE weekend projects. I live for them. Inspiration doesn’t always hit, but when it does man, oh man, almost nothing can stop me from heading over to Lowe’s and crafting something cool.
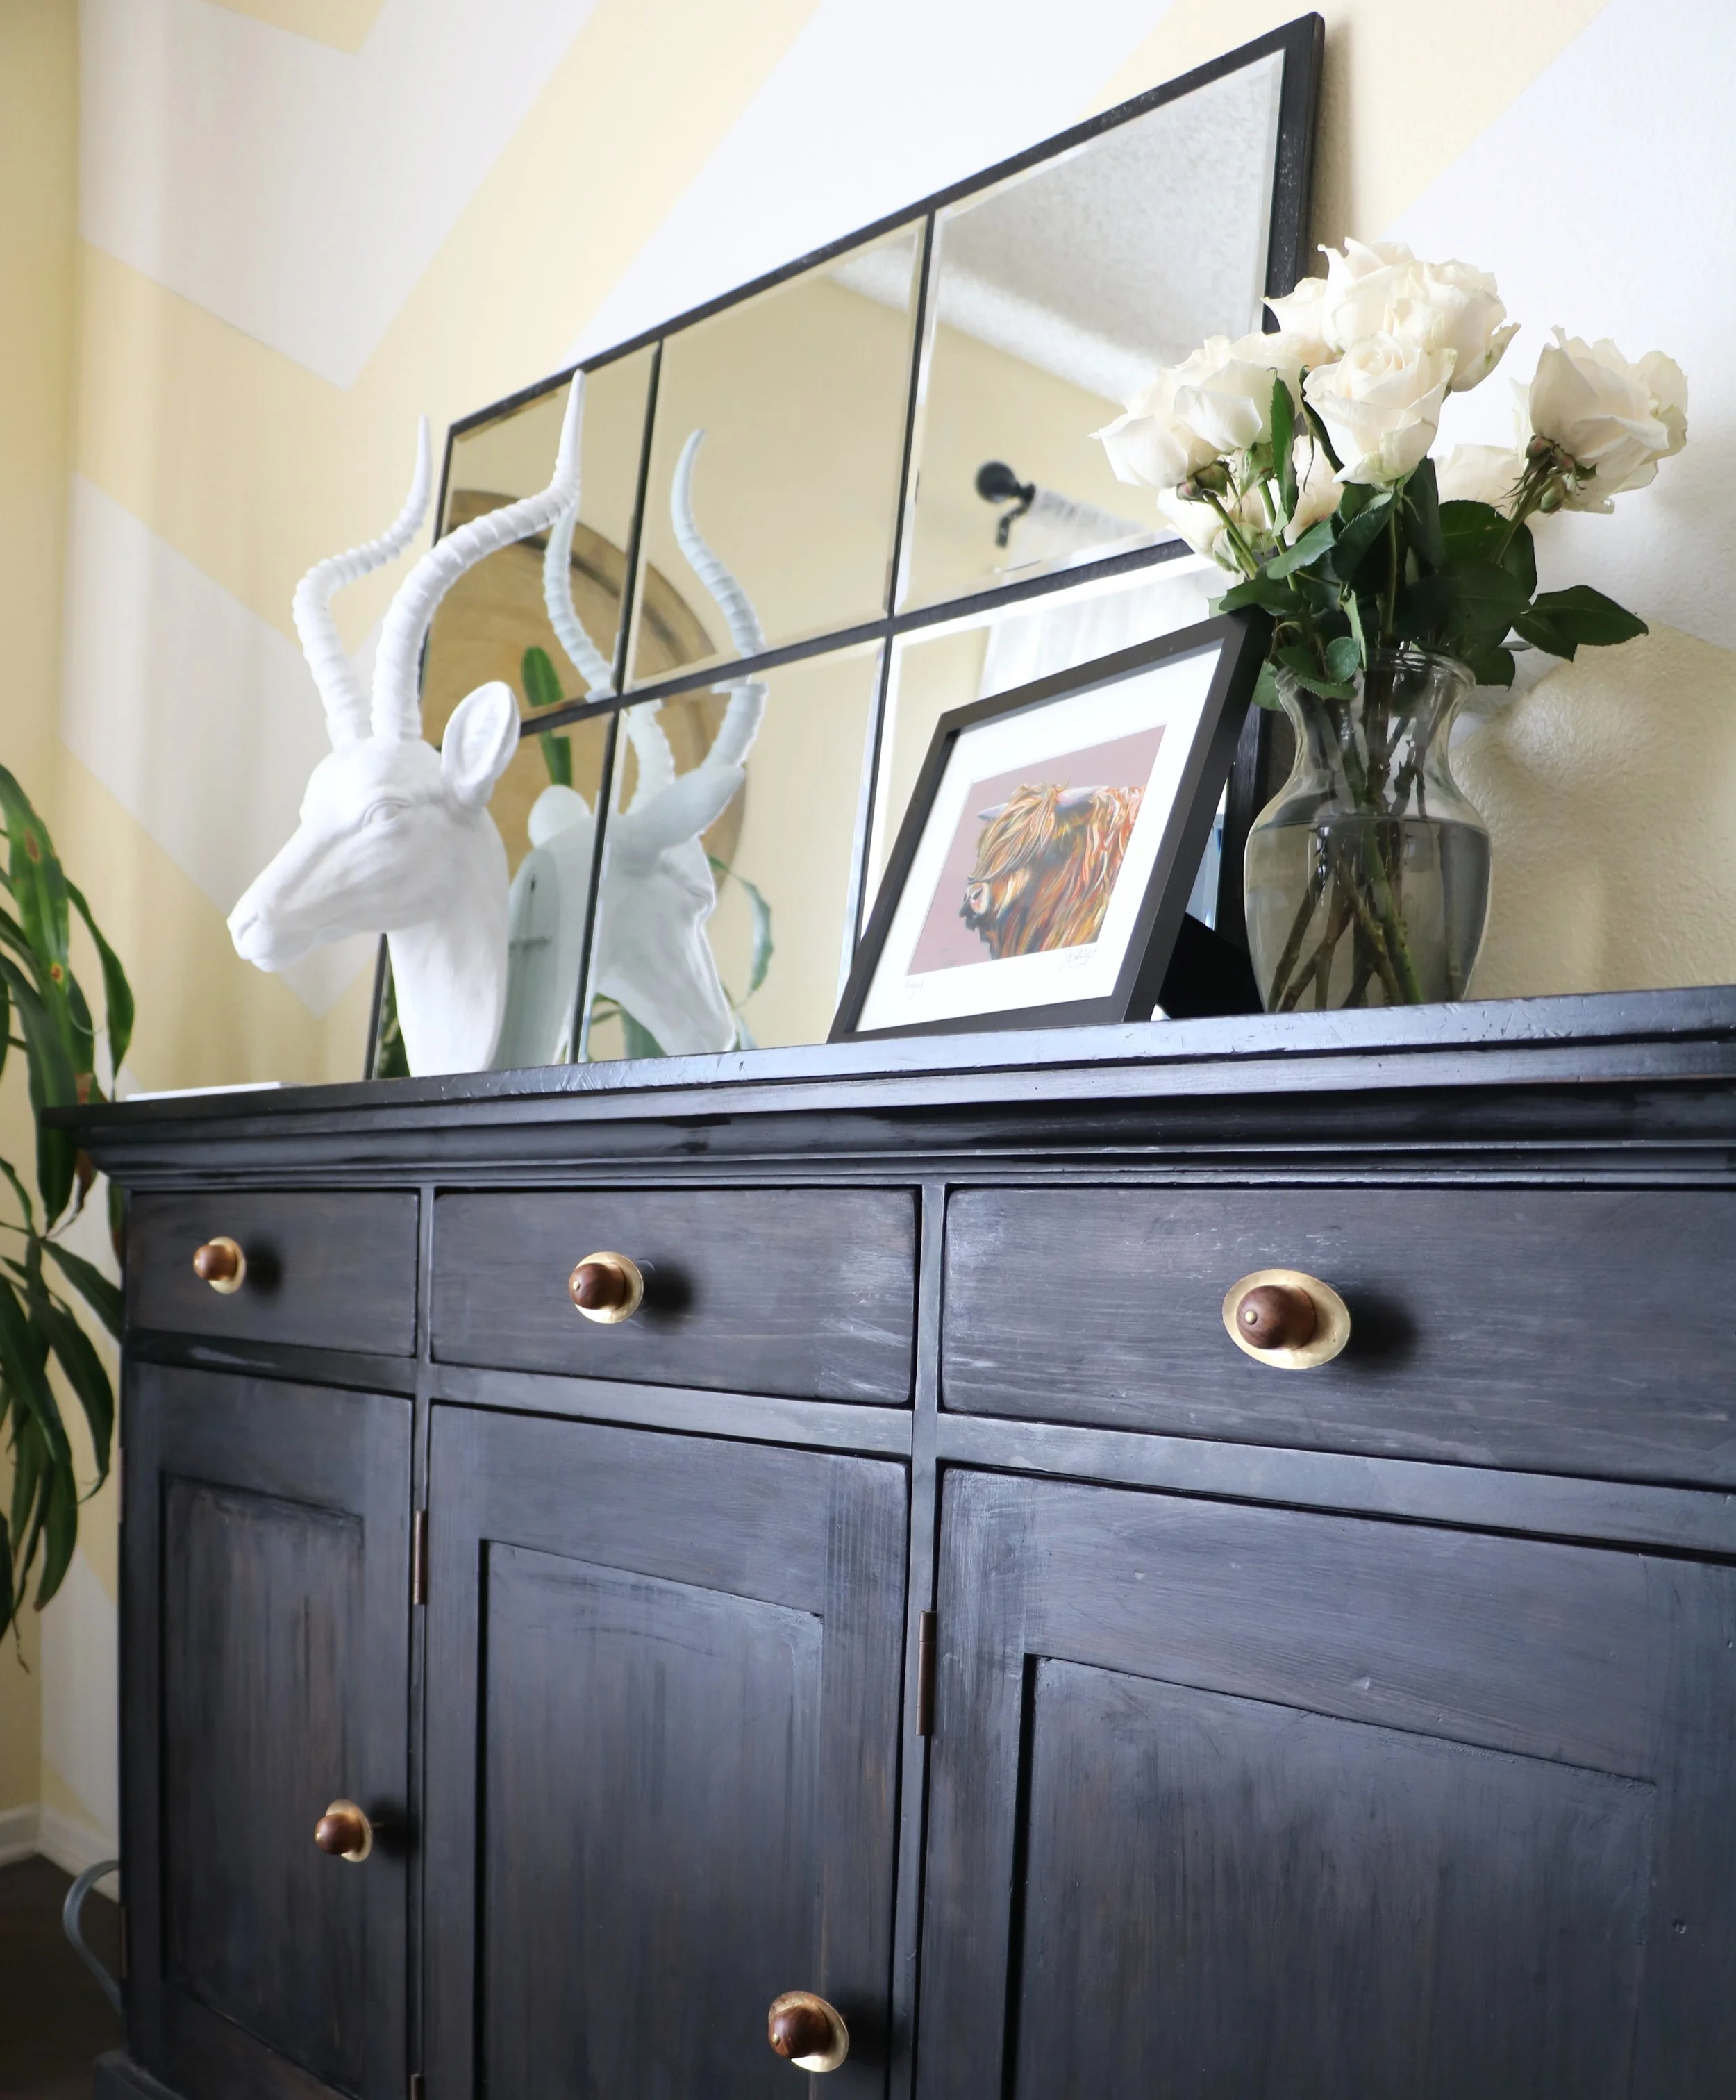
In comes my latest DIY, The 6 Step Mirror. I had these old mirrors lying around the house and I was thiiiiiis close to driving over to Goodwill and donating them. But then, inspiration struck! I’m really pleased with the result. I think it makes my dining room area look brighter and bigger. I love the way my mirror looks on top of the hutch (which I also refurbished in the same weekend - be on the lookout for a future blog post on that process!) Watch the video below for a quick look at the process and then read on for more detailed instructions:

Step 1:
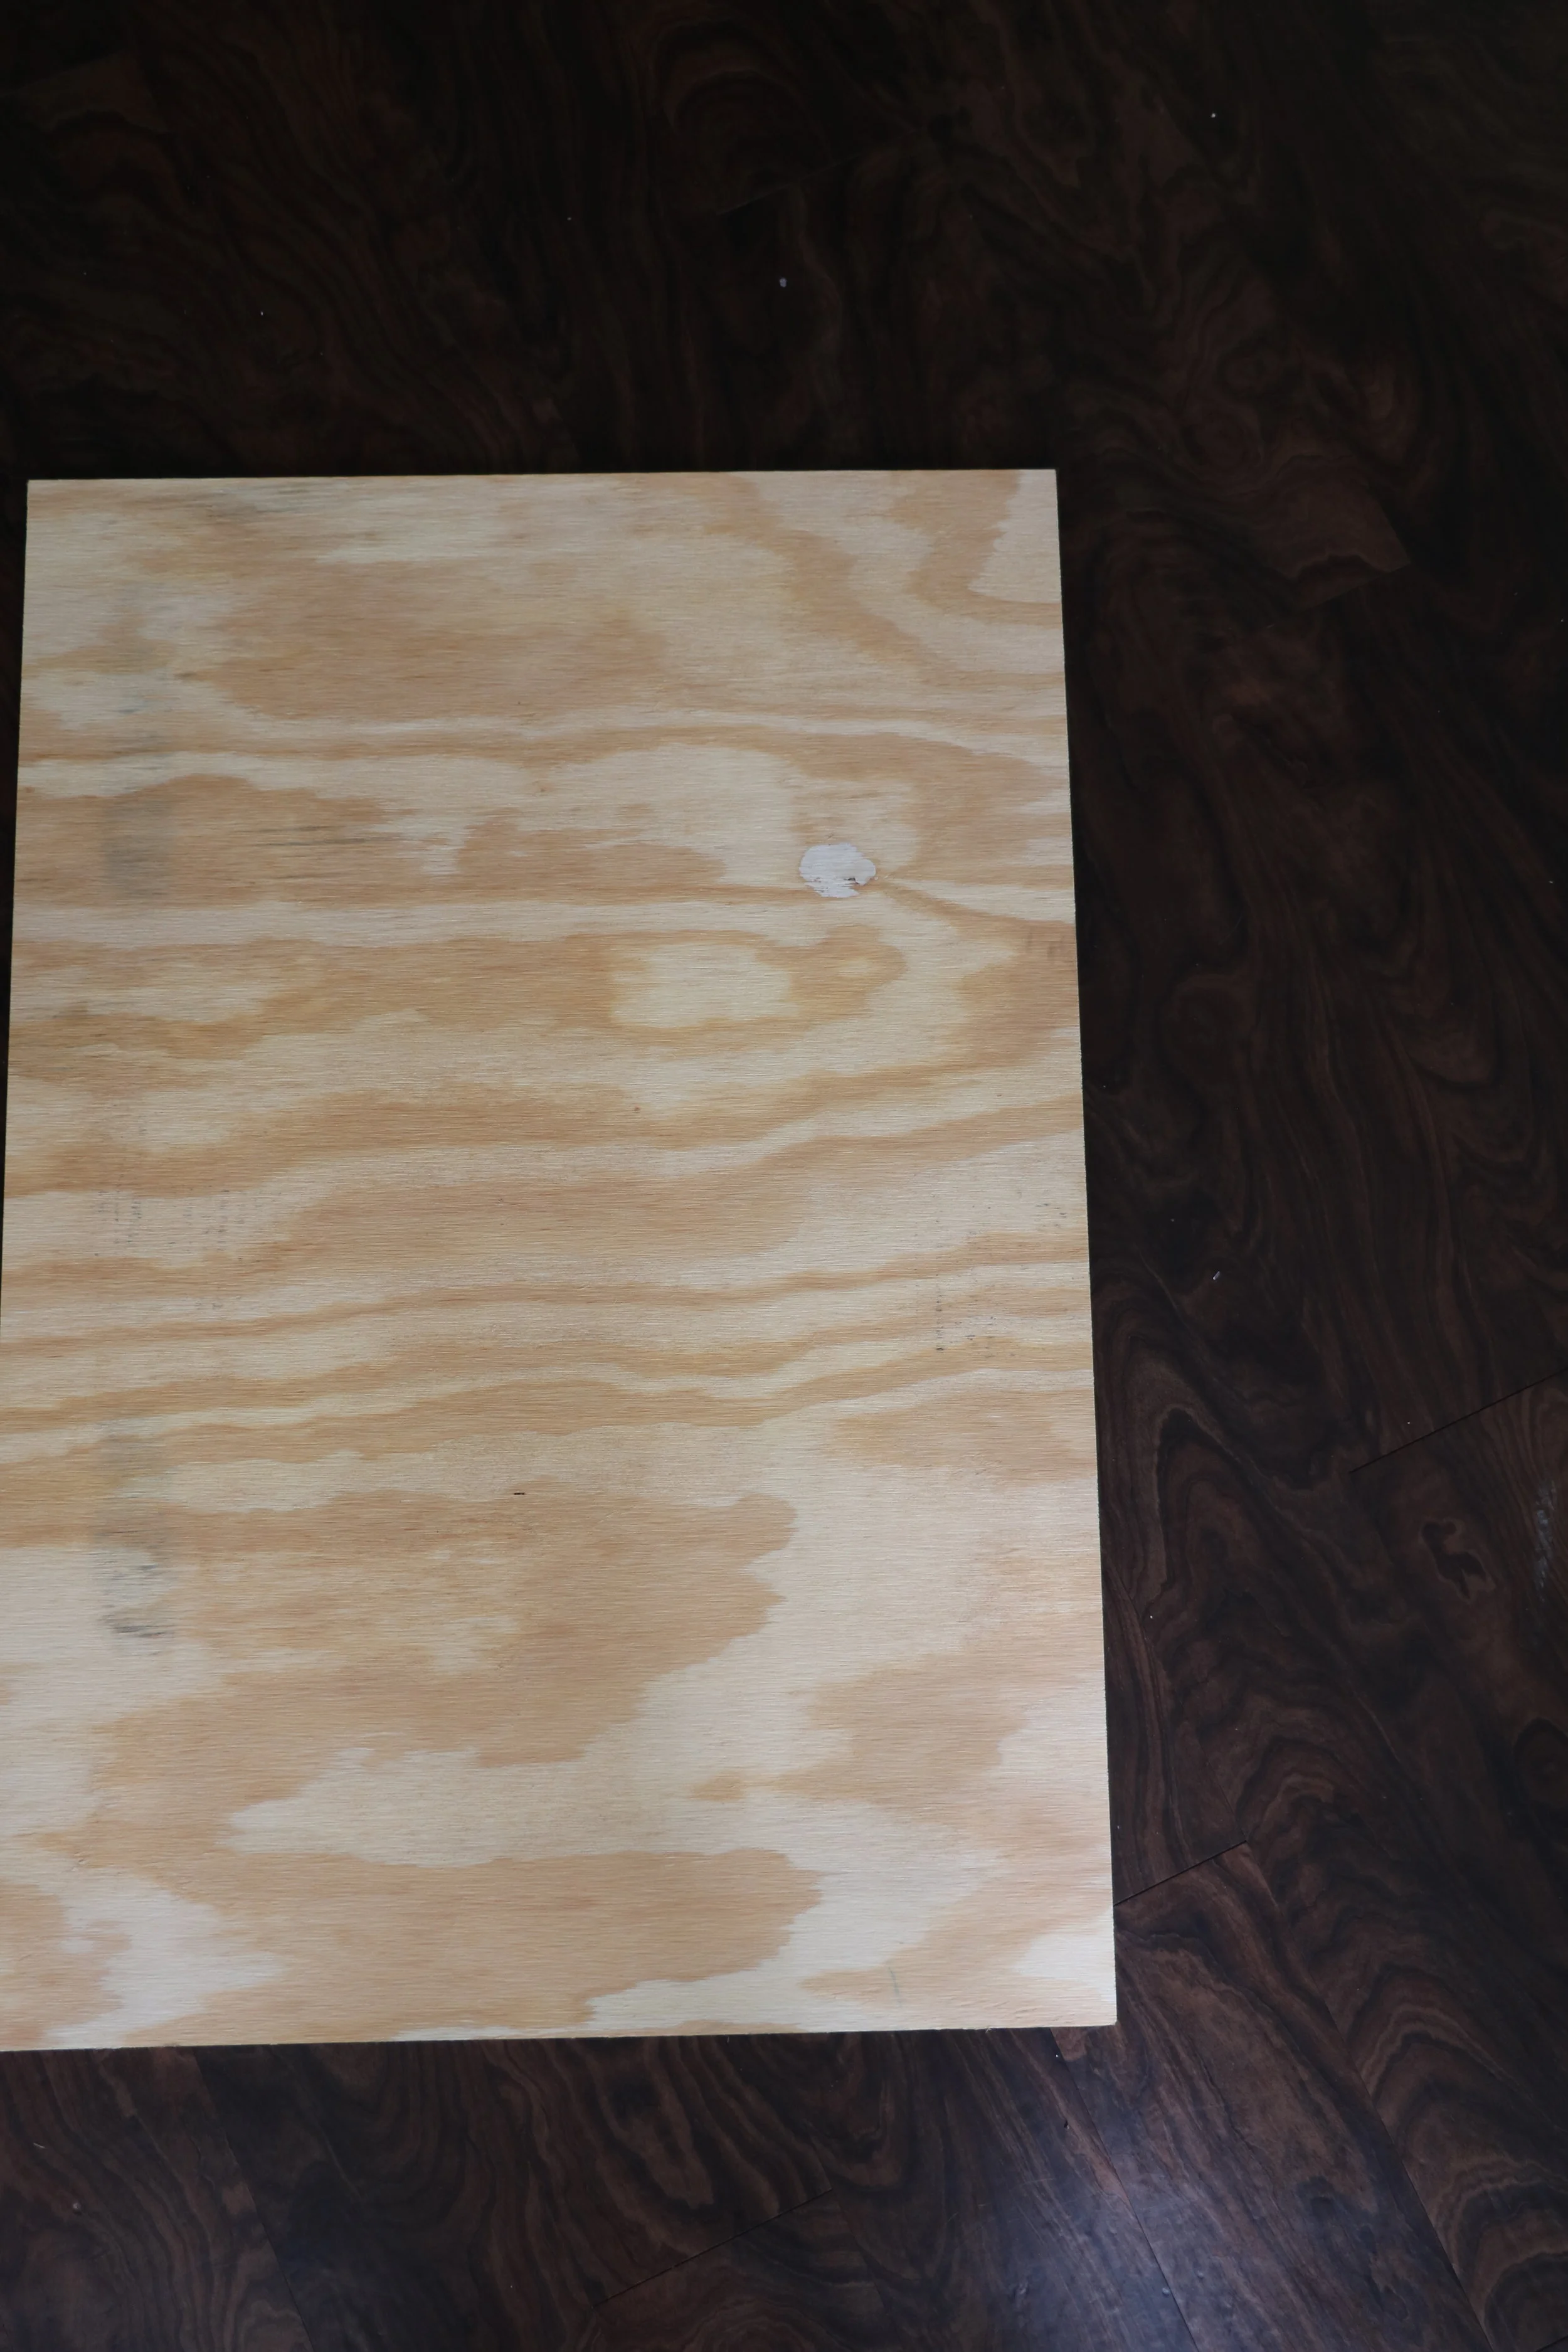
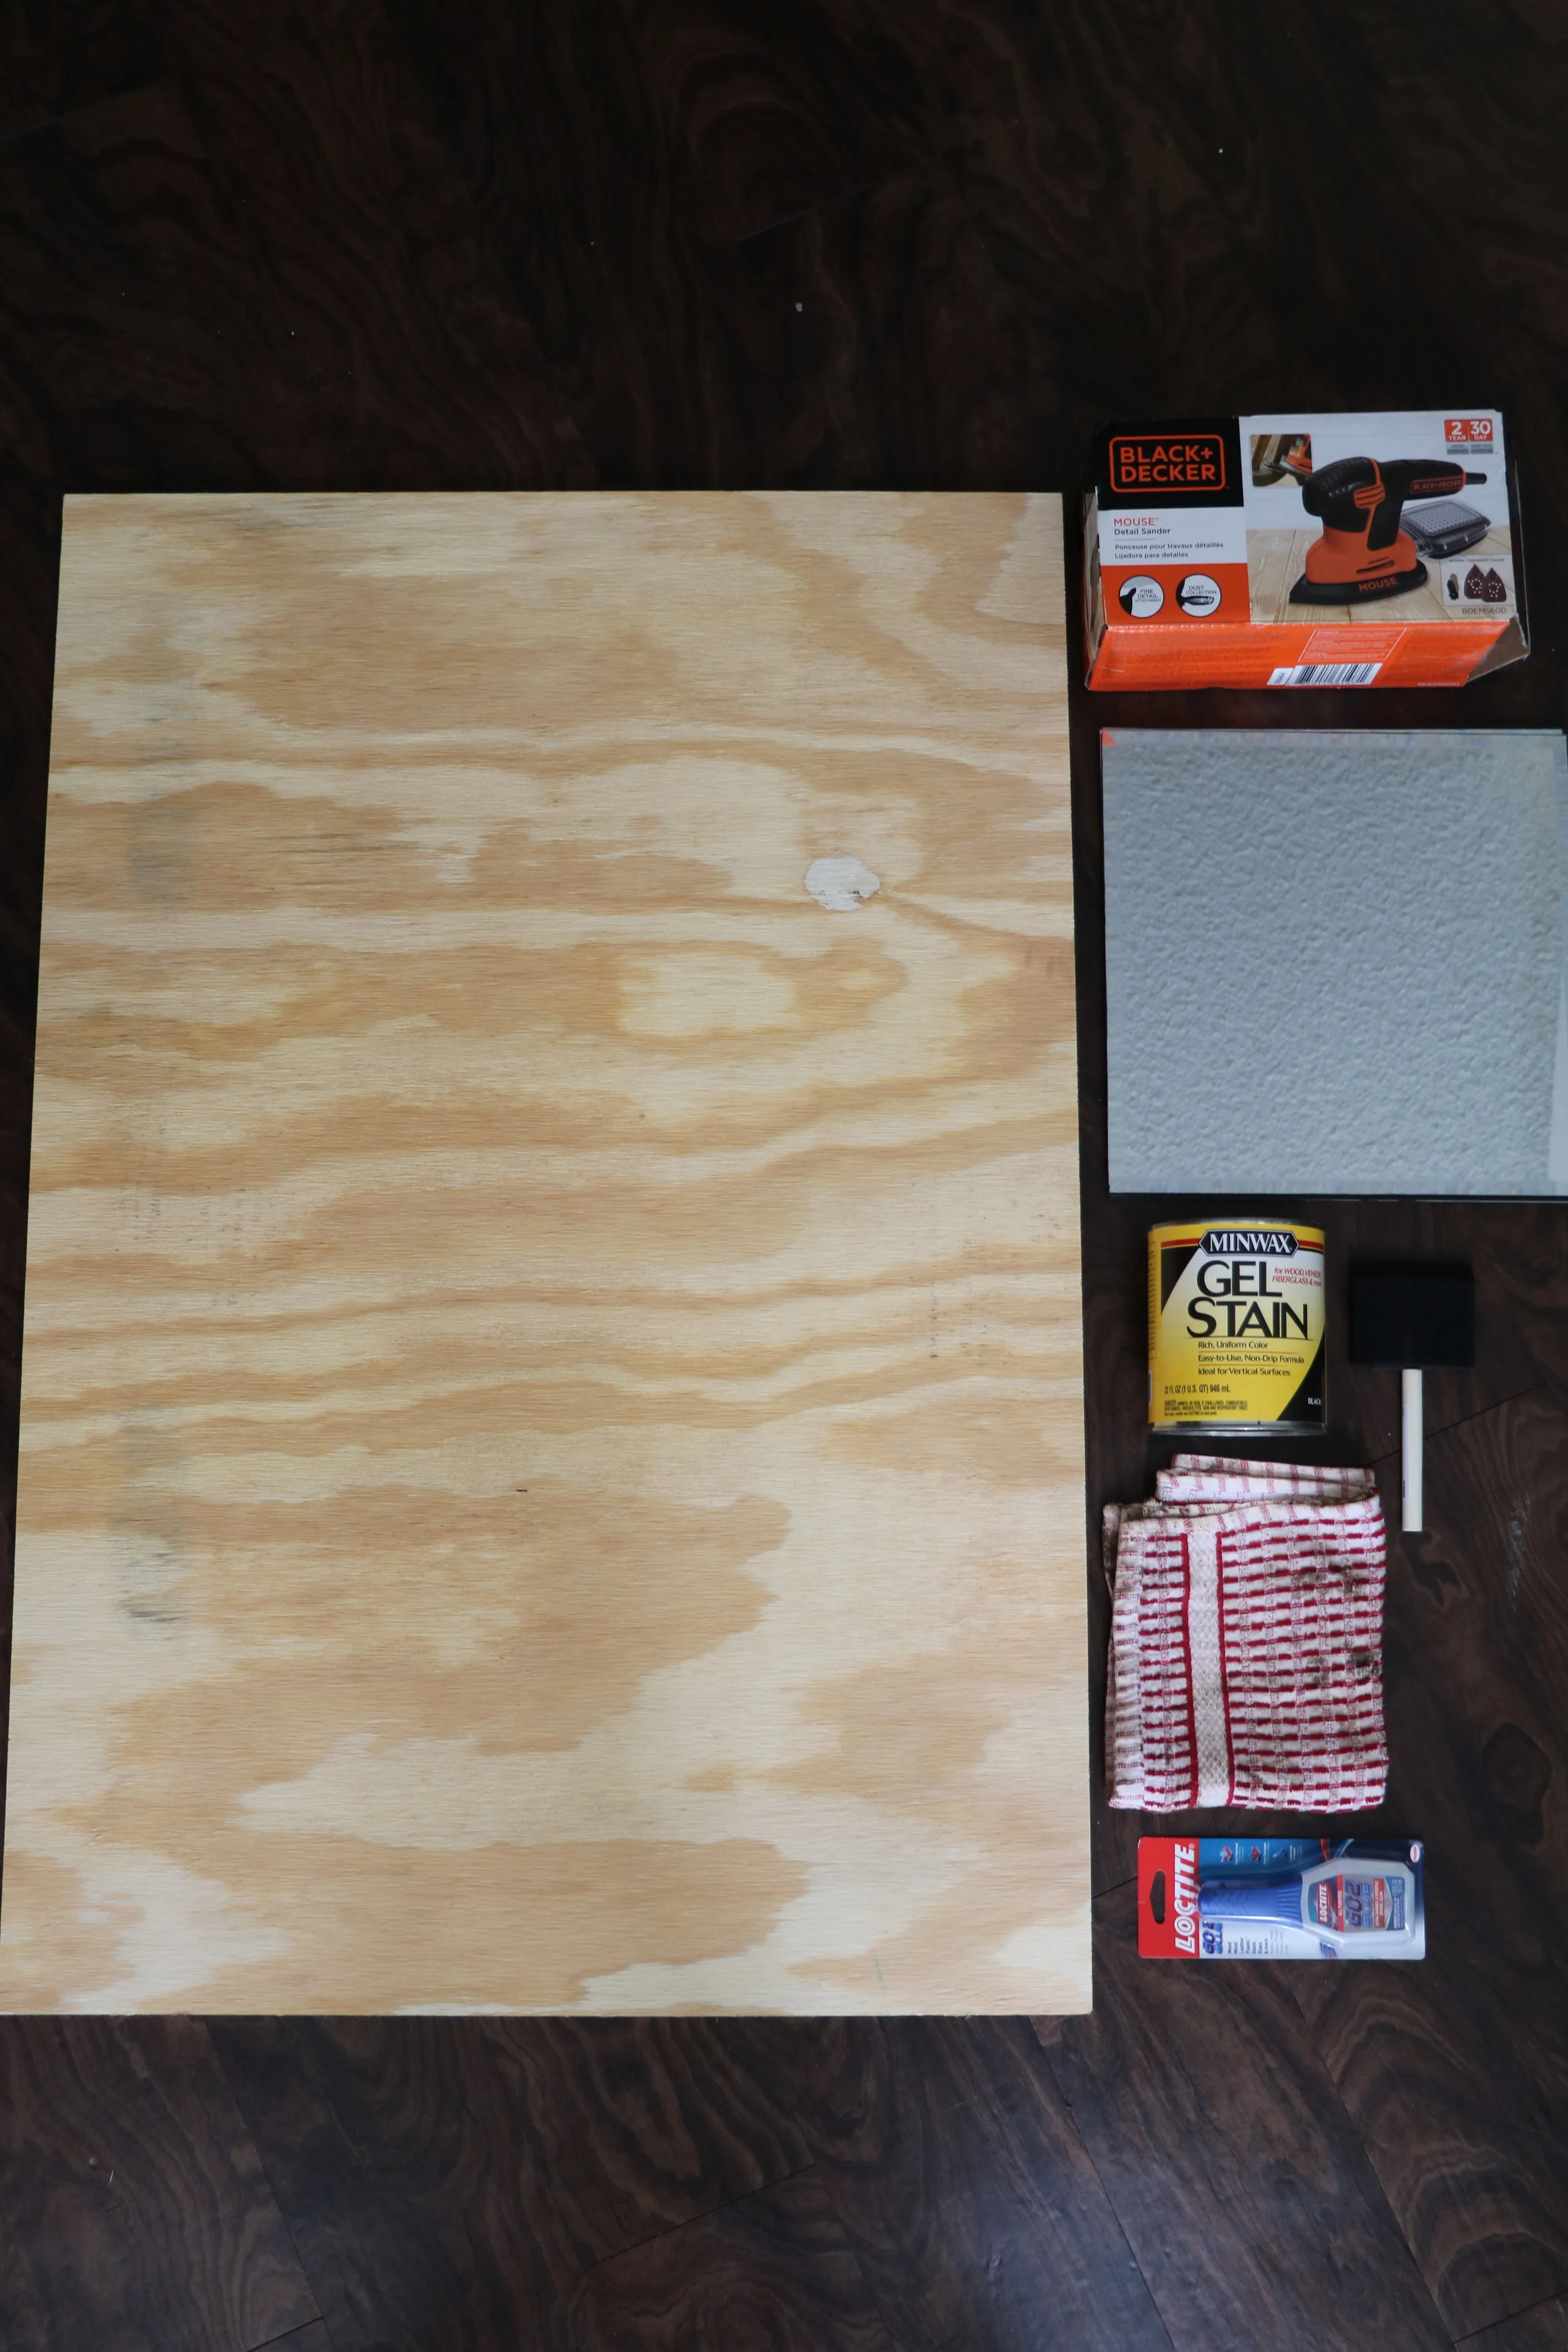
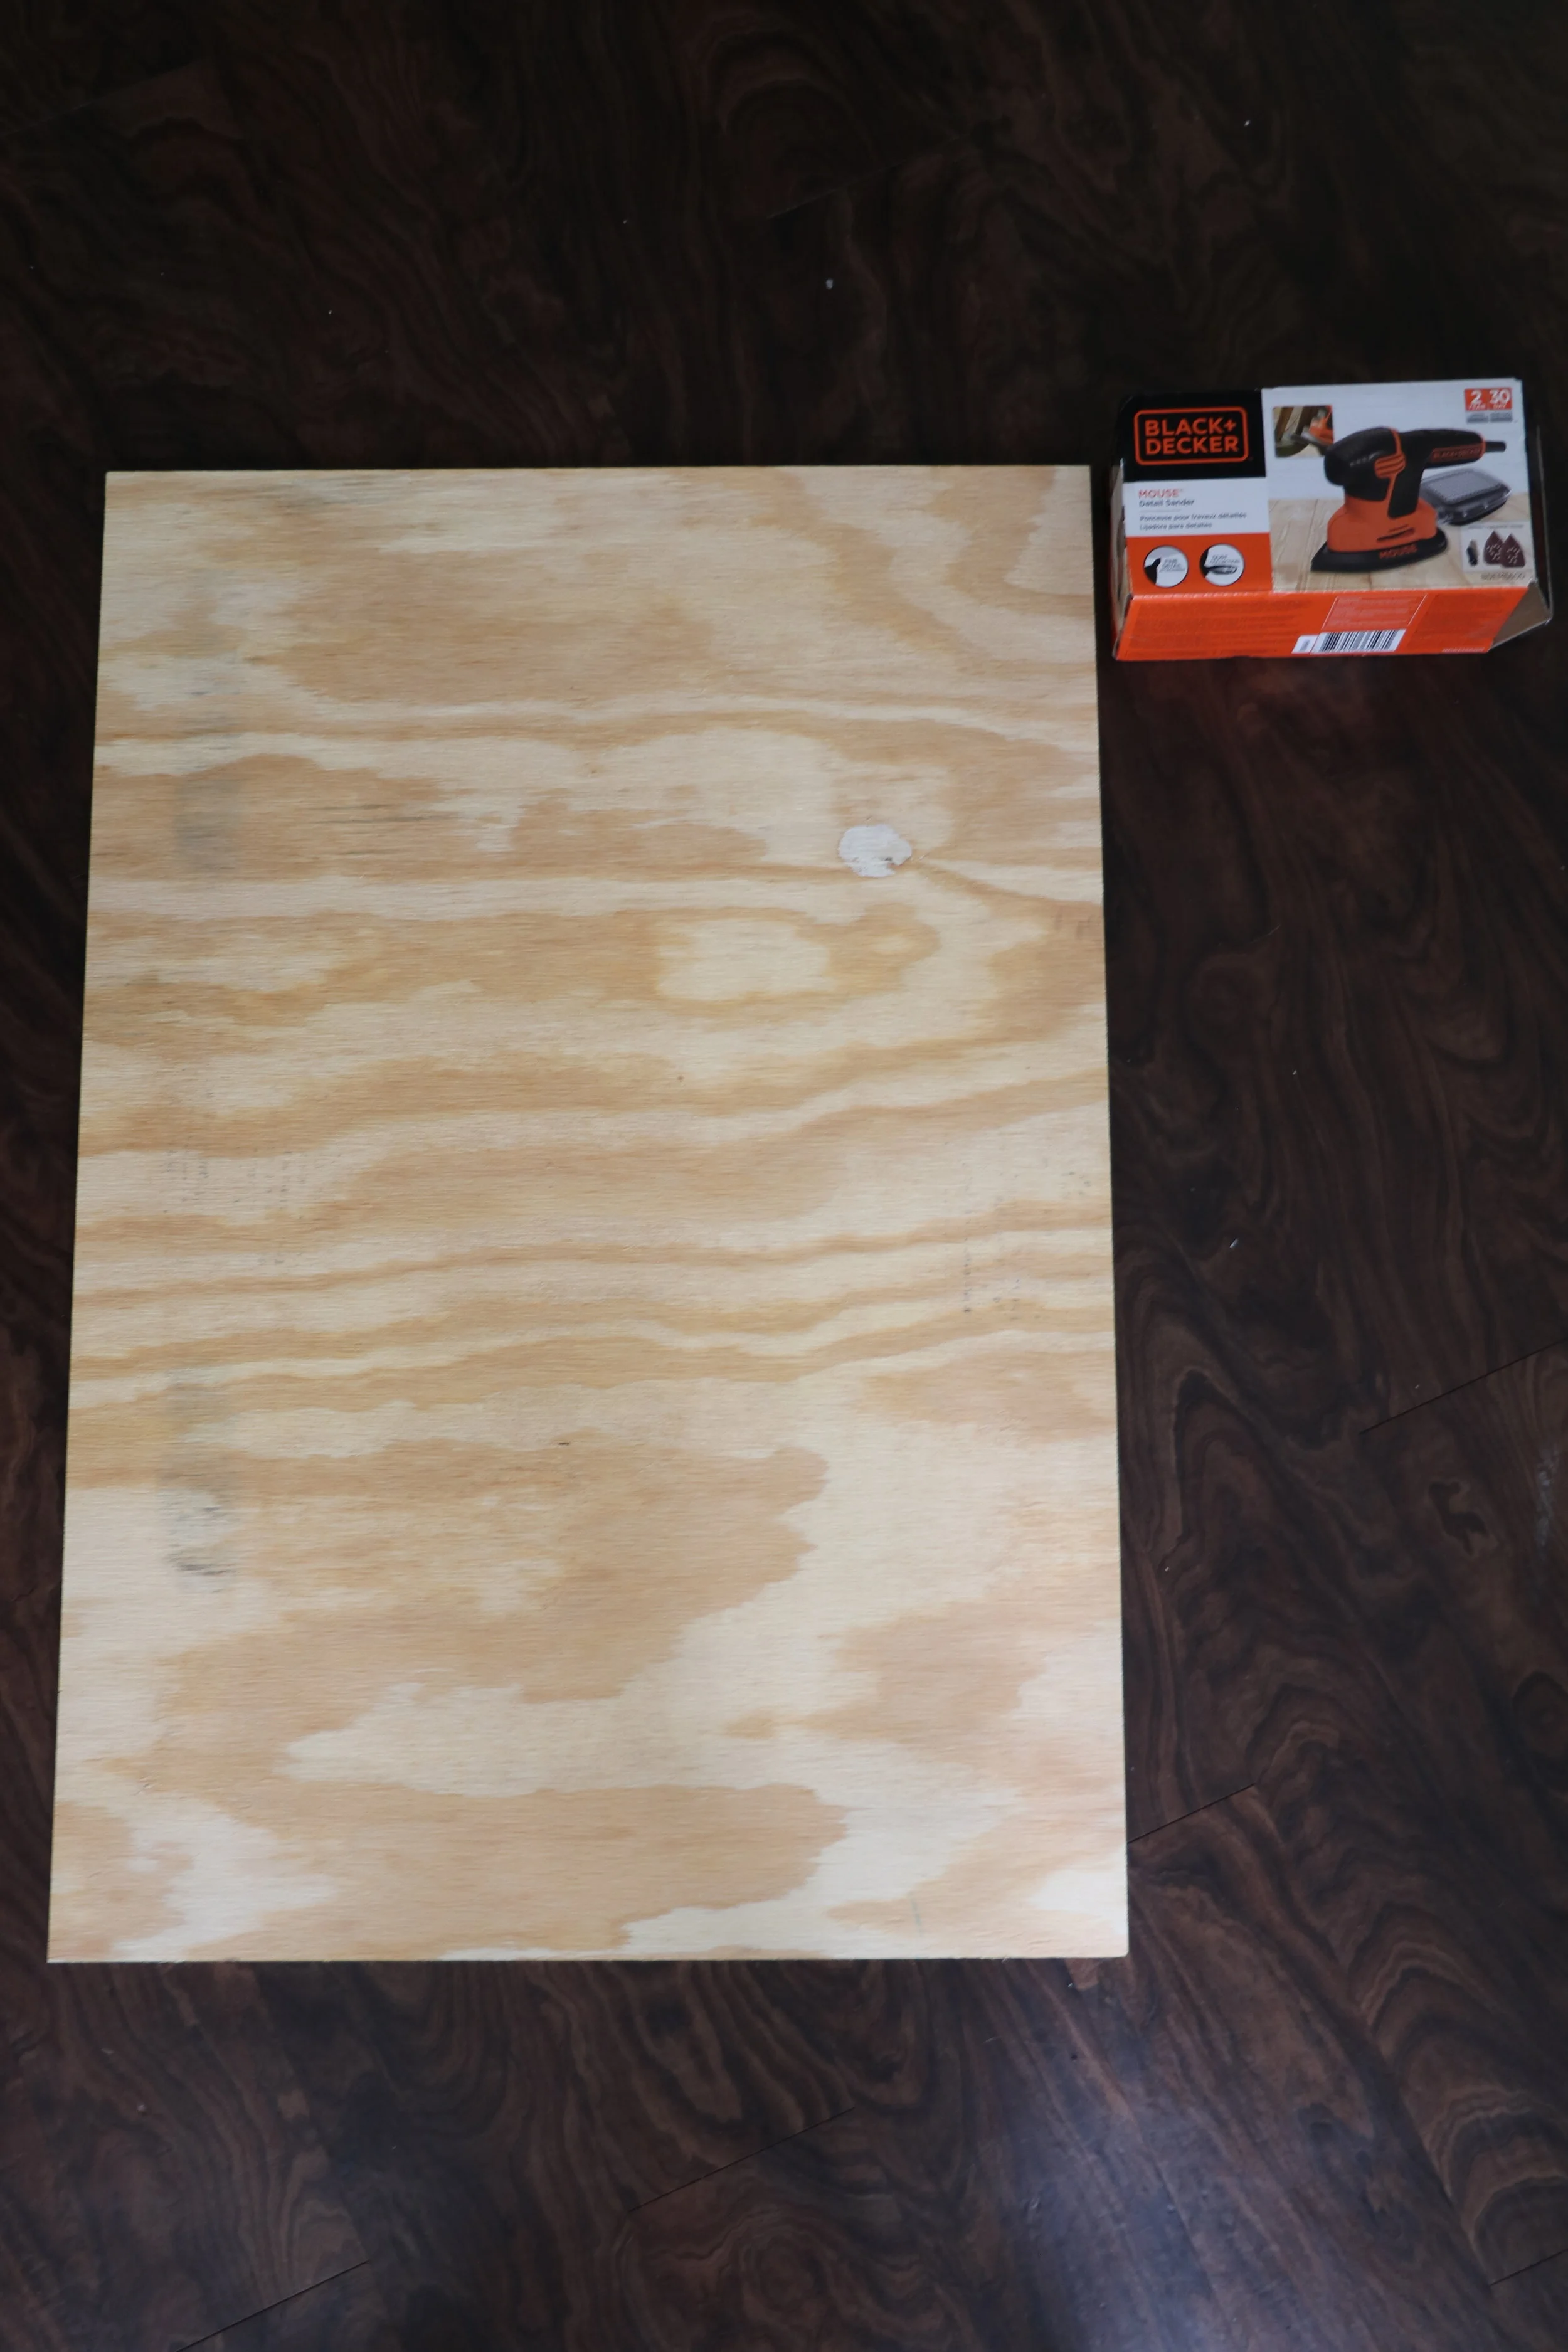
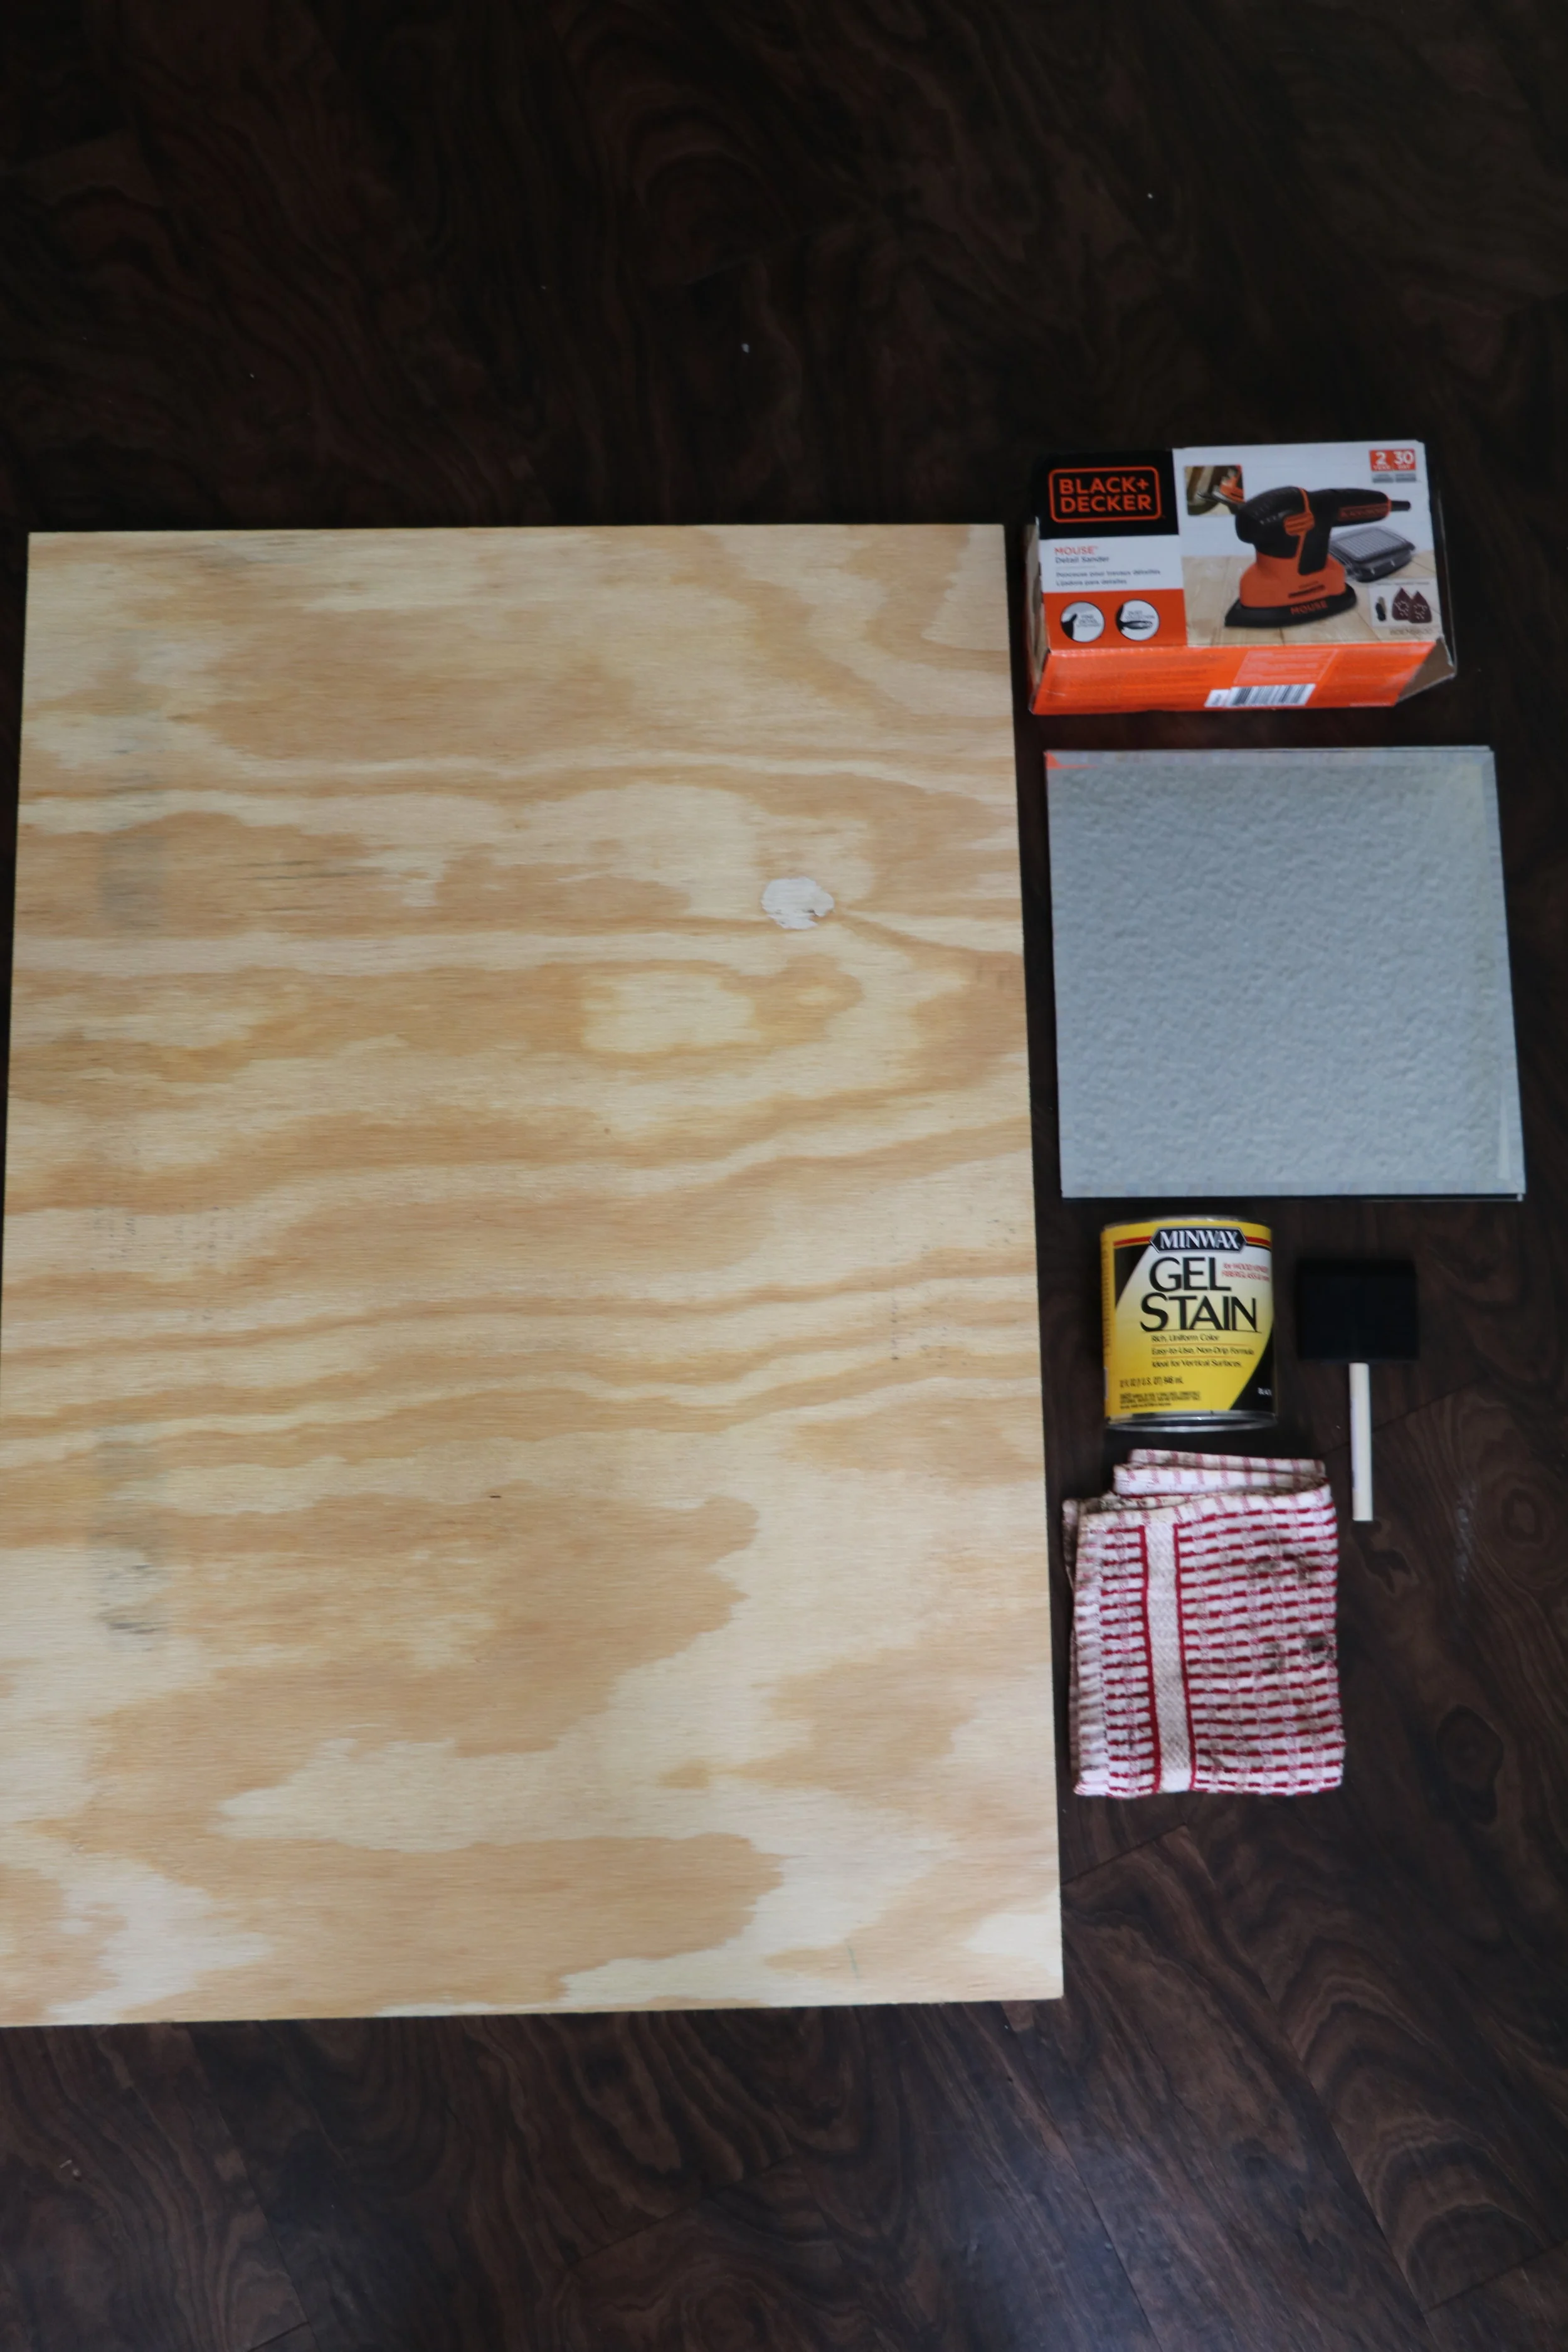
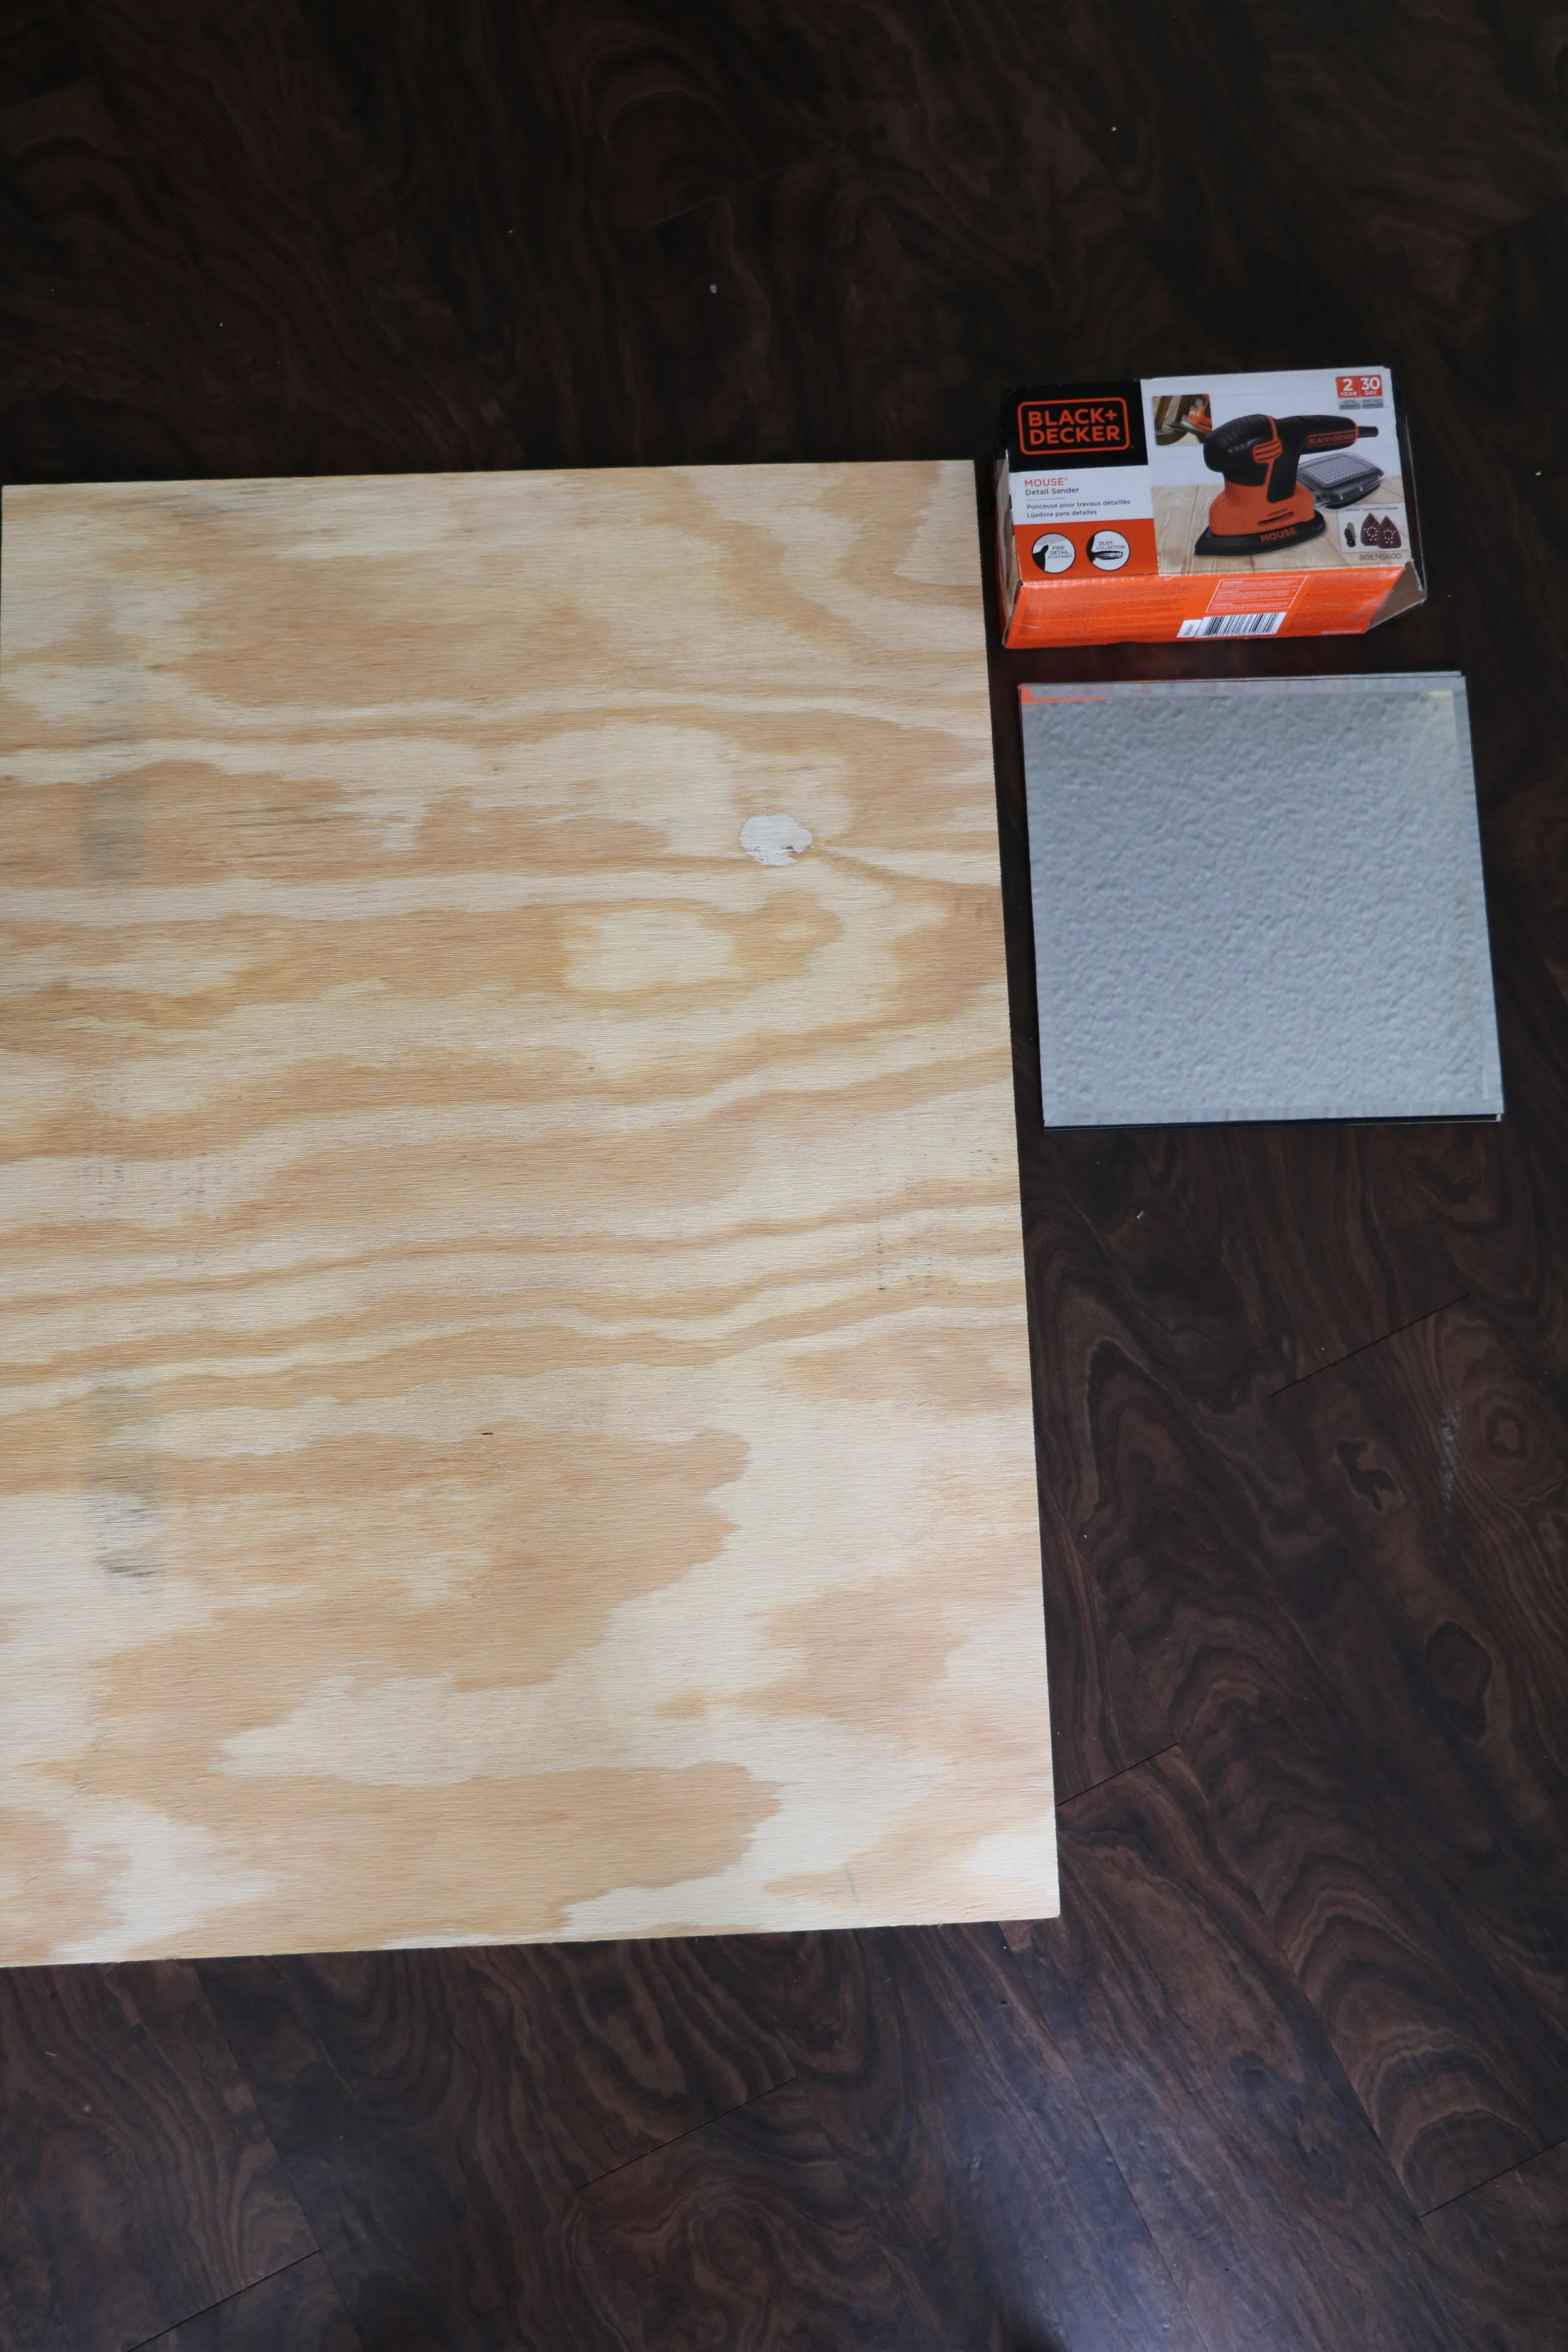
Gather your materials. You’ll need 6 mirrors (I got mine from Target a few years back, here is a similar product), a piece of wood that will fit all the mirrors plus extra room on the sides (mine is a piece of siding cut for free at Lowe’s - it is 26x38), black stain + stain sponge or rag, and adhesive (I used Locite GO2 All Purpose Glue)

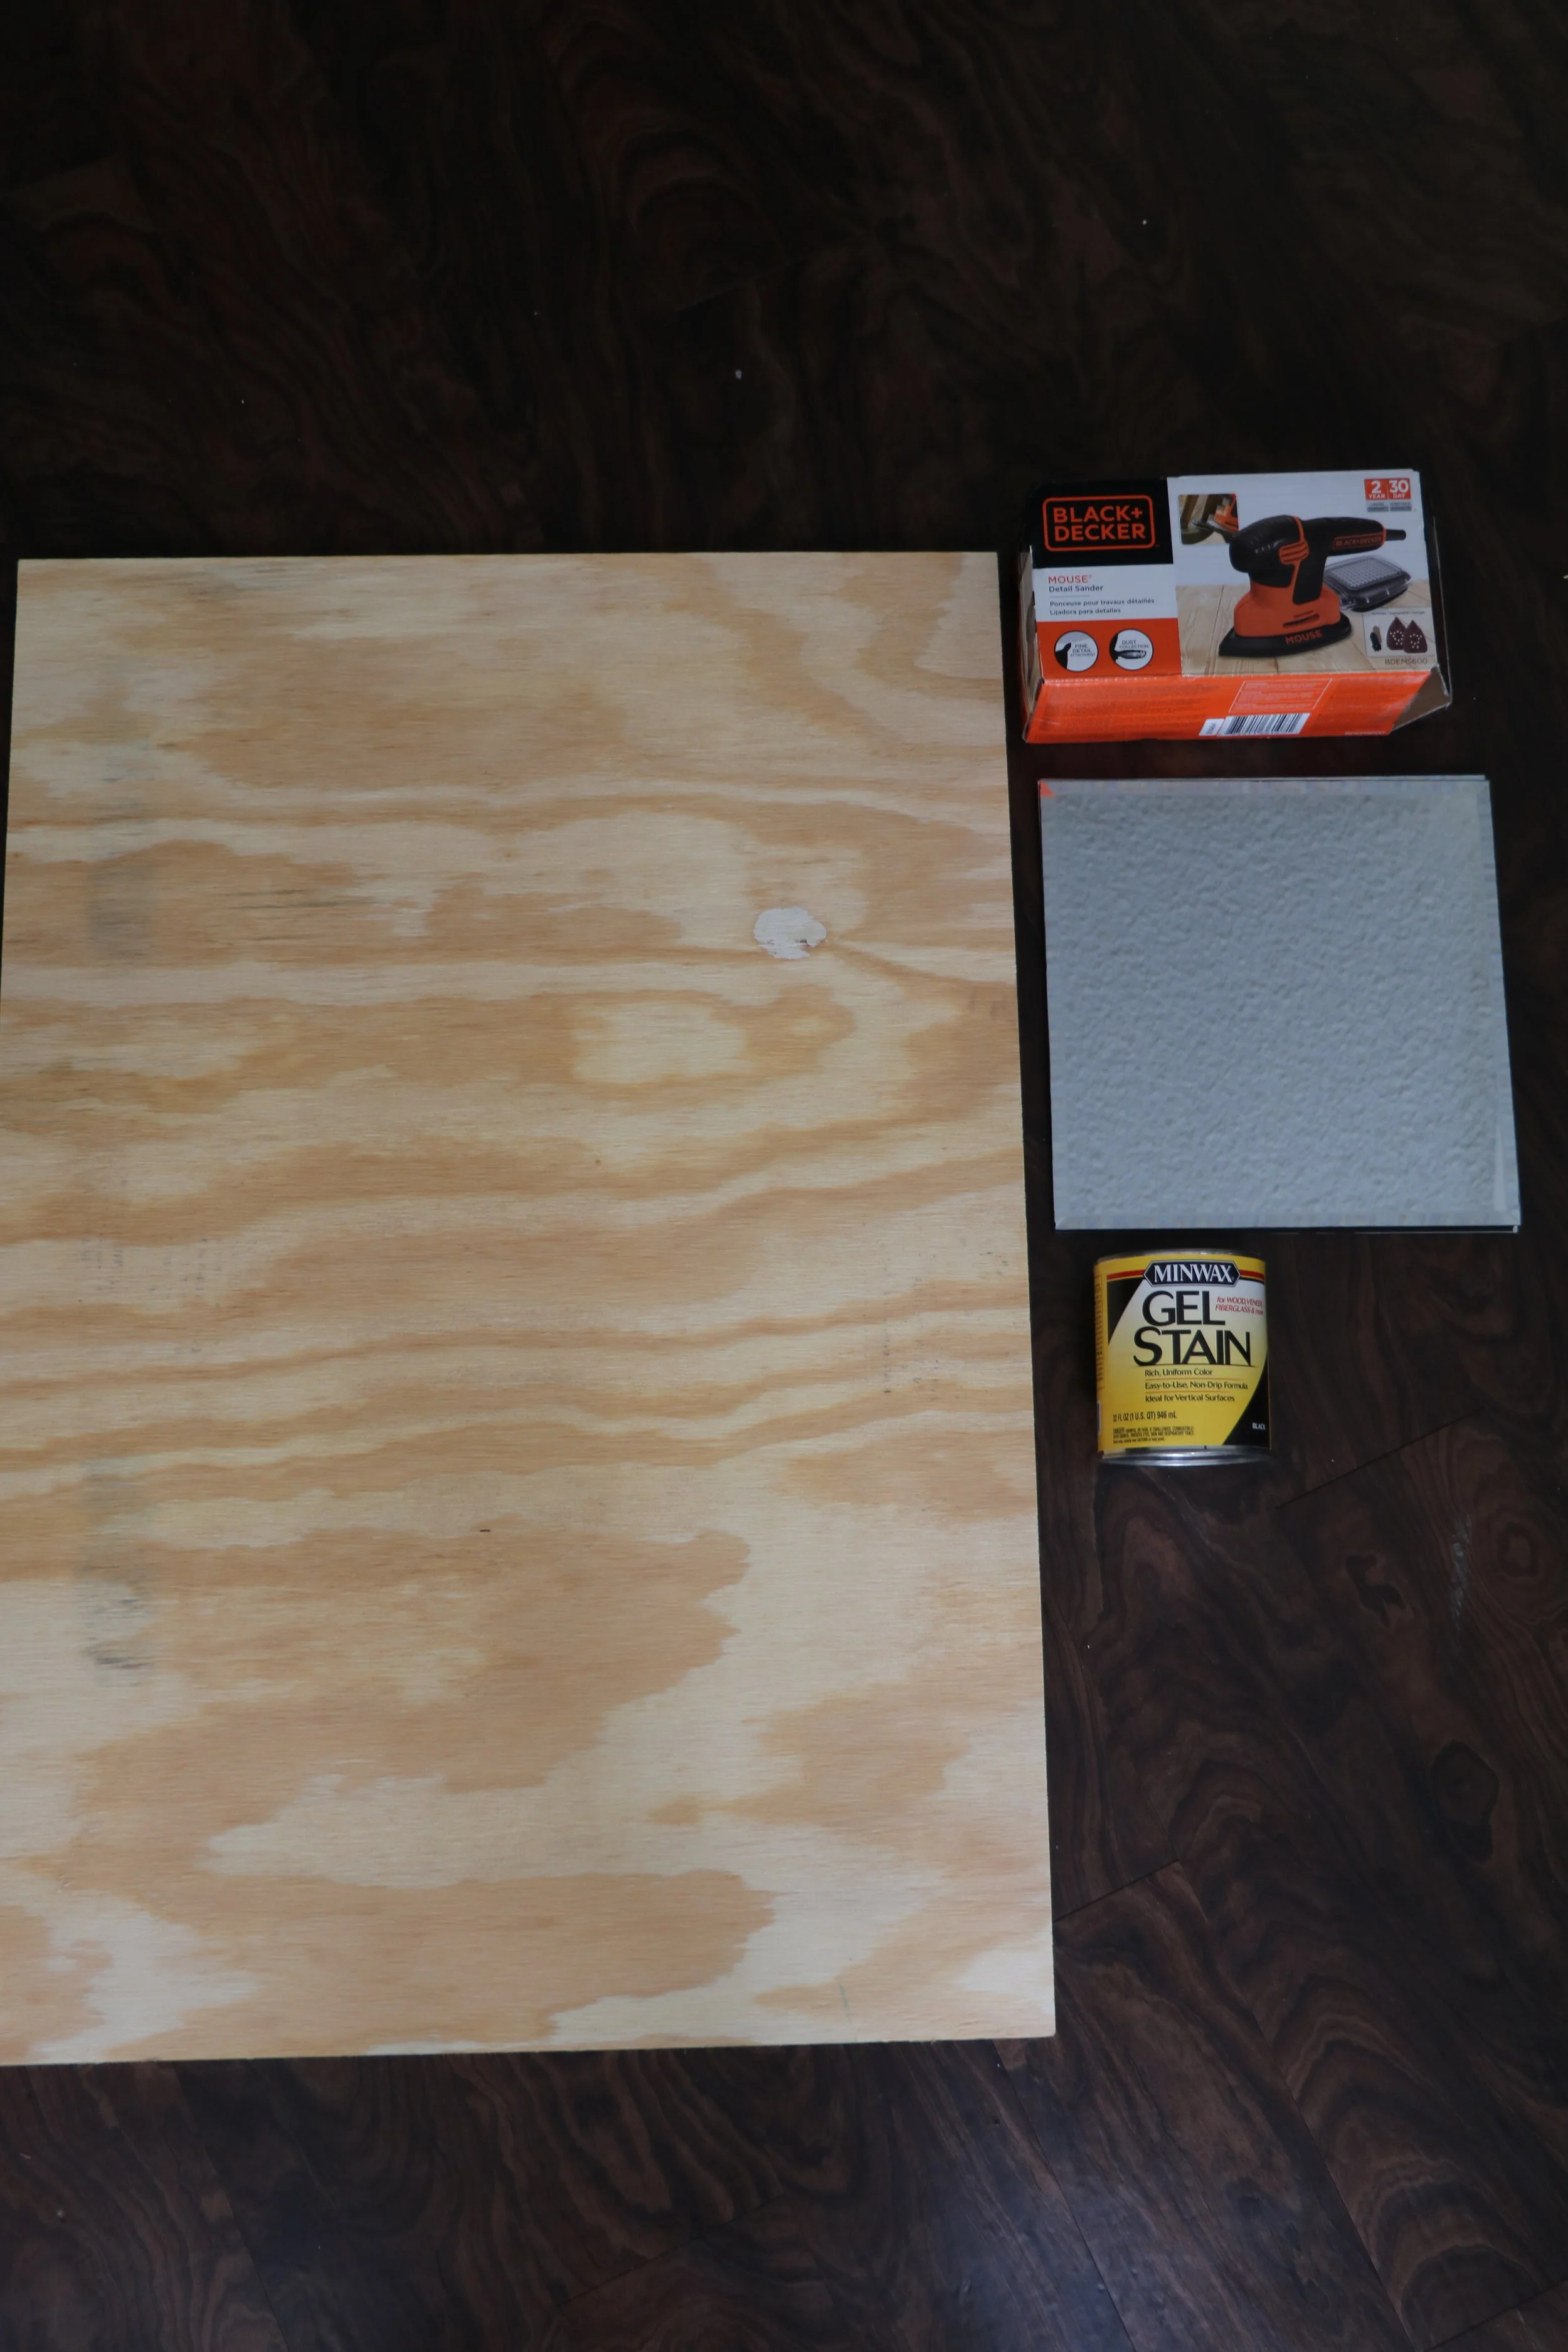
Step 2:
Sand wood. This is vital not only to provide a smooth surface for the mirrors later on, but also so that the stain will be able to properly soak into the wood.

Step 3:
Using your sponge or rag, stain the wood liberally. *Remember* to wear gloves (I actually had to double up) because the stain will stain your fingers. Shocking, I know. Wait 24 hours for the stain to fully dry.


Step 4:
Attach the mirrors using adhesive. The easiest way for me to ensure they were evenly spaced was to start with the corners and lay the two middle pieces last. Using a measuring tape, I made marks at 3/4” from the edge of the wood to the first mirror. The glue will expand a bit, so don’t apply directly on the edge of the mirrors - go an inch or two inside.

Step 6:
Let the adhesive dry for 24 hours, use some Windex to make those mirrors shine, and yippee, you’ve got a new decoration addition to your home!


For anyone wondering, that is a Hawaiian Sunshine plant in the corner, aka the easiest plant in the world to take care of. Also the art print is called ‘Fergus’ and is an original from my trip to Scotland earlier this year. ALSO, I love having an excuse to buy fresh flowers!
I hope your crafting goes smoothly and you love your new mirror! Comment below with any questions, and as always, I’d love to see any one else’s take on this design. Happy crafting!