Wooden Dresser Refresh
Big news announcement: WE MOVED!!! While we loved our last apartment, the time had come to move onto bigger and better things. We now have more space, our own private entrance, and some kind of semblance of a yard (okay it’s legit all rocks, but it’s OURS and some day soon I will be doing a fabulous vertical garden or some other kind of DIY to make it a mini-LA oasis). More importantly, with this new space, the possibilities for future DIYs are endless. More DIY Darling originals are coming your way in the near future. You’ve been warned.
I digress. Onto the point of today’s post - how to refresh an old, wooden dresser. Now I know these flips are all over Pinterest, but I’d never actually done one myself, and I was eager to try it out.
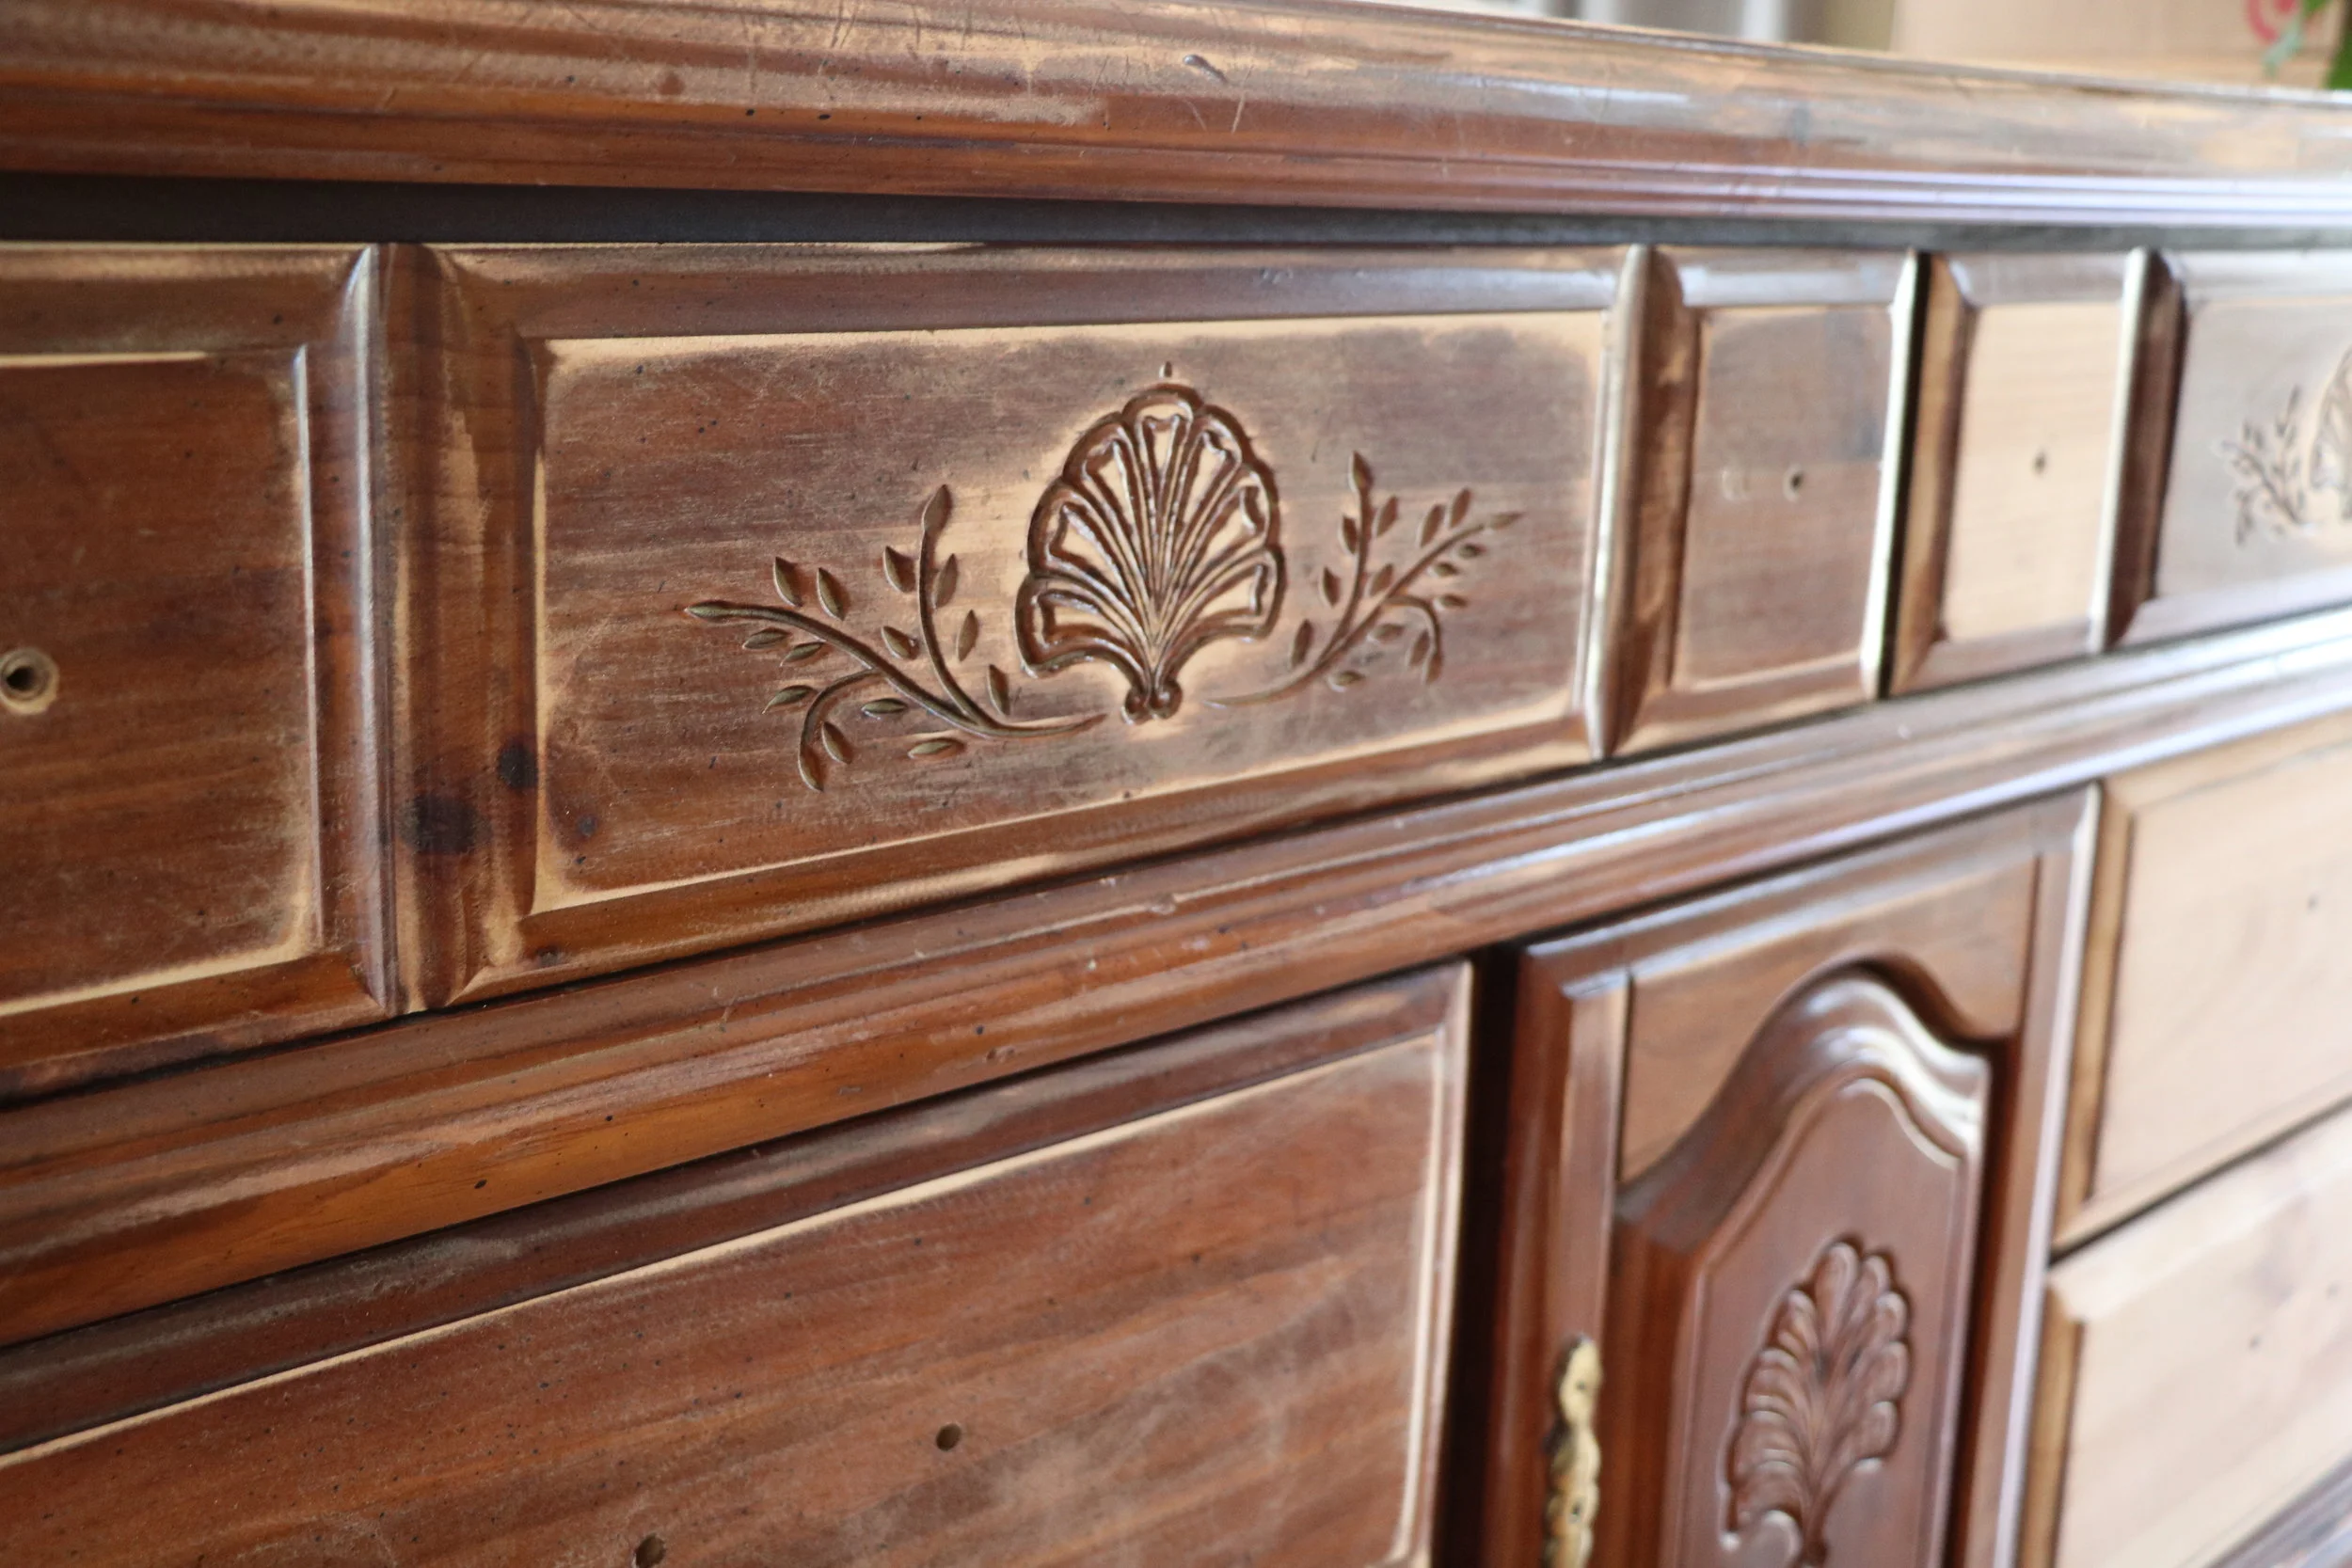
First things first: find a wooden dresser. Either you have one sitting around your home, or your parents do, or you find one on the side of the road. My tips for you - make sure it’s surdy (read: has all four legs) and is made with nice wood. I went to St. Vincent de Paul in Los Angeles and found one for $25. There were knobs missing and some major scratches in the wood, but the bones were good. I knew I’d want to put new knobs on it anyways, and the scratches would come out with some light sanding. Problems solved.


Remove old hardware before sanding/painting.
Apply a light sanding to remove the old veneer.

I decided on using decorative chalk paint by Behr. I recently filmed an episode of Weekend Refresh in collaboration with them, so I was familiar with the product and the process. I recommend doing the first coat with a regular brush, and the second coat with a mini foam roller. It helps even out the paint lines, and give a smooth, finished look.
After allowing the paint to dry, brush on the wax finish. It comes in 3 different colors: clear, white, and black. I chose the clear since I wasn’t going for a super vintage look. Buff with a spare rag.


I found these beautiful gold knobs for the top of the dresser. Super easy - just screw them in.
I really like the leather trend going on right now, but all the leather handles I was seeing online were outrageously expensive - like $10 per handle. I needed 4, and the thought of spending more money on handles than I did on the entire piece of furniture seems wrong. So I made them myself! All you need is a leather strap, gold washers, and gold screws.


And there you go - a new statement piece for your bedroom. I love the pop of color it provides, and the size of it works so much better for our practical needs. I already had the succulent/cactus art prints (from Etsy) and the basket/blanket combo, so decorating the space was a breeze. Overall cost = $128.74.