Crate Nightstand
If your vibe is boho-chic, than this DIY is for you! Using two crates from Home Depot, hairpin legs from Amazon, and a bit of elbow grease, I made a super cute nightstand for my client Angela’s studio apartment.
Materials:
2 wood crates
1 wood board (slightly wider than the sides of the crates)
electric sander
hairpin metal legs
electric drill + screws
wood glue
clamps
Minwax Stain (Natural or Puritan Pine)
staining gloves + rag
Disclosure: My content is reader-supported, which means that when you purchase through links on my site, I may earn an affiliate commission. Learn more here.
Here’s how things started:

First step was to sand the crates. Oh, I should mention that I also had a top piece of wood cut, which I sanded as well. Wipe off the dust with a slightly damp cloth when you’re done.
I had quite the debate on which stain to use. Here, you see a few layers of Minwax Natural stain… which in my opinion did absolutely nothing. I wanted more of an impact so I headed back to the store.


I decided to try Minwax Puritan Pine - and I LOVE how it turned out. I know a few of you were shipping hard for the natural look, but at the end of the day, Puritan Pine was the right choice.
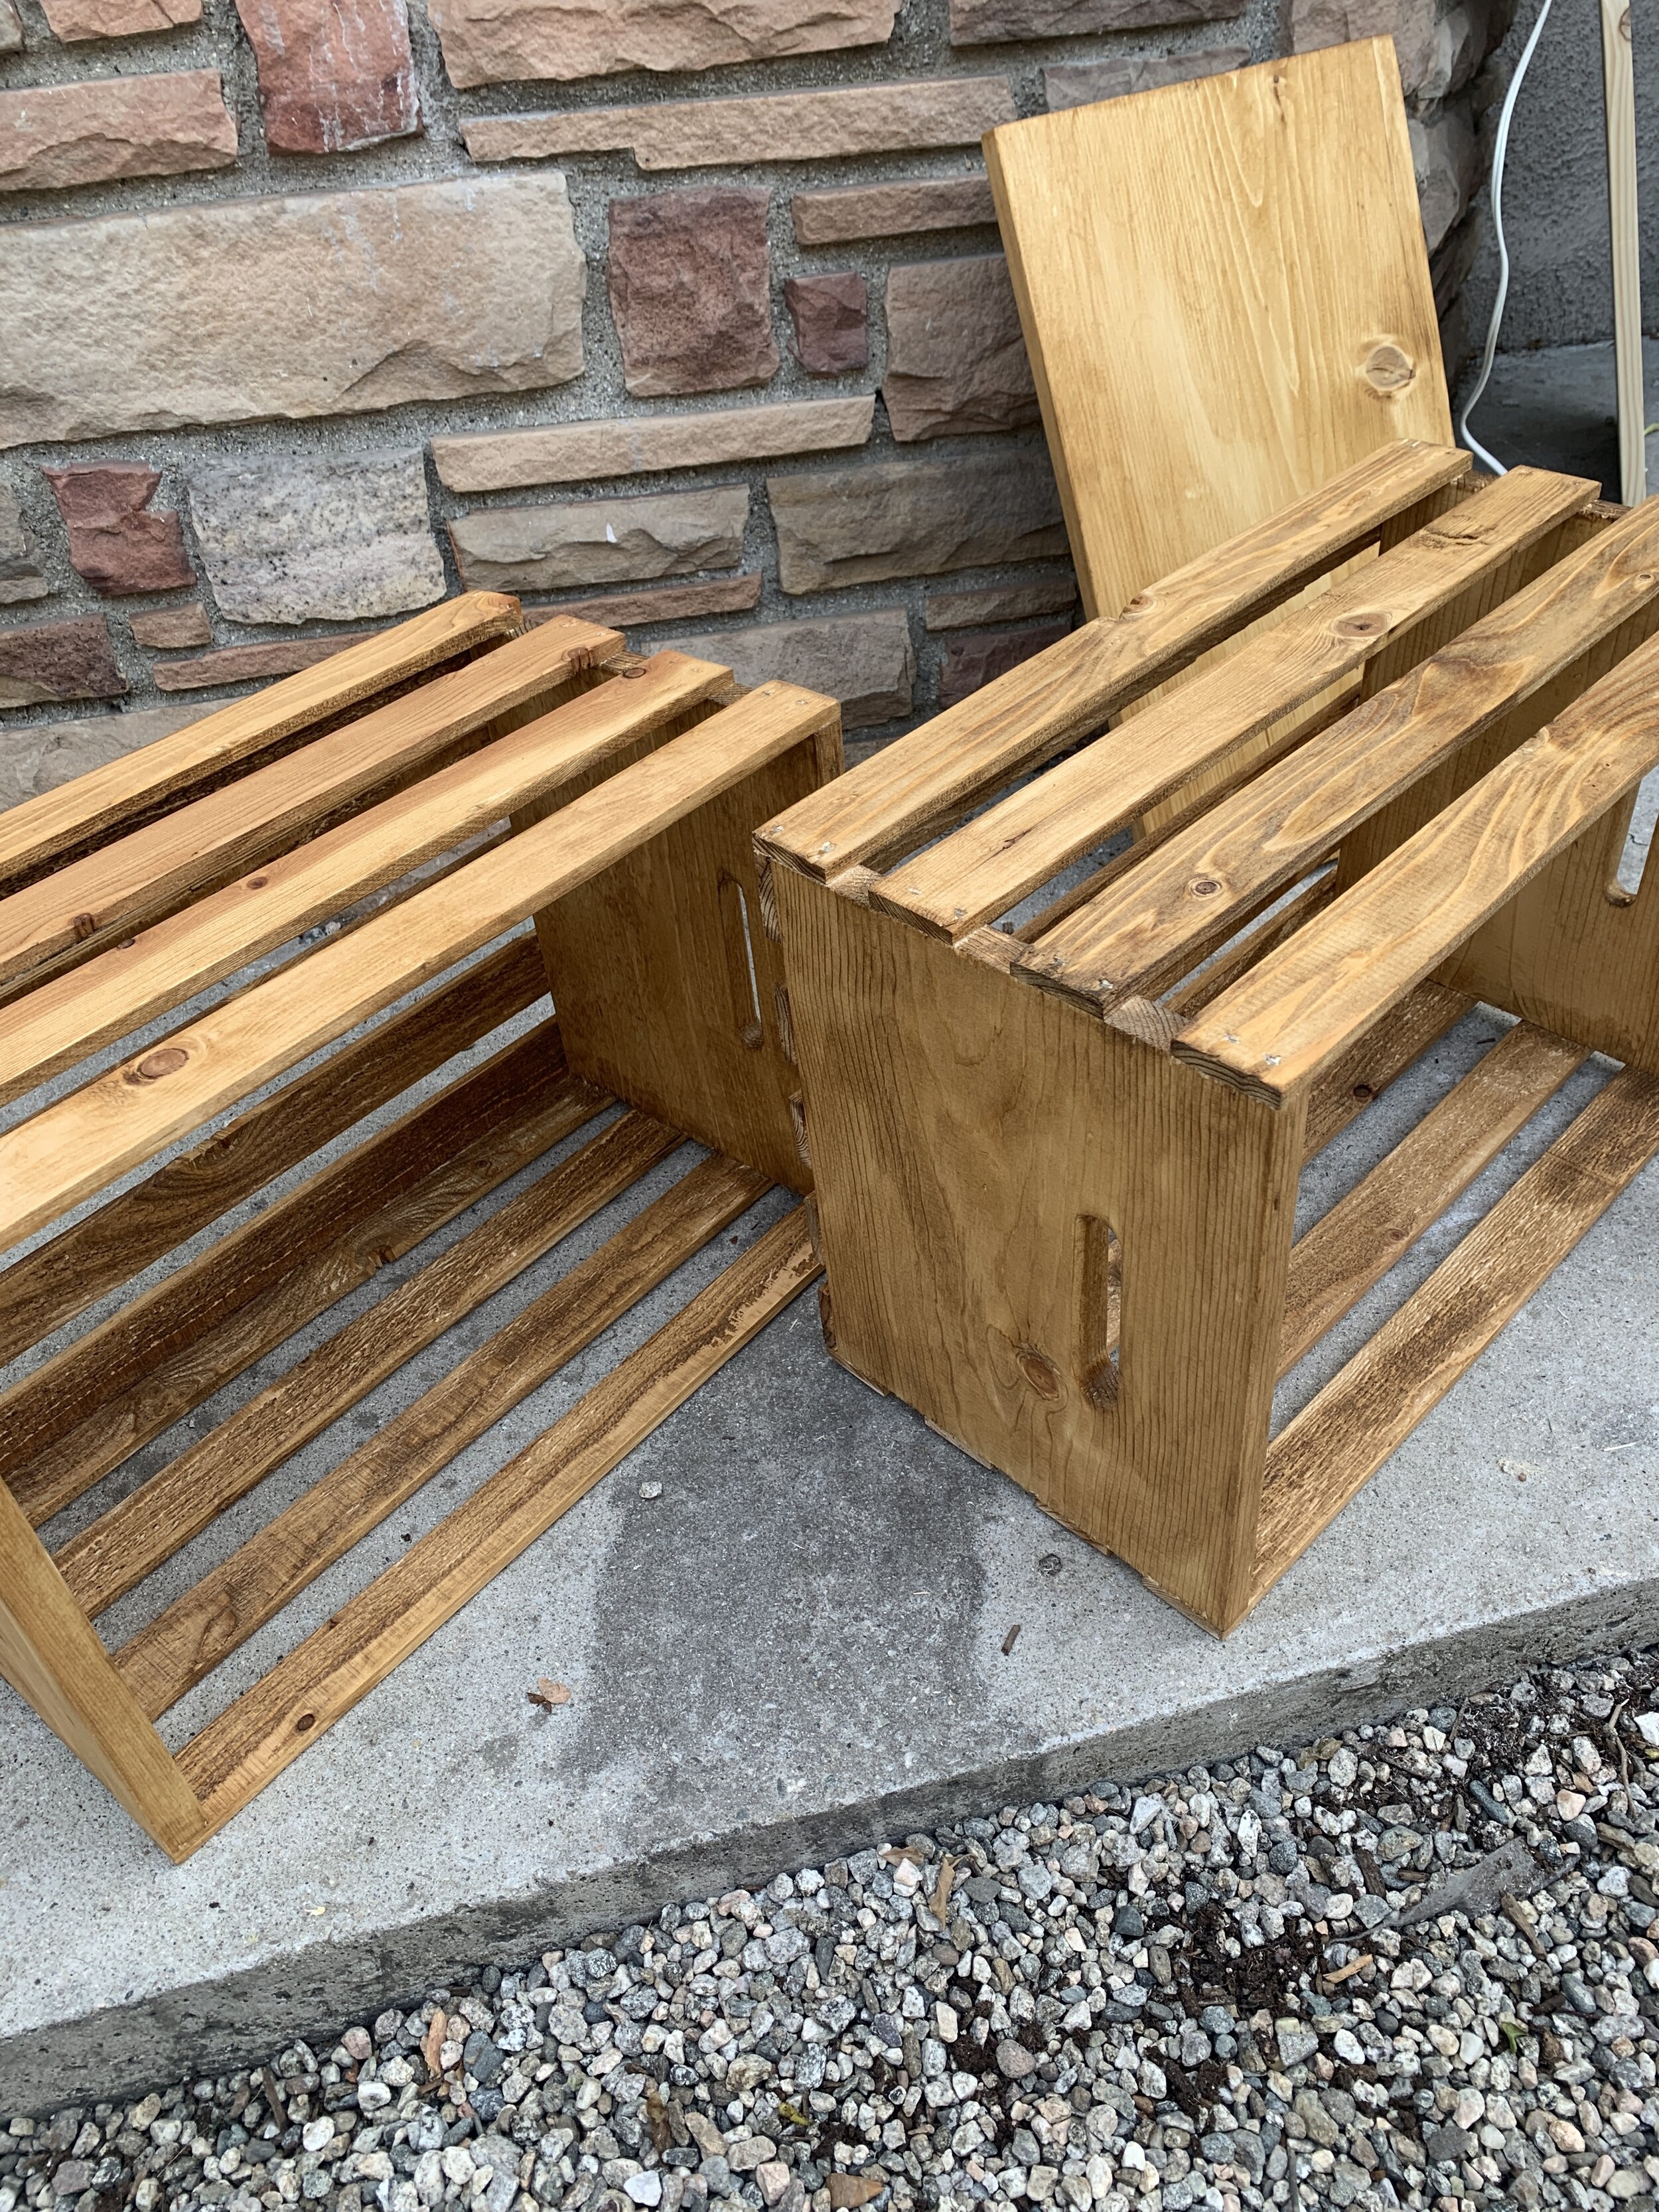

I really love Minwax stains - they have such a range of color choices, and they dry so quickly. I think this was ready to go in less than two hours. Quick tip: when you sand your wood, it allows it to absorb the stain more consistently. So don’t skip that step!
Next, I used wood glue and a clamp to bond the wood (before screws). I did this for both the top wood piece, and the two crates. It just makes it easier to maneuver the whole thing when you’re screwing it together if you’ve added wood glue. I let it dry for 20 minutes in the clamp, which worked really well.

Time to fully secure this bad boy - make sure you get short and fat screws for this project. The wood isn’t very thick, and you don’t want the tips to go through the other side of the wood. Lastly, secure the hairpin legs on the bottom.


And you’re done! It’s really that simple. This project can be completed in half a day, at the most.


Now for the best part - styling it out at the studio apartment. I absolutely LOVED the plug-in sconce we found, especially the vintage-inspired scalloped edges. Plug-in sconces are such a good idea for renters (or really anyone who doesn’t want to hardwire electrical). They instantly make the space look “designed” and draw the eye upwards. I added a white basket on the bottom from Target and made sure there was enough room on top for water, coffee, and a phone.


We still have bedding on the way, and there are a few more projects to complete throughout Angela’s apartment, but it is so fun to see it start to come together! I am still loving the Half-Moon Painted Headboard. That green is soooo good. And I love that Angela is not afraid of color. The marigold of those pillows really pop!
(In hindsight, I think this nightstand is just a bit too tall in comparison to the height of the bed, but it’s not bothering me enough to fix it. Just something to keep in mind if you attempt your own.)
Here’s a cost breakdown (excluding the sconce):