Cheap Tile Floor Update
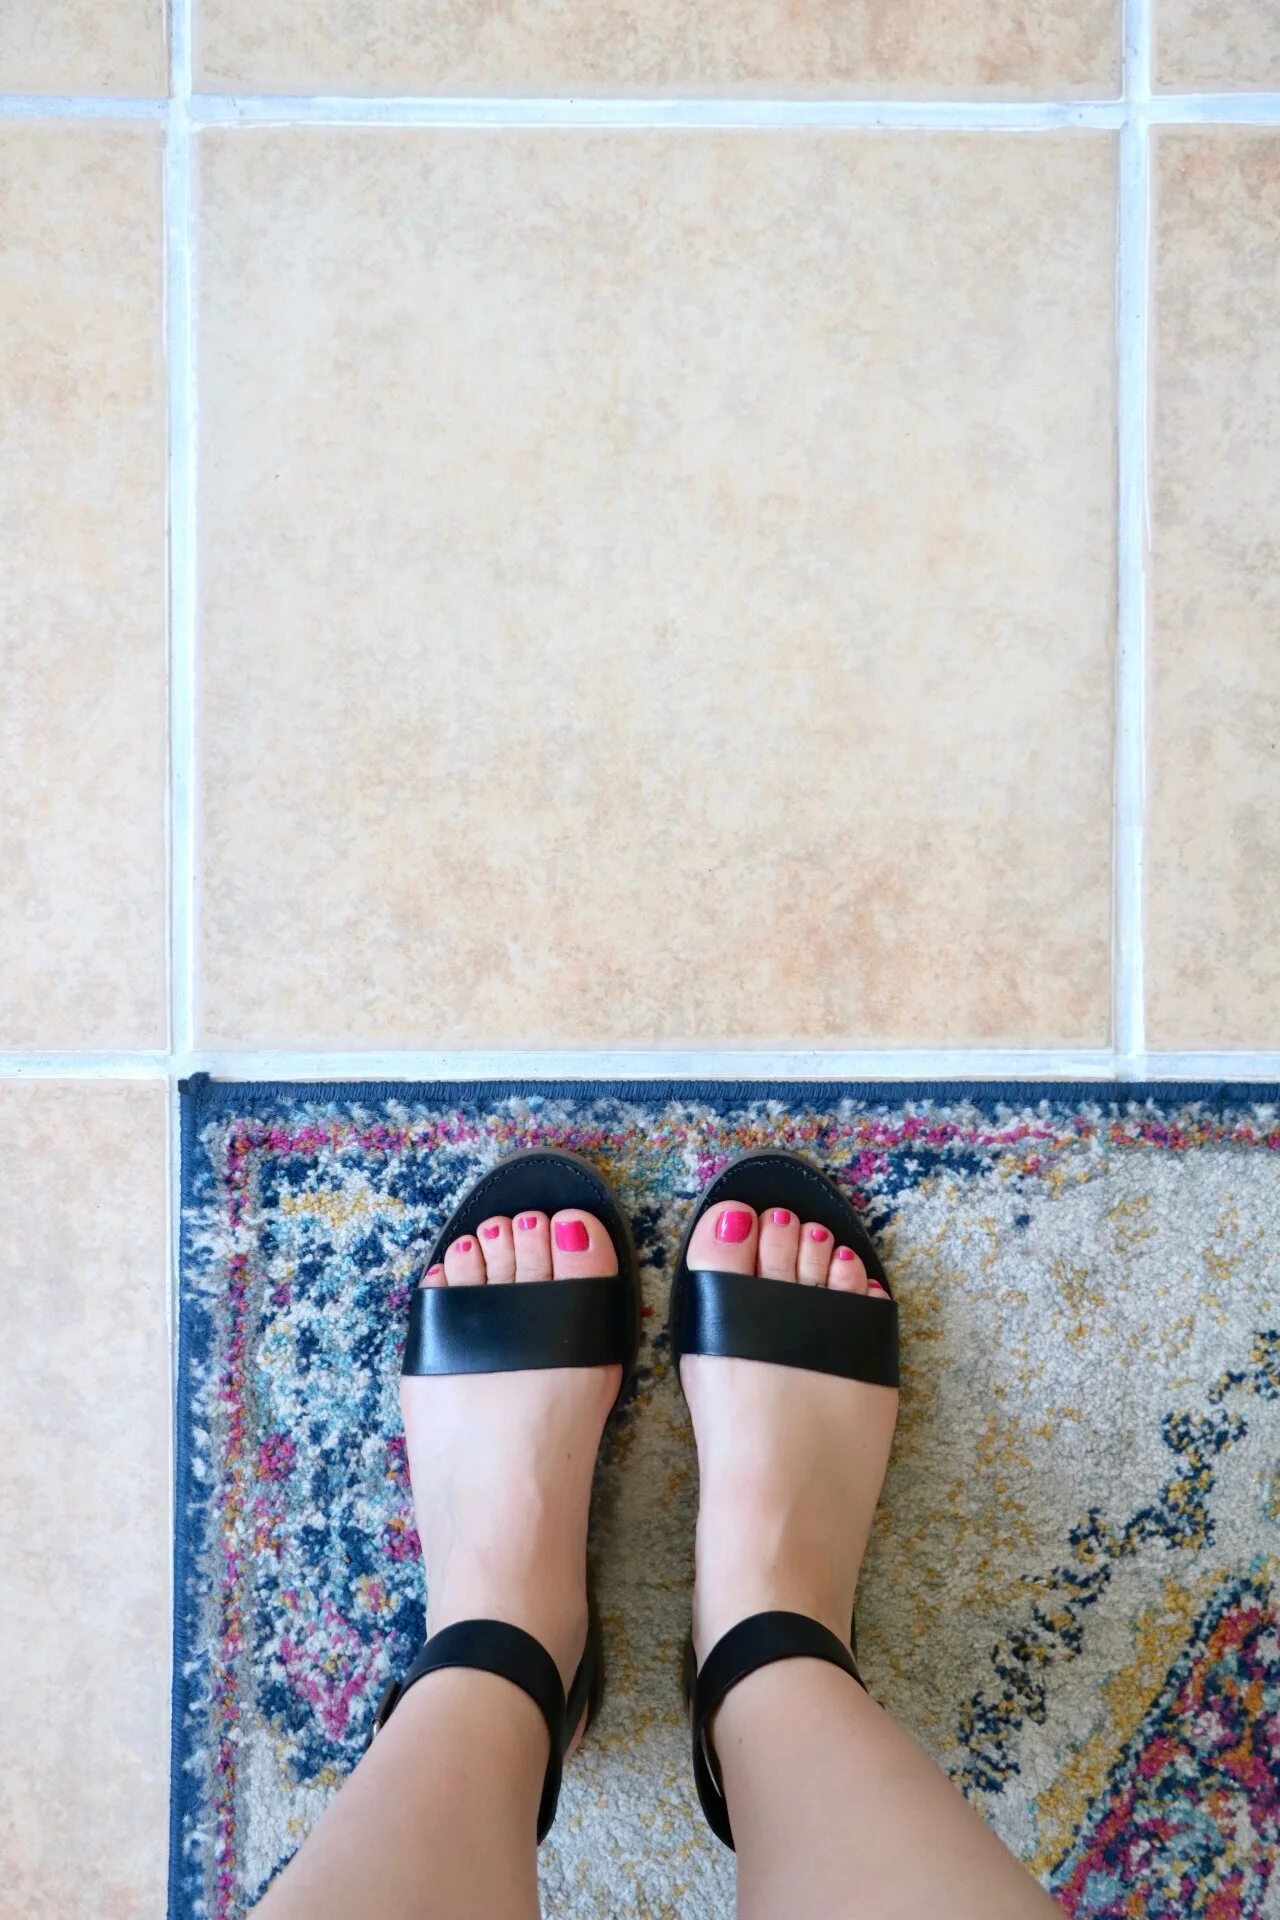
This cheap tile floor update made my bathroom and kitchen look 10 years newer - and cost less than $10.
Refreshing the existing grout with this $9 GROUT PEN.
Disclosure: My content is reader-supported, which means that when you purchase through links on my site, I may earn an affiliate commission. Learn more here.
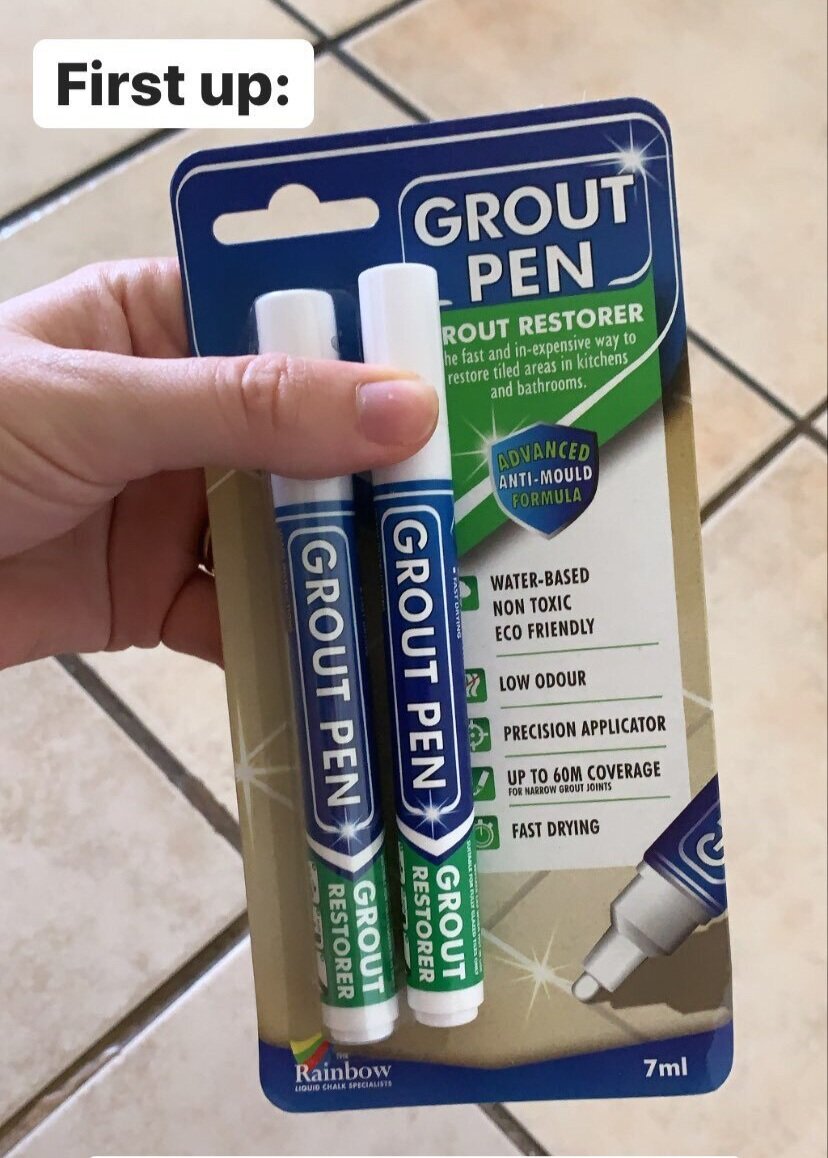
It all started in the bathroom. I was frustrated with how old and dated it looked and began looking for solutions that were renter friendly and inexpensive. A friend suggested this grout pen and I thought I’d give it a shot. Here’s what the grout looked like Before:


Pretty old and crusty looking, amiright?
It is CRUCIAL that you scrub your floor clean with a mold killer before applying any kind of grout paint. I was amazed at how much grim came up with this step… Kind of embarrassing to see how dirty my floors actually were. When was the last time you deep cleaned your bathroom floors?
Yup, it had been a while for me too (read: never) so this step alone made a huge difference.
I should note that this building was built almost 100 years ago. I have no idea when the bathroom was done, but judging by the shape of the red tile on the walls and tub area, it’s safe to assume it’s been around for a while.
I had the best results using an old toothbrush as a scrubby. It was a true Cinderella-before-the-ball kind of moment.
It’s truly as easy as coloring in the lines. The package recommended two coats and I definitely found that to be true. It dried pretty quickly, but I waited overnight to do the second coat.


CHECK. OUT. THAT. DIFFERENCE.
And I’m happy to report that two months later, it’s holding up really well. Now, onto the kitchen.
Same exact process. Clean first with Mold Armour and a tooth brush (or similar scrubby brush). Then color away with your grout pen. This kitchen grout was so dirty that I couldn’t even find a patch that hinted at the original grout color. I already had a leftover pen from the bathroom so I went with white. In hindsight, I may have chosen a beige or cream color so that there was less of a contrast to the existing tile, but hey - I’d also rather save money and use what I’ve got!
Walker, of course, was very interested in the whole process.

This was also a two coat situation, even a third in some areas by the stove. This was the first project I completed in my renter- and budget-friendly kitchen refresh (see Roman Shades & and Pressed Flowers Art). It gave me the momentum to keep going and crush the rest of the projects on my list. It’s amazing to see what a difference fresh grout makes, and it’s a great option for those of us who can’t rip out the existing tile and update it.
Again, it’s held up remarkably well, especially considering this is a high-traffic area. Yay for easy and affordable DIY projects!!