DIY Sofa Table
If you need a small sofa table to fit around the arms of your couch, then this DIY project is for you!
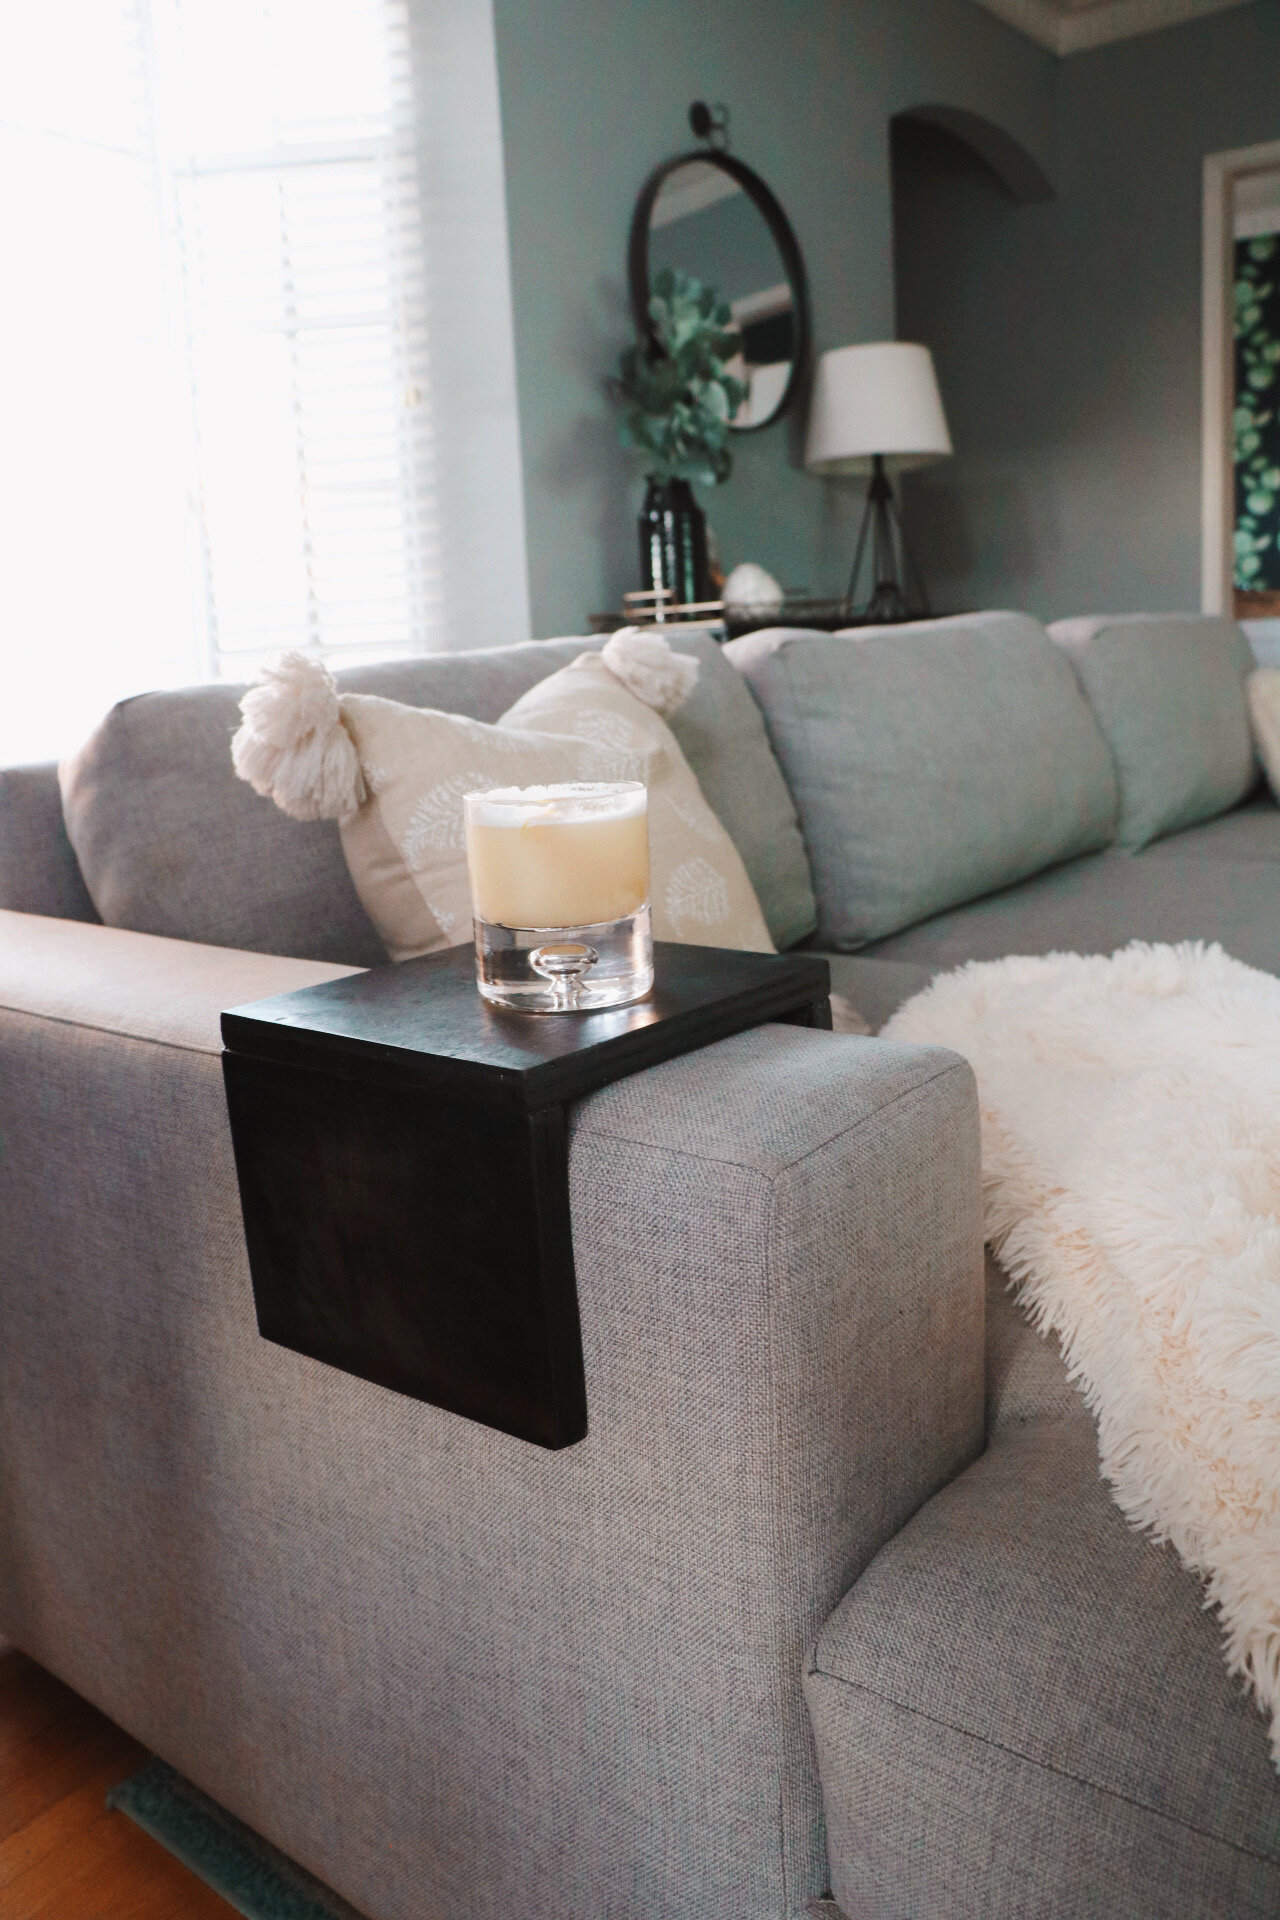
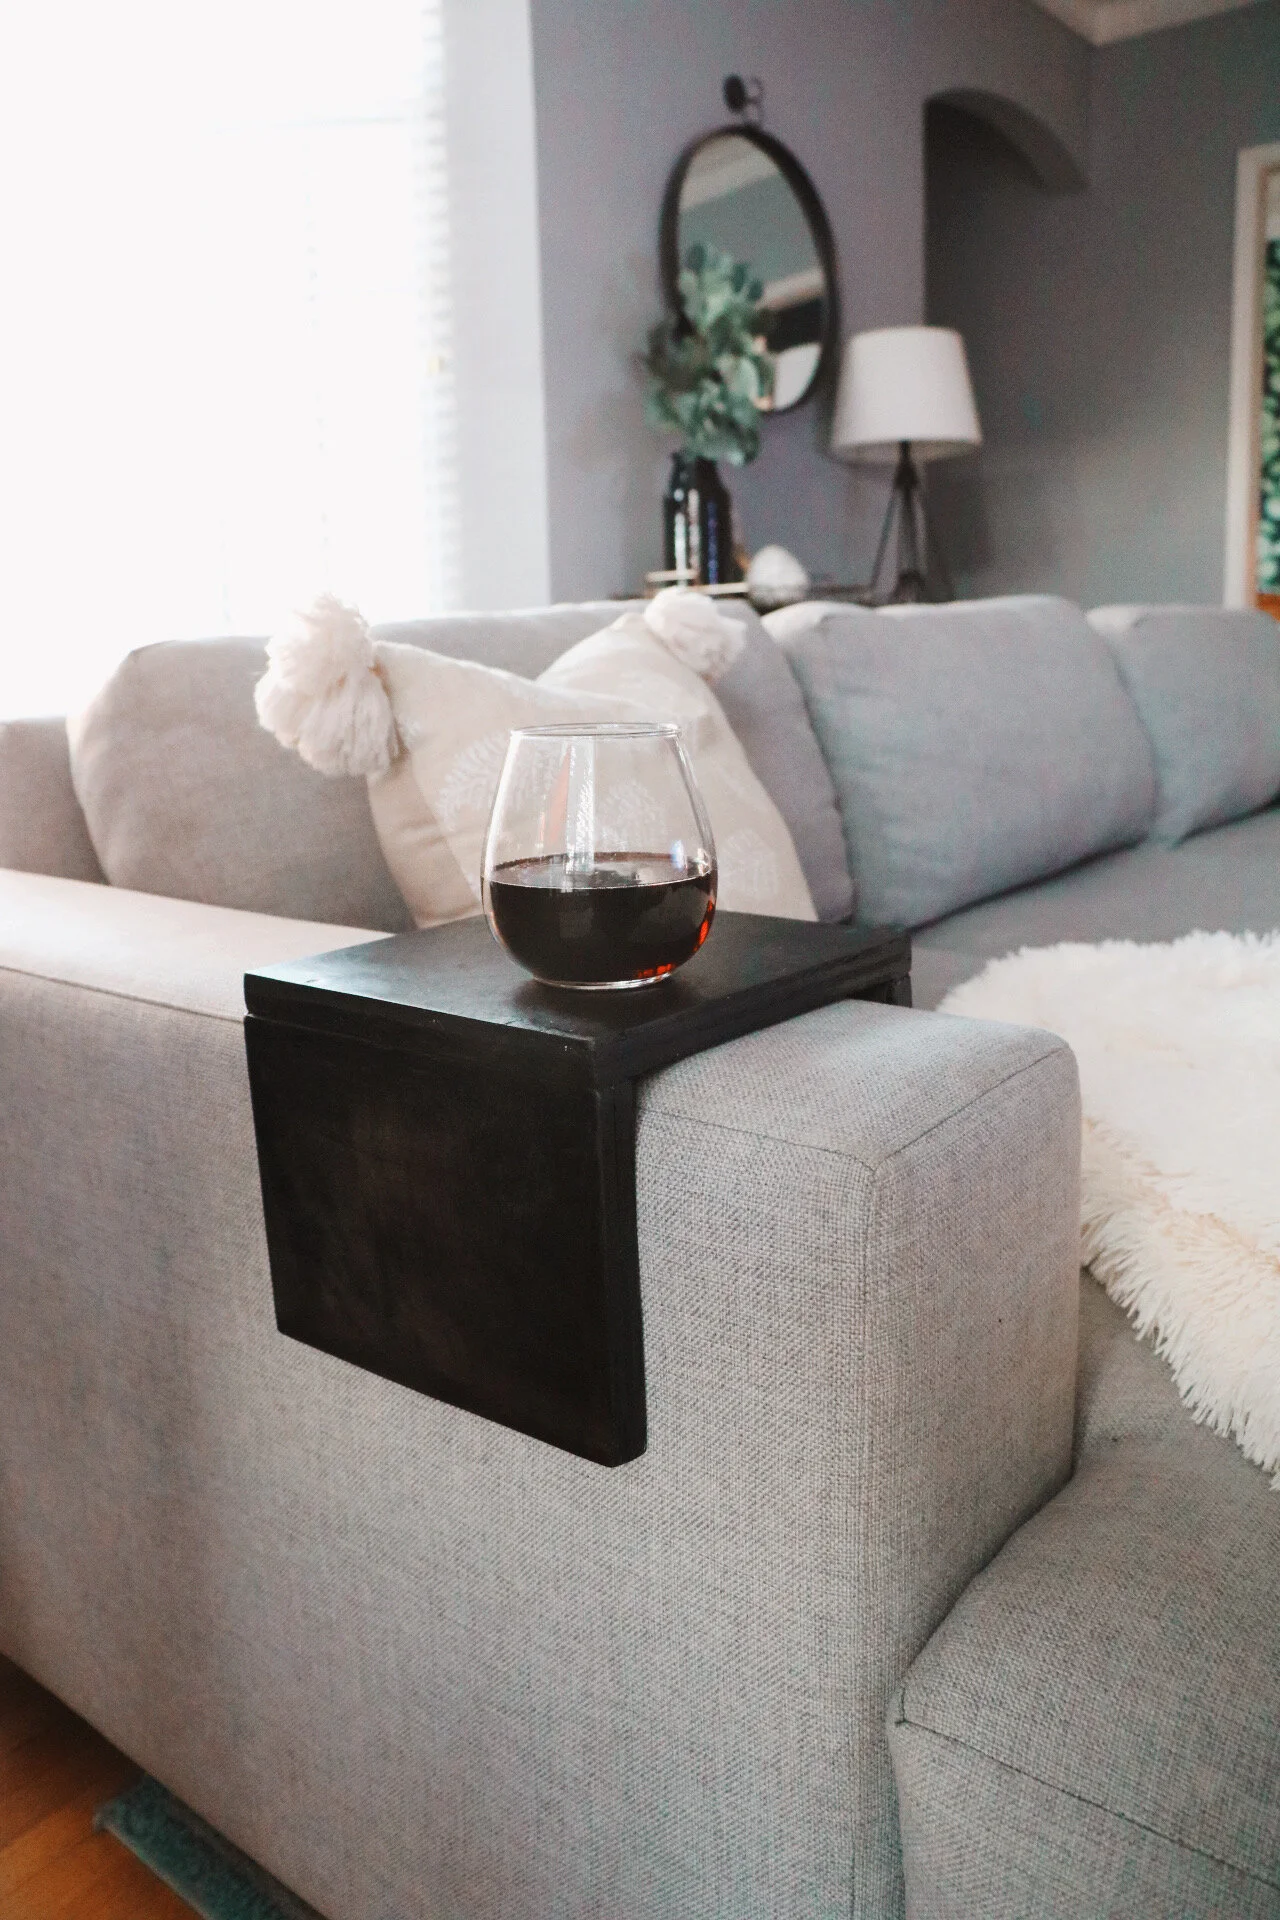
As we’ve come to enjoy our new/new-to-us sofa, there was one little issue that kept bugging me. If you were reclined on the chaise section, drinking coffee in the morning or a little wine at night, there was no where to put your drink! And let’s be honest, the chaise is prime real-estate in the room, so I knew I had to fix the drink spot problem.
(Side note: if the room was bigger or a different layout, we could have easily added a side table to mitigate the problem, but in this house, we needed a more clever ‘small-space’ solution.)
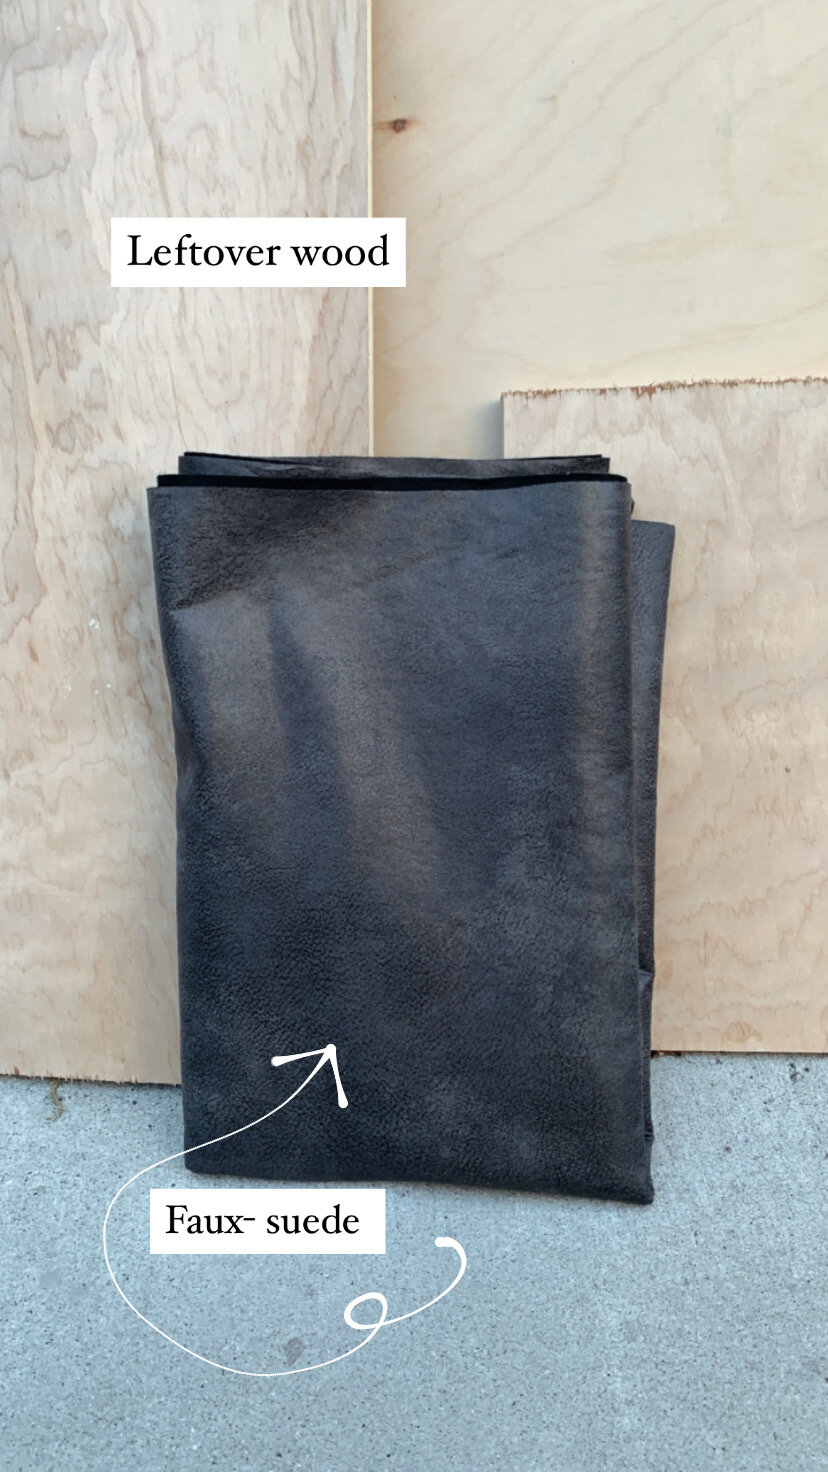
Enter the Sofa Table idea! We had leftover wood from the Secret “Garage” Space project, so all I needed was faux-suede or leather for the inside of the table (to protect the fabric of the sofa).
Disclosure: My content is reader-supported, which means that when you purchase through links on my site, I may earn an affiliate commission. Learn more here.

I hesitate to share measurements, because every sofa is different, and ultimately you should make this customized to your exact situation, but just in case you have the same West Elm Urban 2-Piece Chaise Sectional, than you will be set! You’ll want it to be big enough to set a drink on top, but not so big that it takes up the whole arm length of the couch. ALSO - my guess is that this will work best with square-shaped sofa arms.
As I mentioned above, we were using leftover wood, which happened to be plain old plywood. If I were to do this again, I would choose nicer wood like poplar, oak, or maple. This is especially true if you plan to stain it a lighter color, or leave it as natural wood. The sides of the plywood are unfinished and the only reason it doesn’t bother me is because it’s stained black. Just something to keep in mind!


Make your life easier and start with one large cut (since the width of each piece is the same). Then cut into three piece. Sand each piece and edge thoroughly.
Using wood glue first, attached the side piece to the top, letting it dry to 30 minutes. Add wood screws last to firmly secure the table.


I used a little wood filler on the top piece to hide the screws, letting it dry fully before sanding it flat. Next, stain the whole table. I used Minwax Gel Stain Oil-Based Black and I love how it still allows the wood grain to peak through. If you’ve never stained anything before, check out my Easy Wooden Headboard post, which really goes in-depth on the staining process. Let it dry overnight.


I used a chalk marker on the backside of the fabric and cut one continuous piece to attach to the ‘inside’ of the sofa table. Gorilla Glue will forever be the best, and nothing you can say will convince me otherwise!!! Seriously though, don’t bother with other brands. Also remember, the purpose of this step is simply to protect the fabric of your sofa, so it doesn’t have to be perfect. You will literally never see it.
And that’s it! Hopefully you measured correctly - you now have a lovely spot for your drink of choice (the last one is only if you decide to drink the first five at once!)