Elevated Dog Bowl Station
Build your own elevated dog bowl station following the steps below, keeping your floors clean and your pet happy! We are getting settled into our new place in Colorado and my head is spinning with ideas for DIY’s to take our rental townhouse to the next level. So here goes the first one!
Walker’s dog bowls have always sat directly on the floor, but somehow it wasn’t until we moved in that it started to bother me. His water was constantly sloshing around and I knew I could build something both more functional, and more aesthetically pleasing.
After being gifted a jigsaw, orbital sander, and brad nailer from my latest Tastemade collab, my project opportunities vastly expanded. It’s amazing how much more elevated a design looks with a curve thrown in. Imagine for a minute this dog bowl station, minus the half-circle detail along the bottom. Not quite as professional looking, in my opinion.

Super fancy design plans. You’ll see where I note the use of my new tools. It was an exciting day in the DIY Darling household!
Materials:
Wood (common board is totally fine if you plan to stain it, like I did! If you want to keep it as raw wood, I’d recommend purchasing a nicer option, like birch or oak.)
Jigsaw
Wood glue
Orbital sander
Brad nailer + 1” nails
Drill + 3/4” spade bit
Wood stain + staining rag
Disclosure: My content is reader-supported, which means that when you purchase through links on my site, I may earn an affiliate commission. Learn more here.
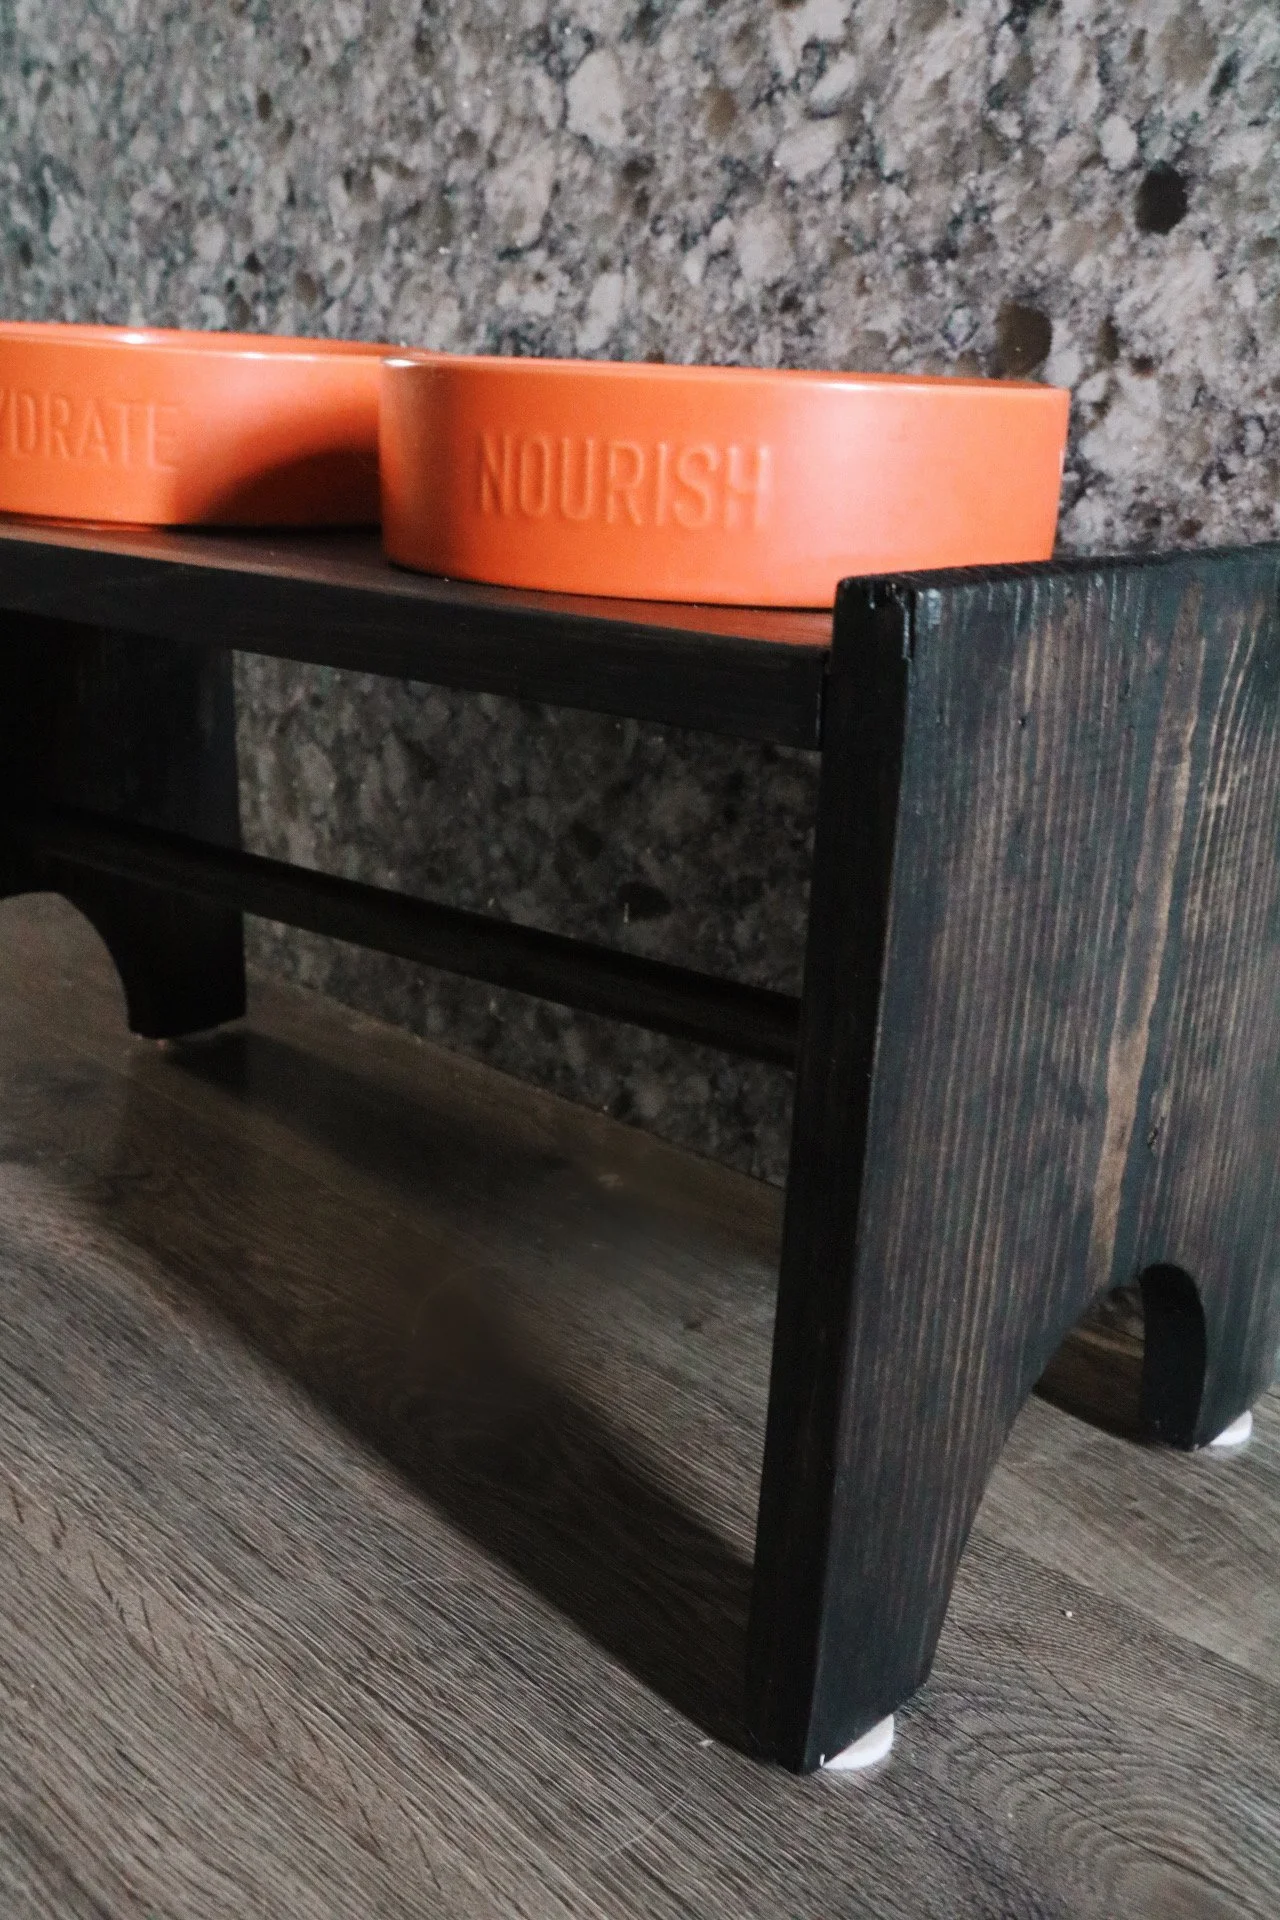
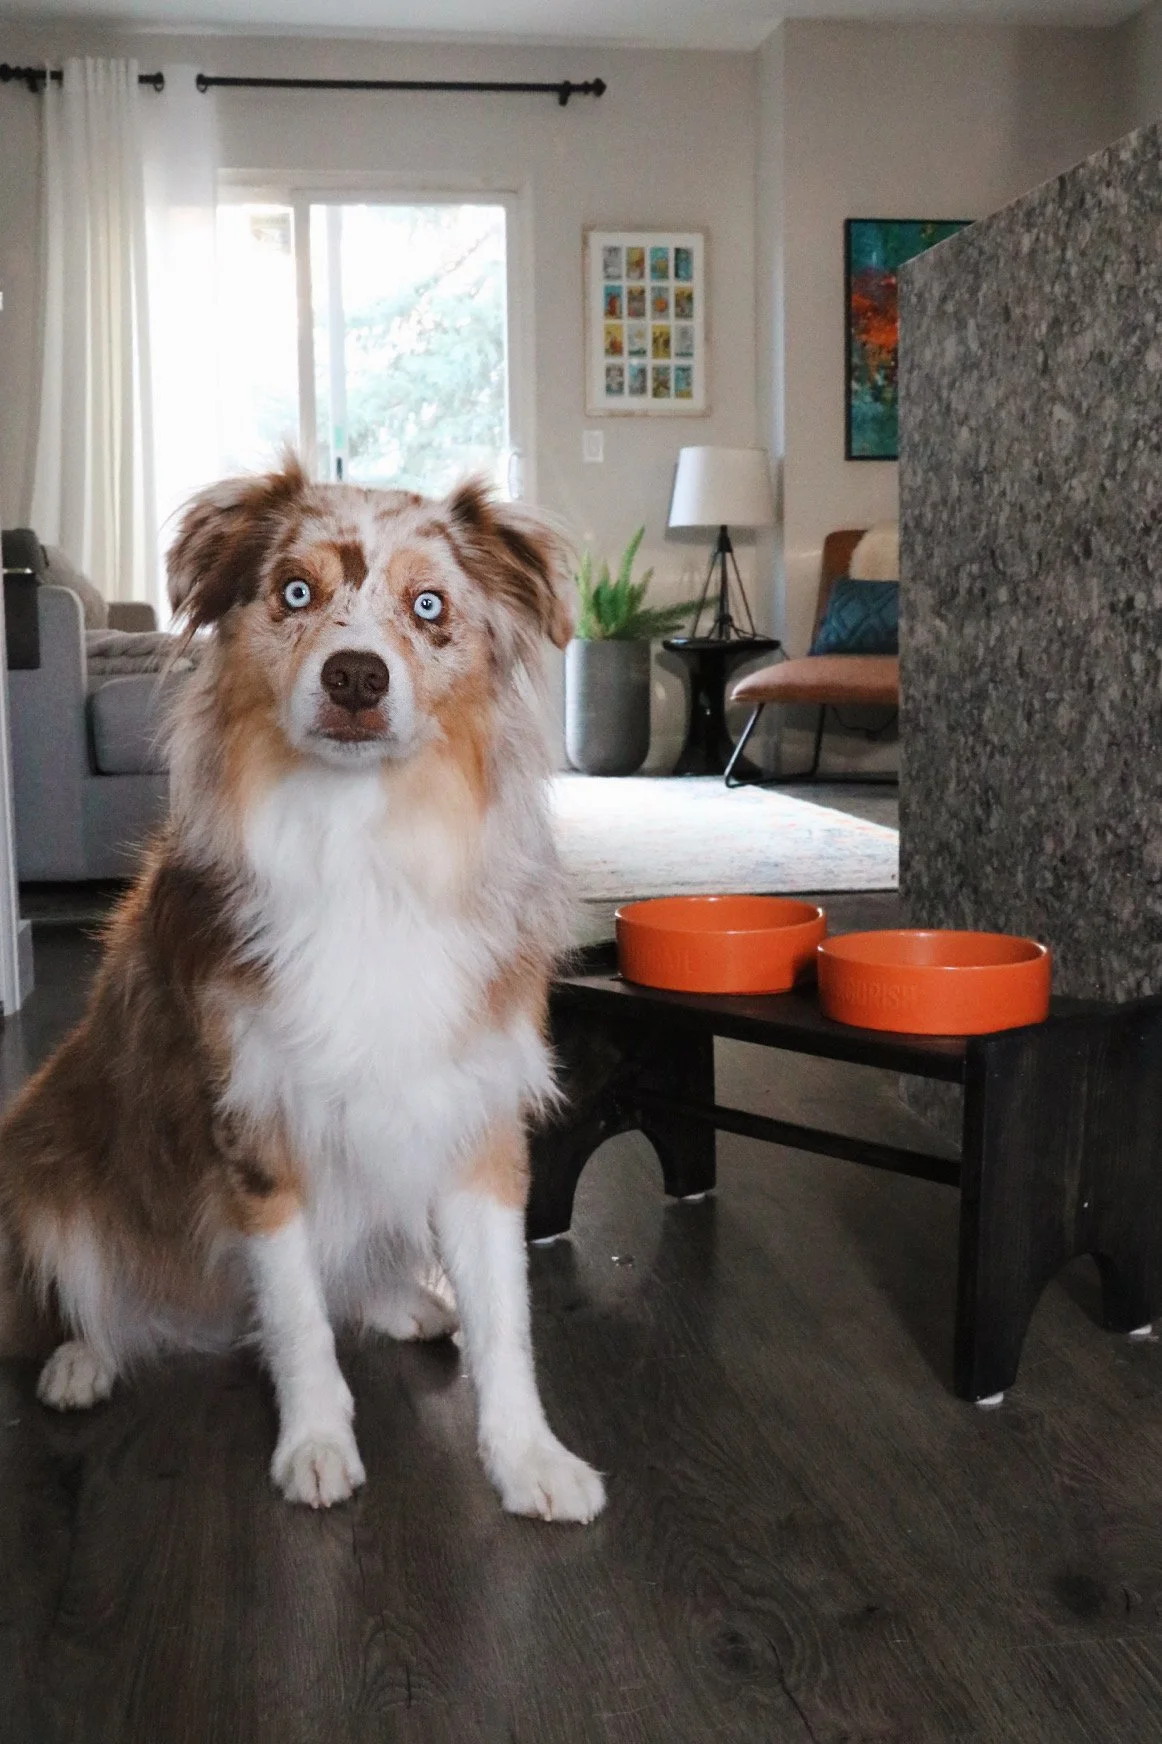
Both the Nourish and the Hydrate dog bowls are from Petco, and provided the beginning of the design. I built the rest of the dog bowl station around them, and I’m please to report that Walker seemed to like his new food area right away!
Read on for step-by-step instructions:
Step 1:
Cut all pieces of wood to size. I used a circular saw, but you could also use a table saw (for super accurate cuts) or even a jigsaw. The two side pieces are 9-in x 10-in. The middle piece is 9-in x 18-in. The dowel (not pictured here) was cut to 19-inches.


Step 2:
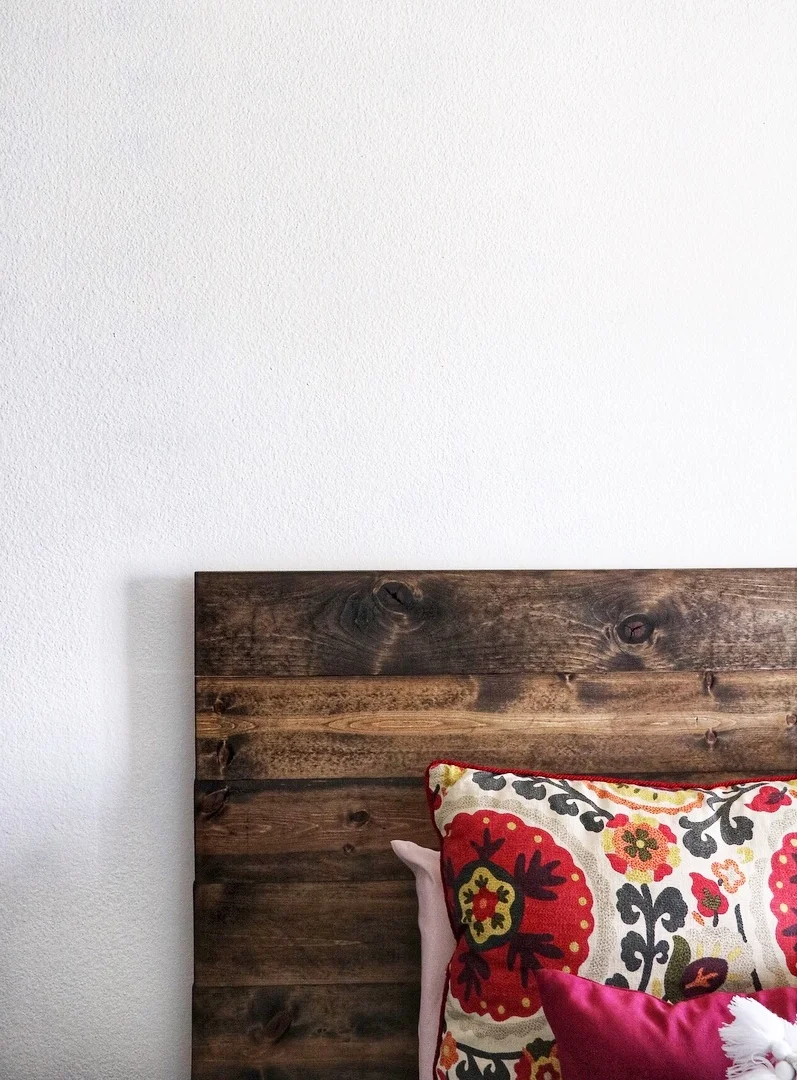
Measure and cut the half-circle arches at the bottom half of the side piece. First, mark the middle point; then, mark 2-inches in from the left, and 2-inches in from the right. Use a speed square to make straight lines up from those points. These will act at the side points for your half circle. To get an even half circle, tie a piece of string or twine to a small nail. Hammer in the nail at the middle point; attach the opposite end of the string to a pencil. Pull it taut and draw a half circle. Clamp the wood into place and use a jigsaw to cut out the half circle. Repeat on the other side wood piece. (Check out another project of mine - Half-Moon Painted Headboard - that used this same technique)


Step 3:
Make dowel holes using a drill + a spade bit. Mark the position of the dowel 1-inch up from the top of the half circle arch. Draw around the dowel with a pencil as a guide. Attach the spade bit to your drill and drive it into the marked circle area. Do not go through to the other side; rather, stop about 1/2-inch down. The dowel should snuggly fit into the hole. Repeat on the other side wood piece.


Step 4:
Use the dog bowls to trace circles directly on top of the middle wood piece. To start cutting the holes out, use your drill and spade bit to make a hole. Then, place your jigsaw in that hole and begin to cut the circle. You may have to shave off extra side bits here and there - the goal is for the dog bowl to comfortably sit in the circle.
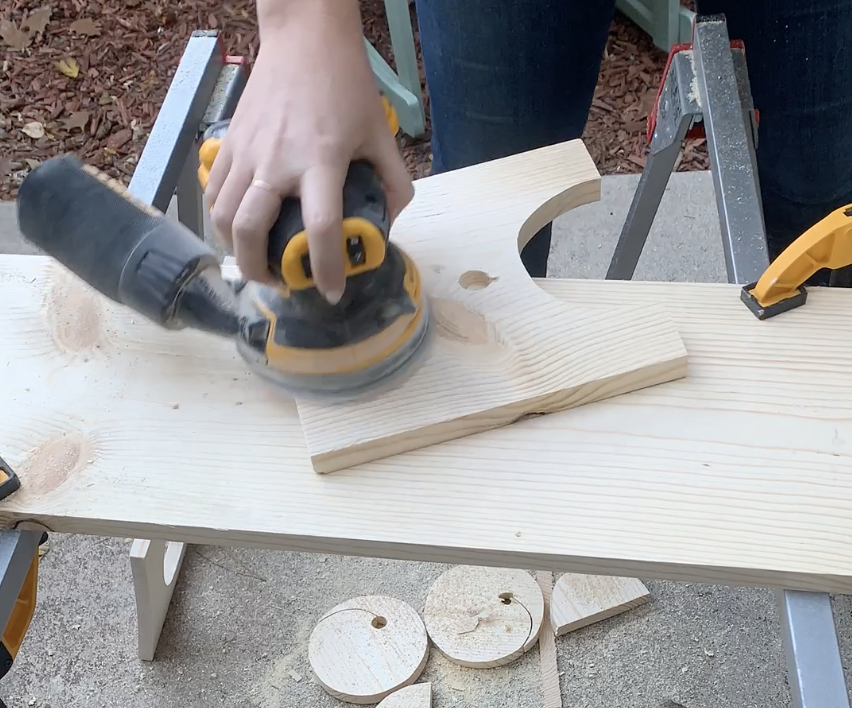
Step 5:
Sand all pieces of wood using your orbital sander. Buff off any pencil markings and smooth out all sides. Wipe off dust when you’re done.


Step 6:
Now it’s time to start assembly! Dab a bit of wood glue onto the end of the dowel. Firmly press it into the hole above the half circle arch. Let it dry for about 15 minutes.


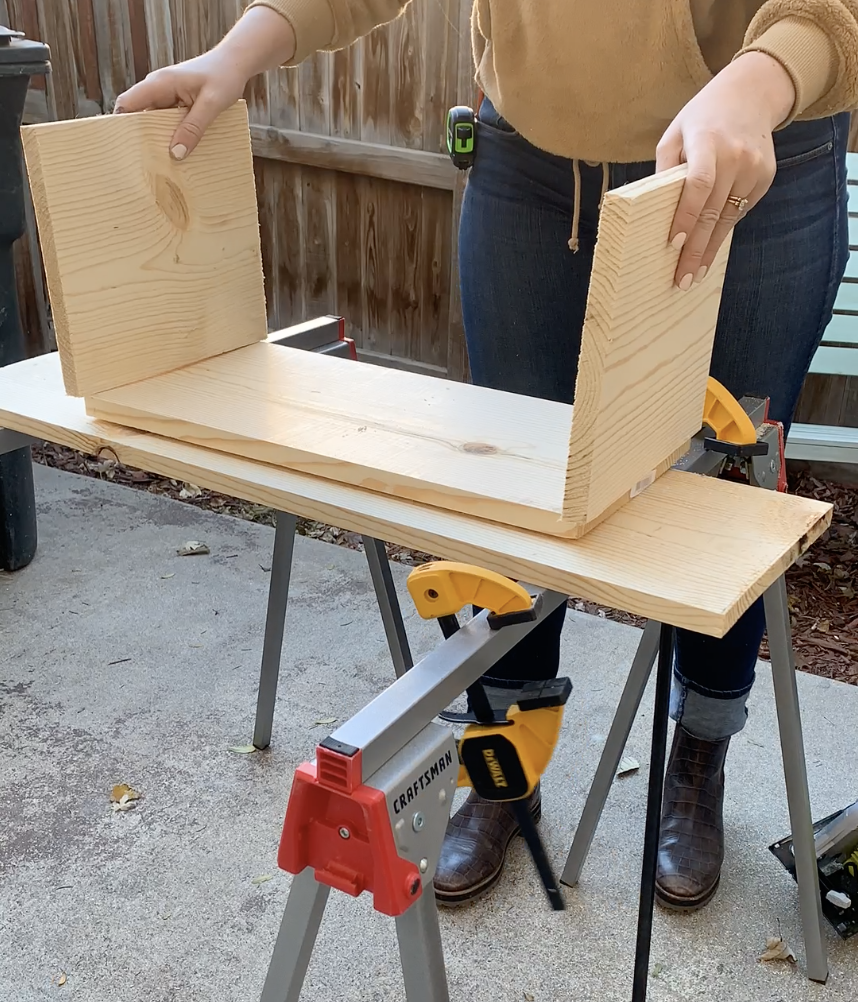
Step 7:
Clamp the side pieces to the middle piece. Use a brad nailer (with 1-inch nails) to secure the side pieces to the middle piece. You’ll notice that I had a bit of warping going on here. I’m not sure if it was the cold weather or what, but I couldn’t manipulate the wood to lie flat, even after brad nailing. Don’t you worry - I found a fix in the next step!!
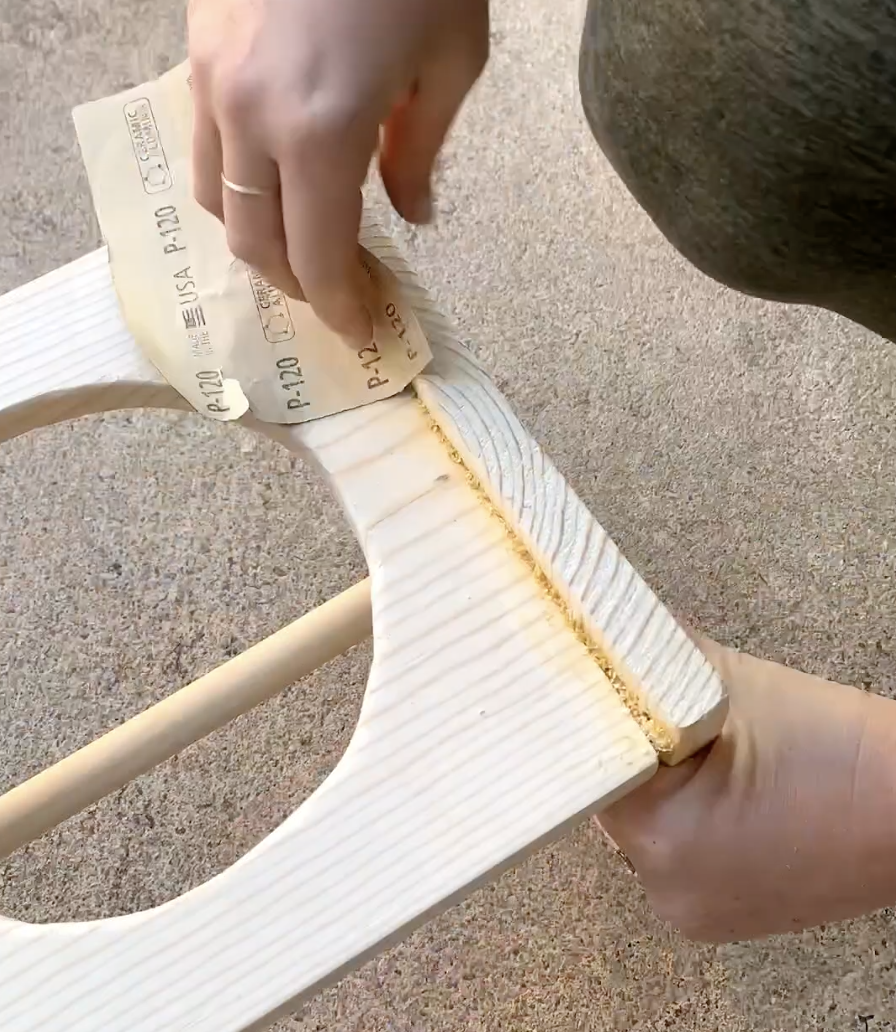
Step 8:
Okay so I missed getting photos of the actual process, but a new trick I learned to fill in gaps in wood is to mix wood glue with wood shavings from previous steps in the process. So that’s what I did - and it worked great! After letting it dry overnight, I sanded it down to smooth using 120-grit sandpaper.

Step 9:
Stain the whole piece, using gel-based stain and a staining rag (don’t forget to wear gloves!) Let it dry for a few hours. You’ll know it’s fully dry when the smell dissipates. Attach felt furniture pads to the bottom and set it up for your pup!
And now for some cute pics of Walker… you’re welcome!
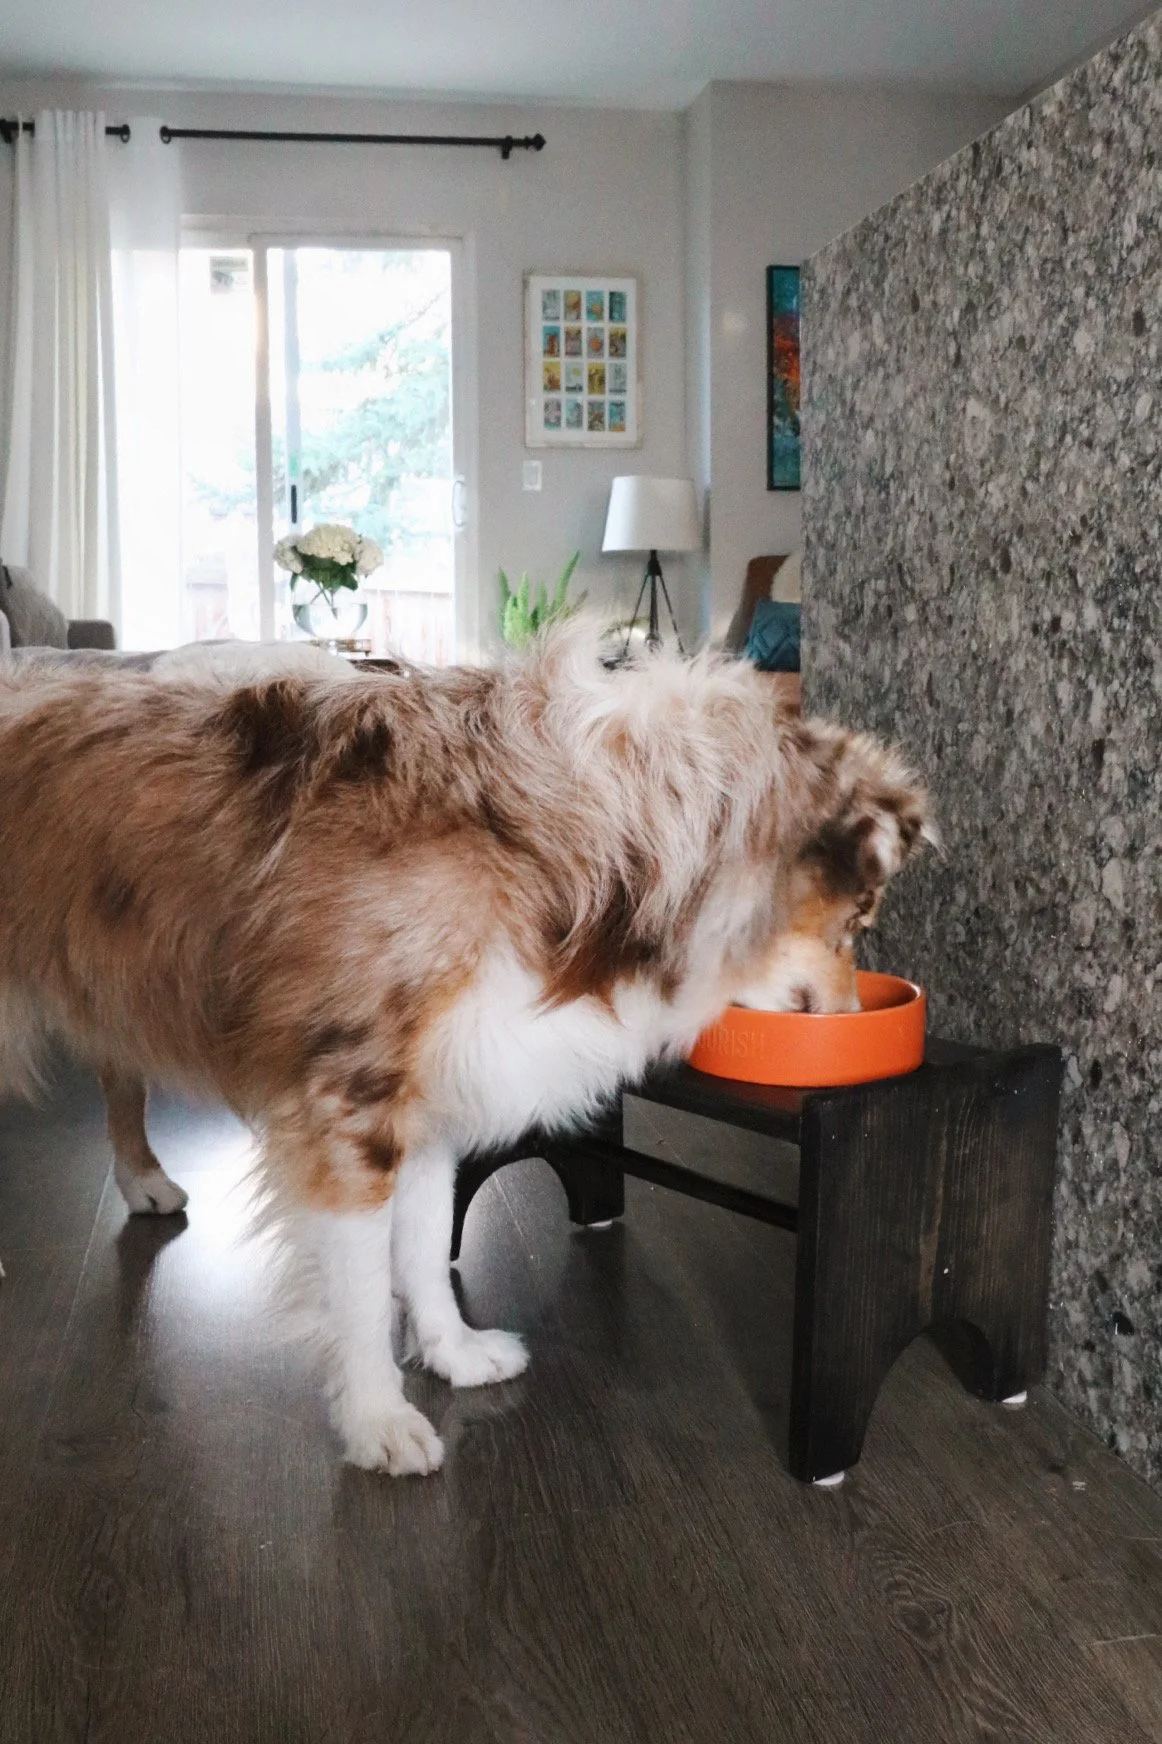
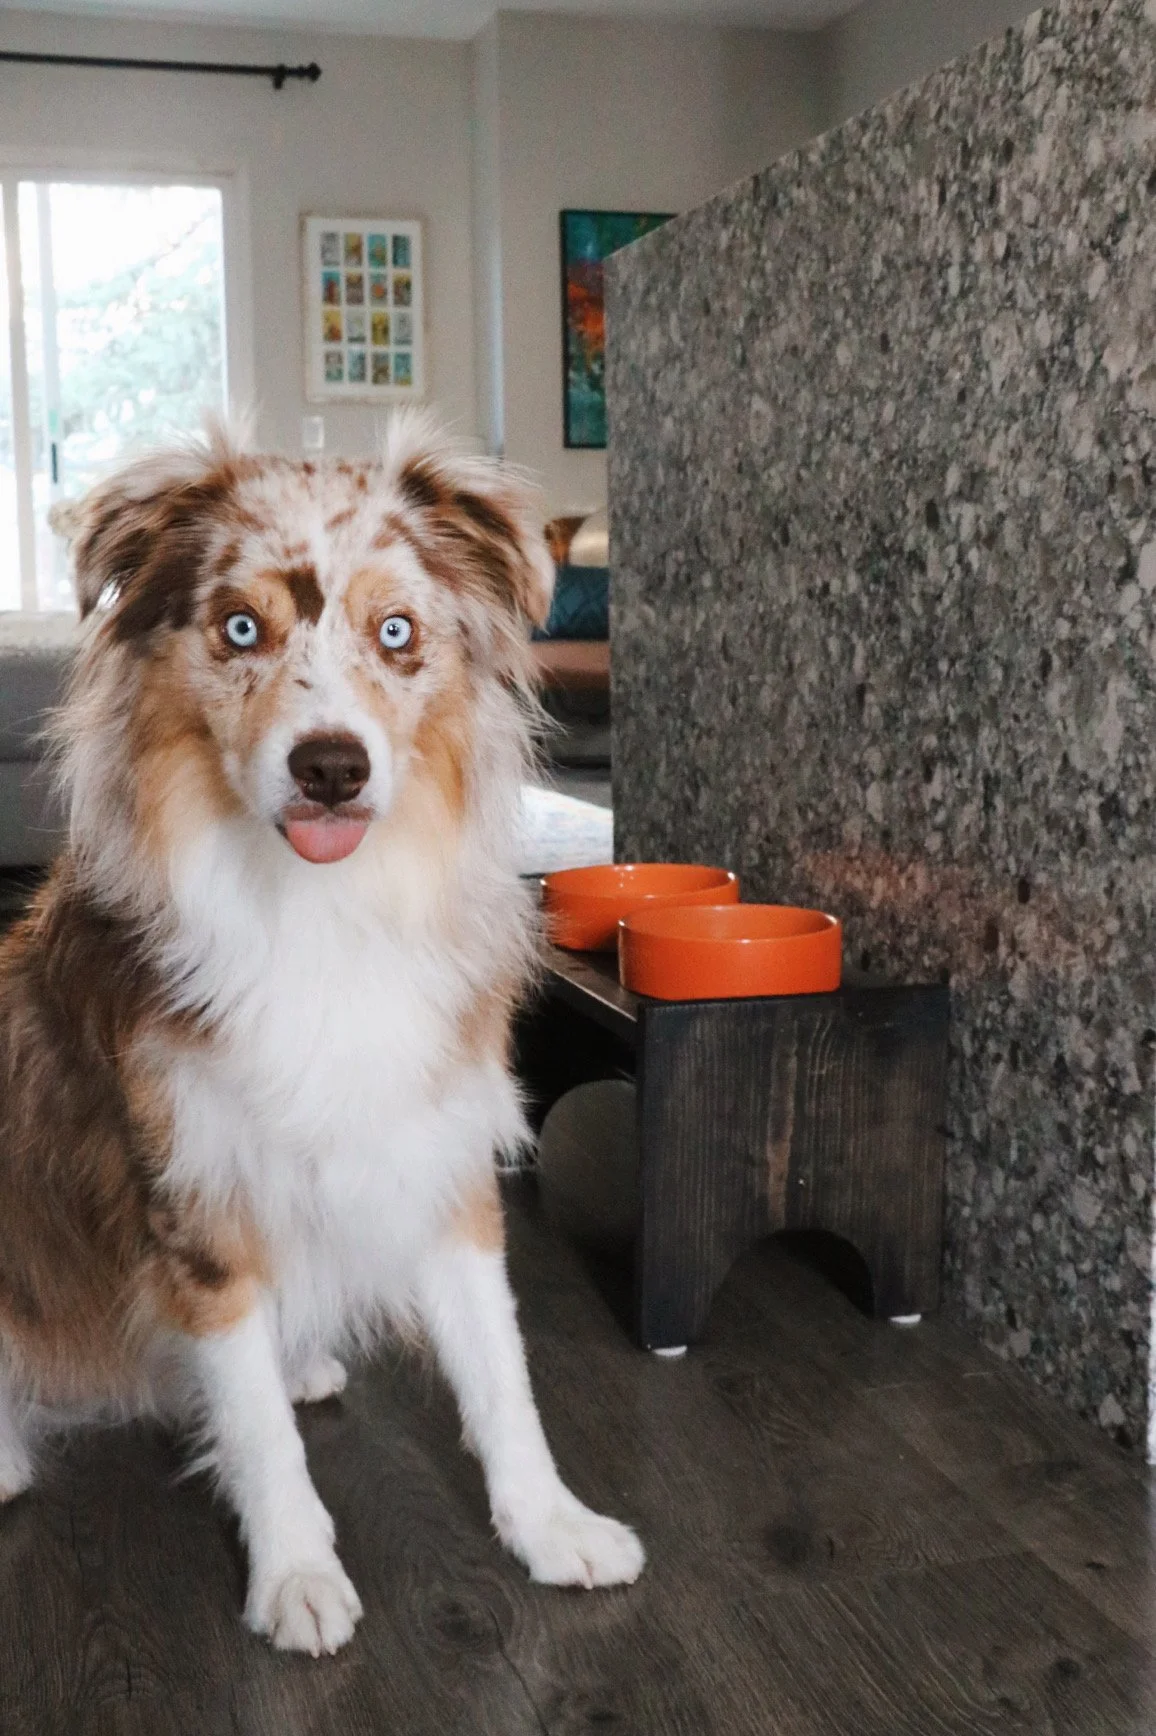
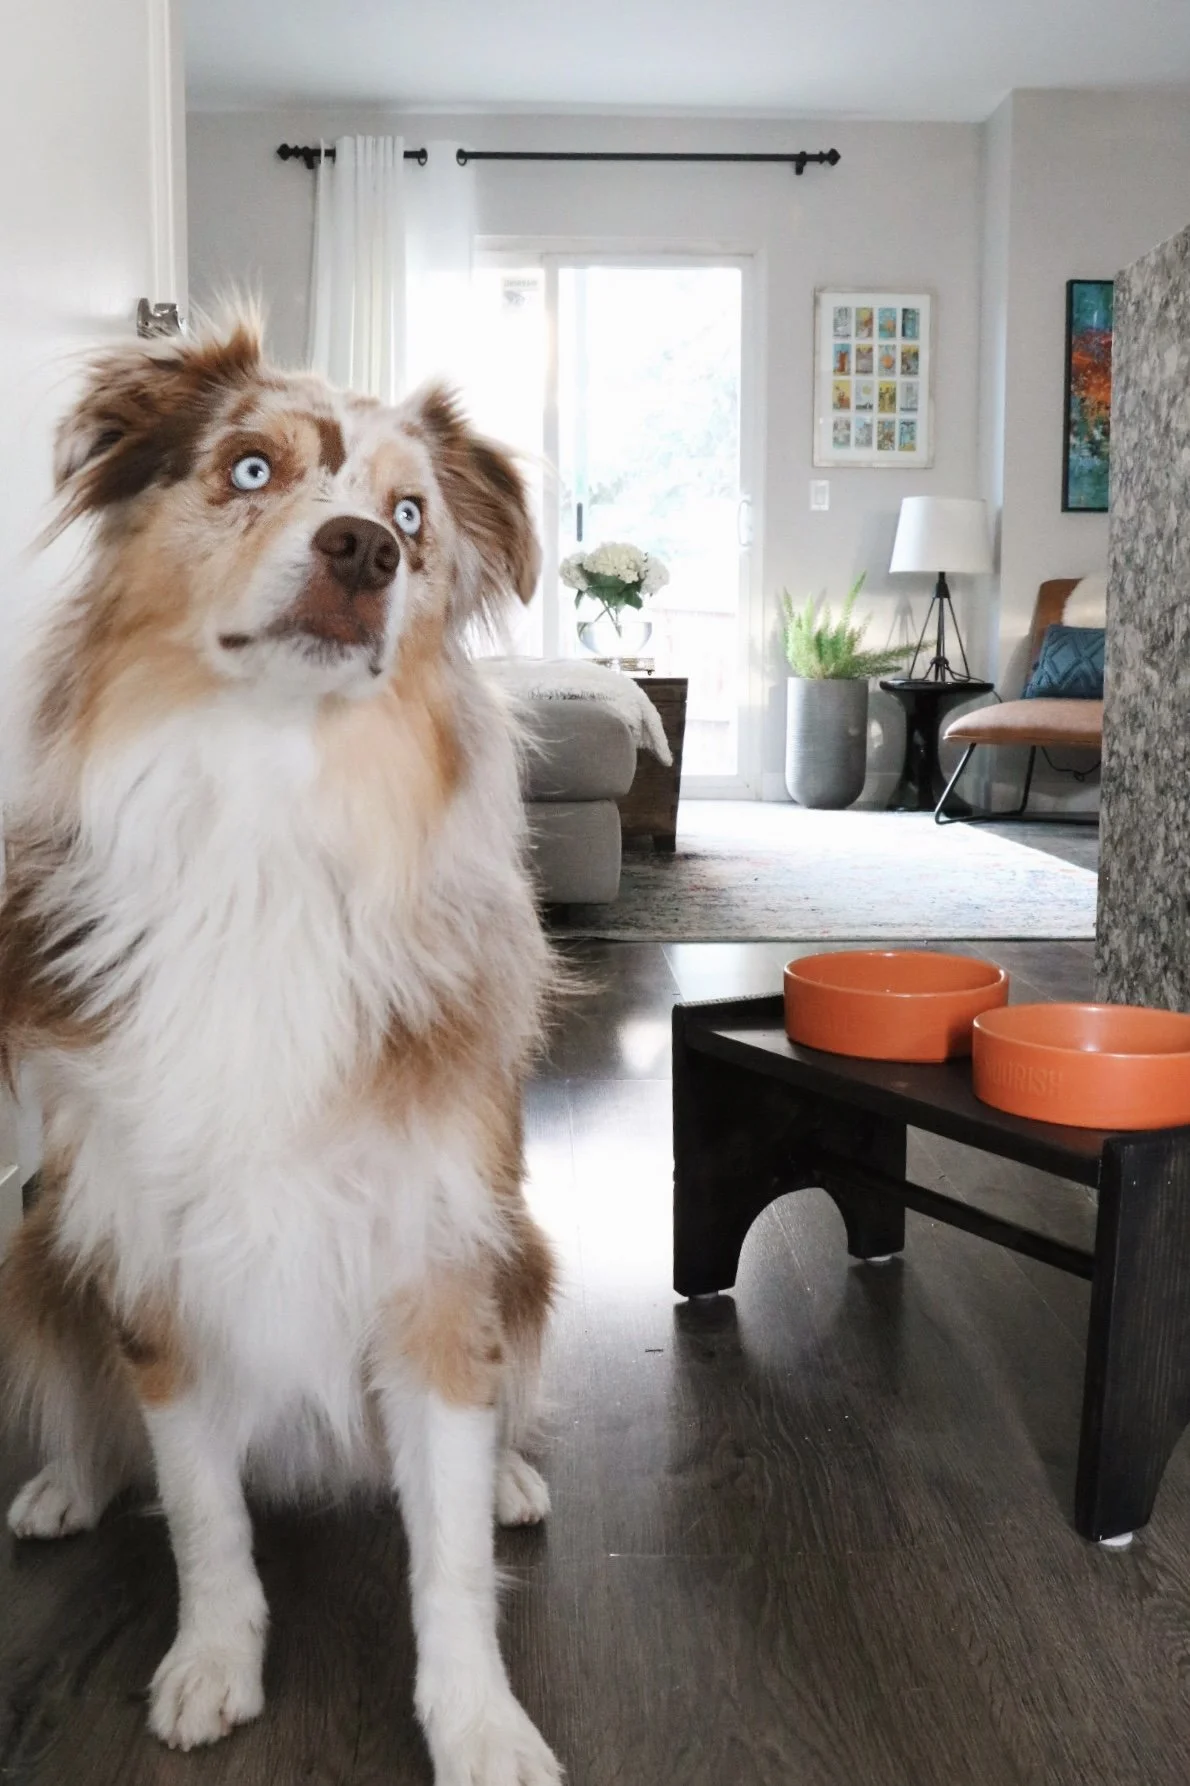
This was such a satisfying project because it solved a problem (water sloshing on the floor) and let me use my new tools! I think it looks pretty great in our space. And Walker started using it right away. That’s a DIY Win!