Merry Christmas Cardboard Garland
First of, I wish you all a Merry Christmas and Happy Holidays! I hope your holiday season has been filled with cheer and merriment. I recently took a trip home to Fort Collins, Colorado and while it didn't snow, I felt the brisk chill of the mountain air, and came back to LA feeling refreshed and ready to end the year strong.
I have exciting news the share. I have recently fallen in love. With a store. I'm serious. If you are ever in the Northern Colorado area, go and check out Ginger & Baker. It's a bakery + restaurant converted from an old grain and feed supply store and they did an excellent job of keeping the charm and character of the original building. It was magical and I can't wait to go back the next time I visit Colorado.

I mean, how cute is this place?? I shared a slice of Cranberry Ginger-snap pie and died and went to heaven.
ANYWAYS. As I was exploring Ginger & Baker, I saw this 'Merry Christmas' garland and thought, "Wow that is adorable - let's buy it!" But then another part of my brain said, "wait, wait, wait, I bet you could make this. How hard could it be? You don't need to spend the $16!" So then I said, "Challenge accepted."
You guys. It was only $16!!! Why, oh why didn't I just save myself the time and energy and buy it right then and there?! **Because I like a challenge. Because I like a good DIY.** But HOLY CRAP IT WAS SO TEDIOUS!!!
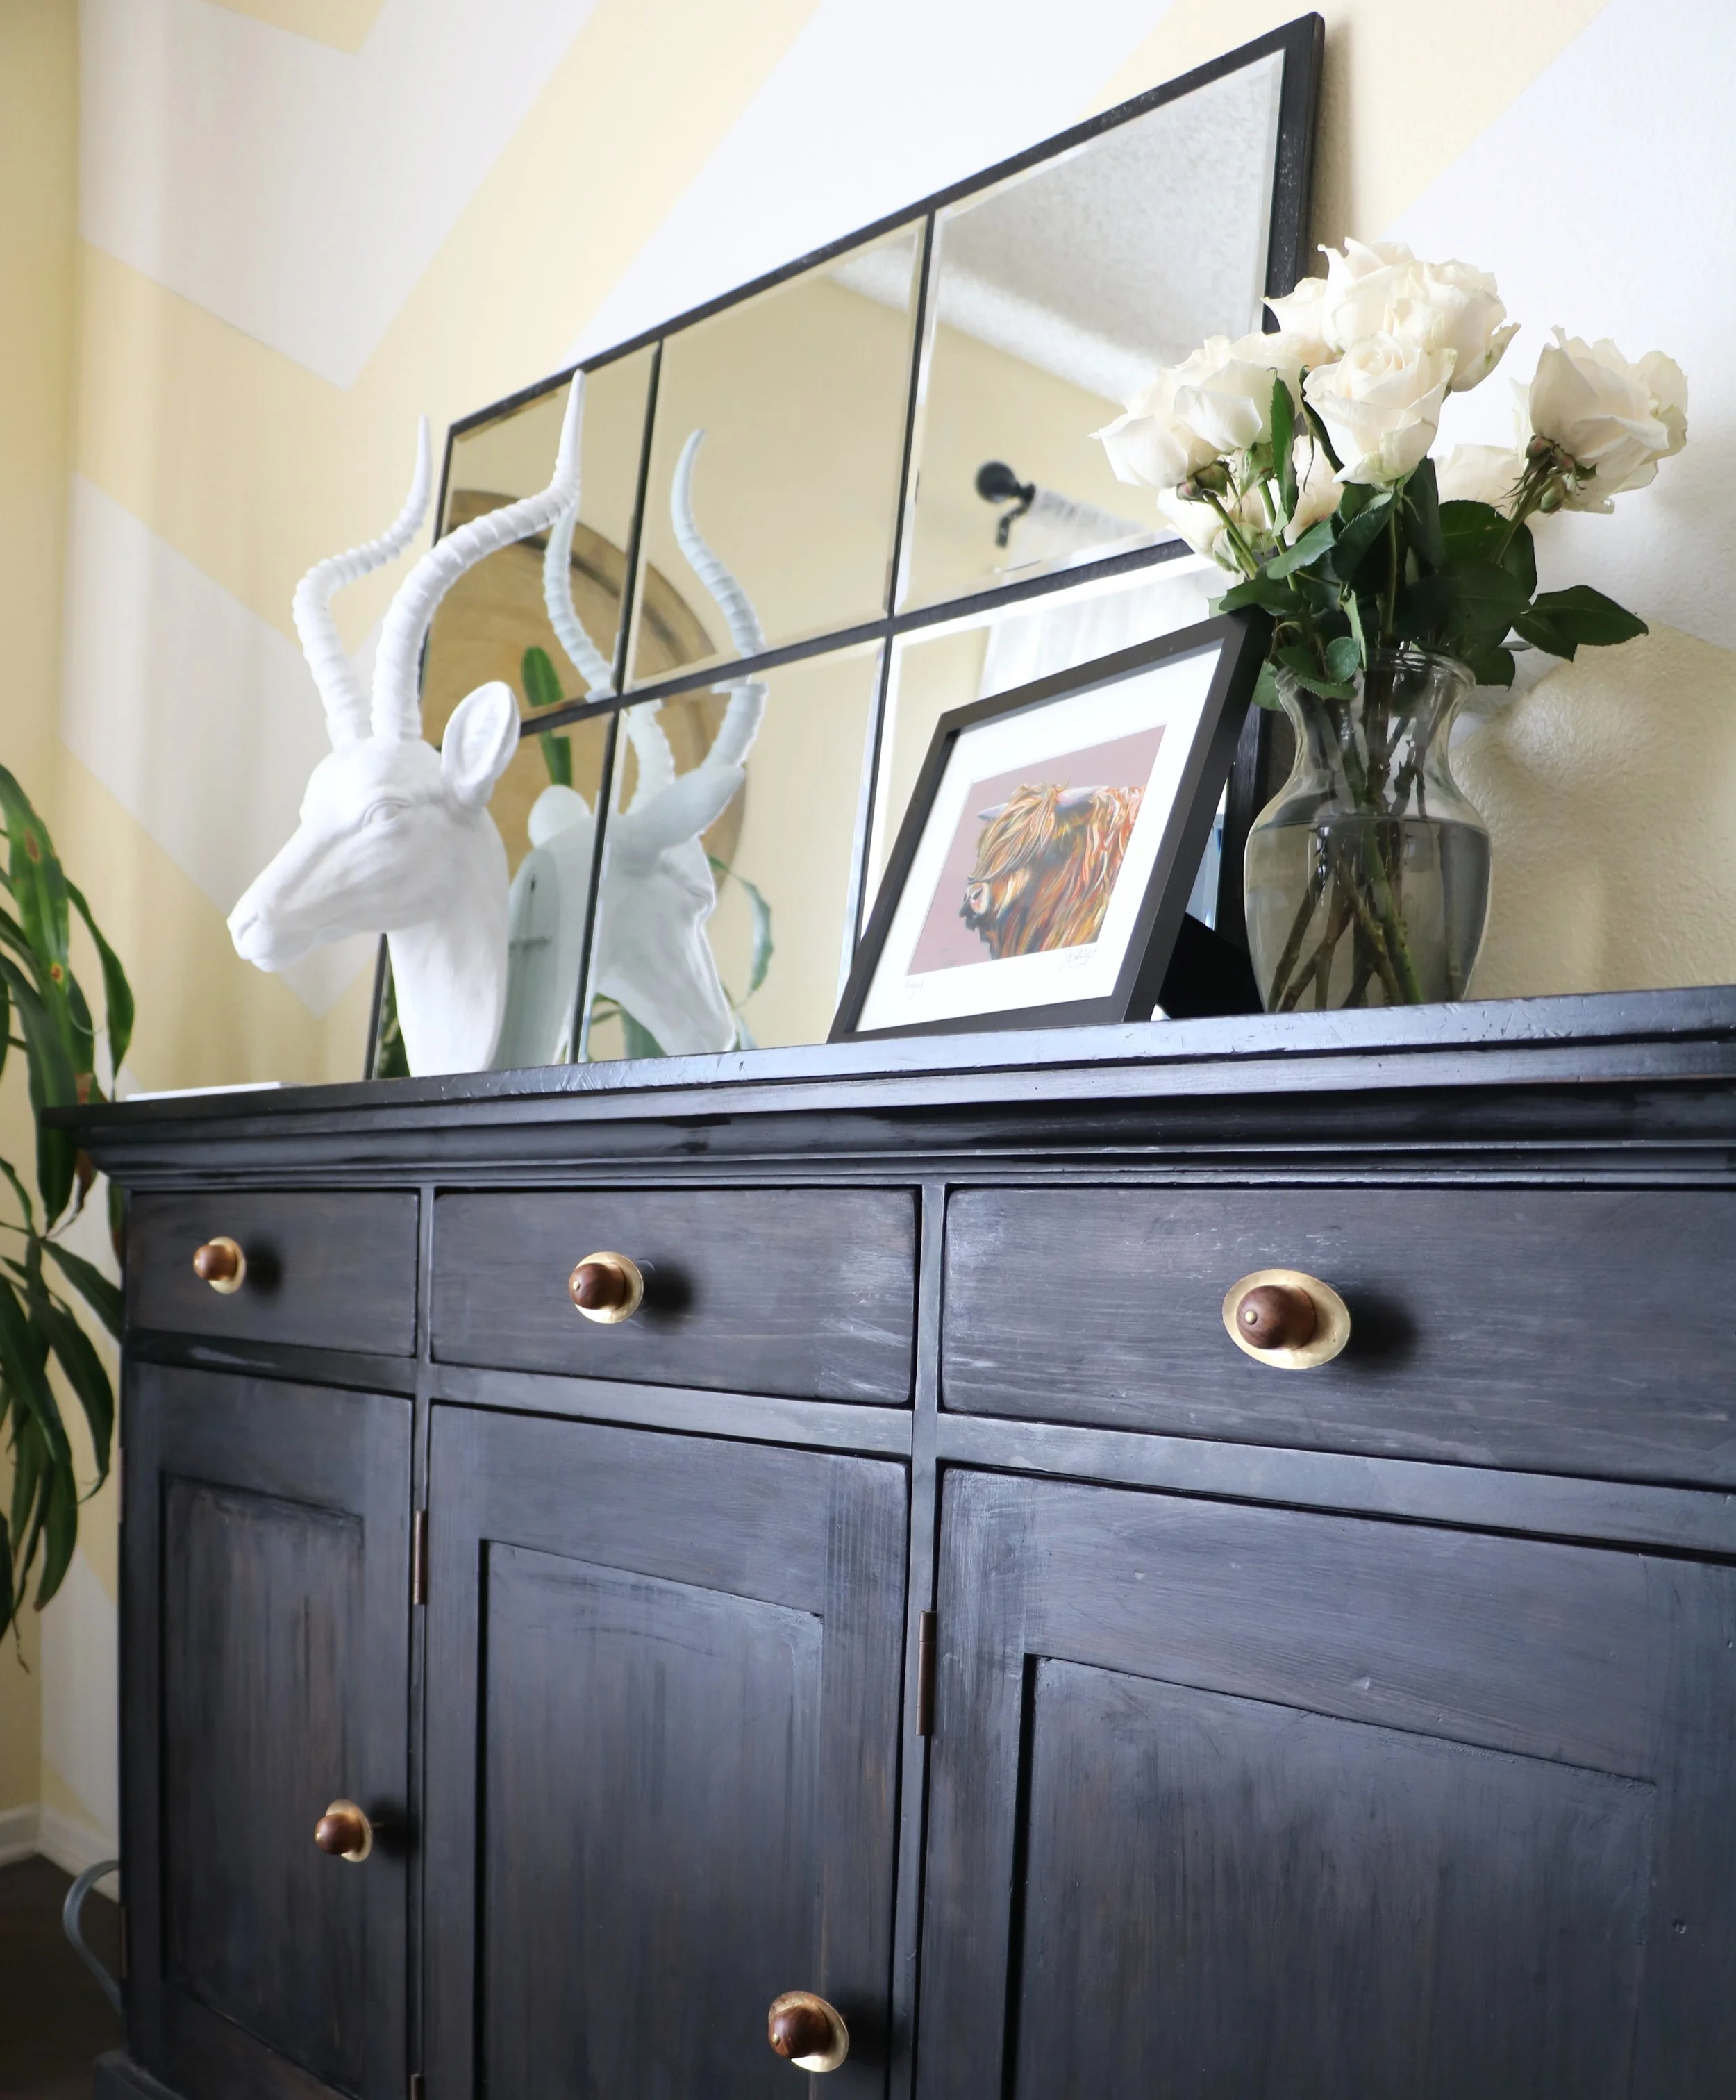
Please enjoy the fruits of my labor. Despite my rant above, I am really proud of how it turned out! Another thing I learned....garland is really hard to photograph. Oops! You live and you learn.


HOW TO DIY
Random cardboard (I used a *free* box a nice Michael's employee gave to me)
Red card stock
Twine
Hole punch
Mason jar lid
Glue
1. Find a font you like on your computer. Type out 'MERRY CHRISTMAS' (or a phrase of your choosing) - make sure there is plenty of space between individual letters. I was able to fit 4 letters per page. Print directly onto the card stock. Most card stock sheets are square, so I had to cut mine down to 8x11 in order to fit my printer.
2. Using the top of a mason jar lid, trace circles around each letter; cut out. With an xacto knife, trace out each letter. Set aside.
3. Trace (with the mason jar lid) and cut out 14 circles on your cardboard. I liked the look of the corrugated edges showing underneath the red, so I painstakingly peeled off the top layer of the cardboard.
4. Glue the red circles on top of the cardboard circles. I used regular, old Elmer's glue and it worked great!
5. Hole punch two, even punches on top of the circles. Weave the twine through each letter to spell out your phrase. Make sure to leave slack on both sides so there's enough room to hang. Put on a credenza, mantle, or tree!