Make Your Own Gold-Foil Christmas Ornaments
Need an idea for a thoughtful & affordable Christmas gift? Read on for the perfect DIY present!
For as long as I've known her, my best friend Taylor has hand-crafted beautiful ornaments for her friends and family for Christmas. Each year she picks out a theme/design and makes a set of three. So as not to spoil the surprise for her set this year, I asked her to teach me how to DIY last year's ornaments. We popped open a few bottles of wine and got crafting! These were really fun and look stunning. In my opinion, the whole point of a DIY is to not look like a DIY - mission accomplished!

MATERIALS:
Clear glass ornaments
Acrylic craft paint
Adhesive size
Dixie cups
Gold foil
Stencil brush
Gold metallic spray paint
Ribbon or twine
Cupcake boxes (if gifting the ornaments)
Disclosure: My content is reader-supported, which means that when you purchase through links on my site, I may earn an affiliate commission. Learn more here.
HOW TO DIY:

Step 1: Remove the tops of the ornaments. Be careful and take it slow, otherwise the glass might break.

Step 2: Fill ornament with paint. Tilt and squeeze down the side - trust me, this helps later.
Step 3: Cover the top with your finger and shake the SHIT out of it. Make sure the entire surface area is covered with paint. You may need to squeeze in more, but the more paint, the more drying time.

Step 4: Brush on Adhesive Size. Let dry for 20 - 25 minutes.
Step 5: While the globes are drying with the adhesive, spray the tops of the ornament with gold spray paint. I stuck them all onto a brown paper bag first, which worked great.
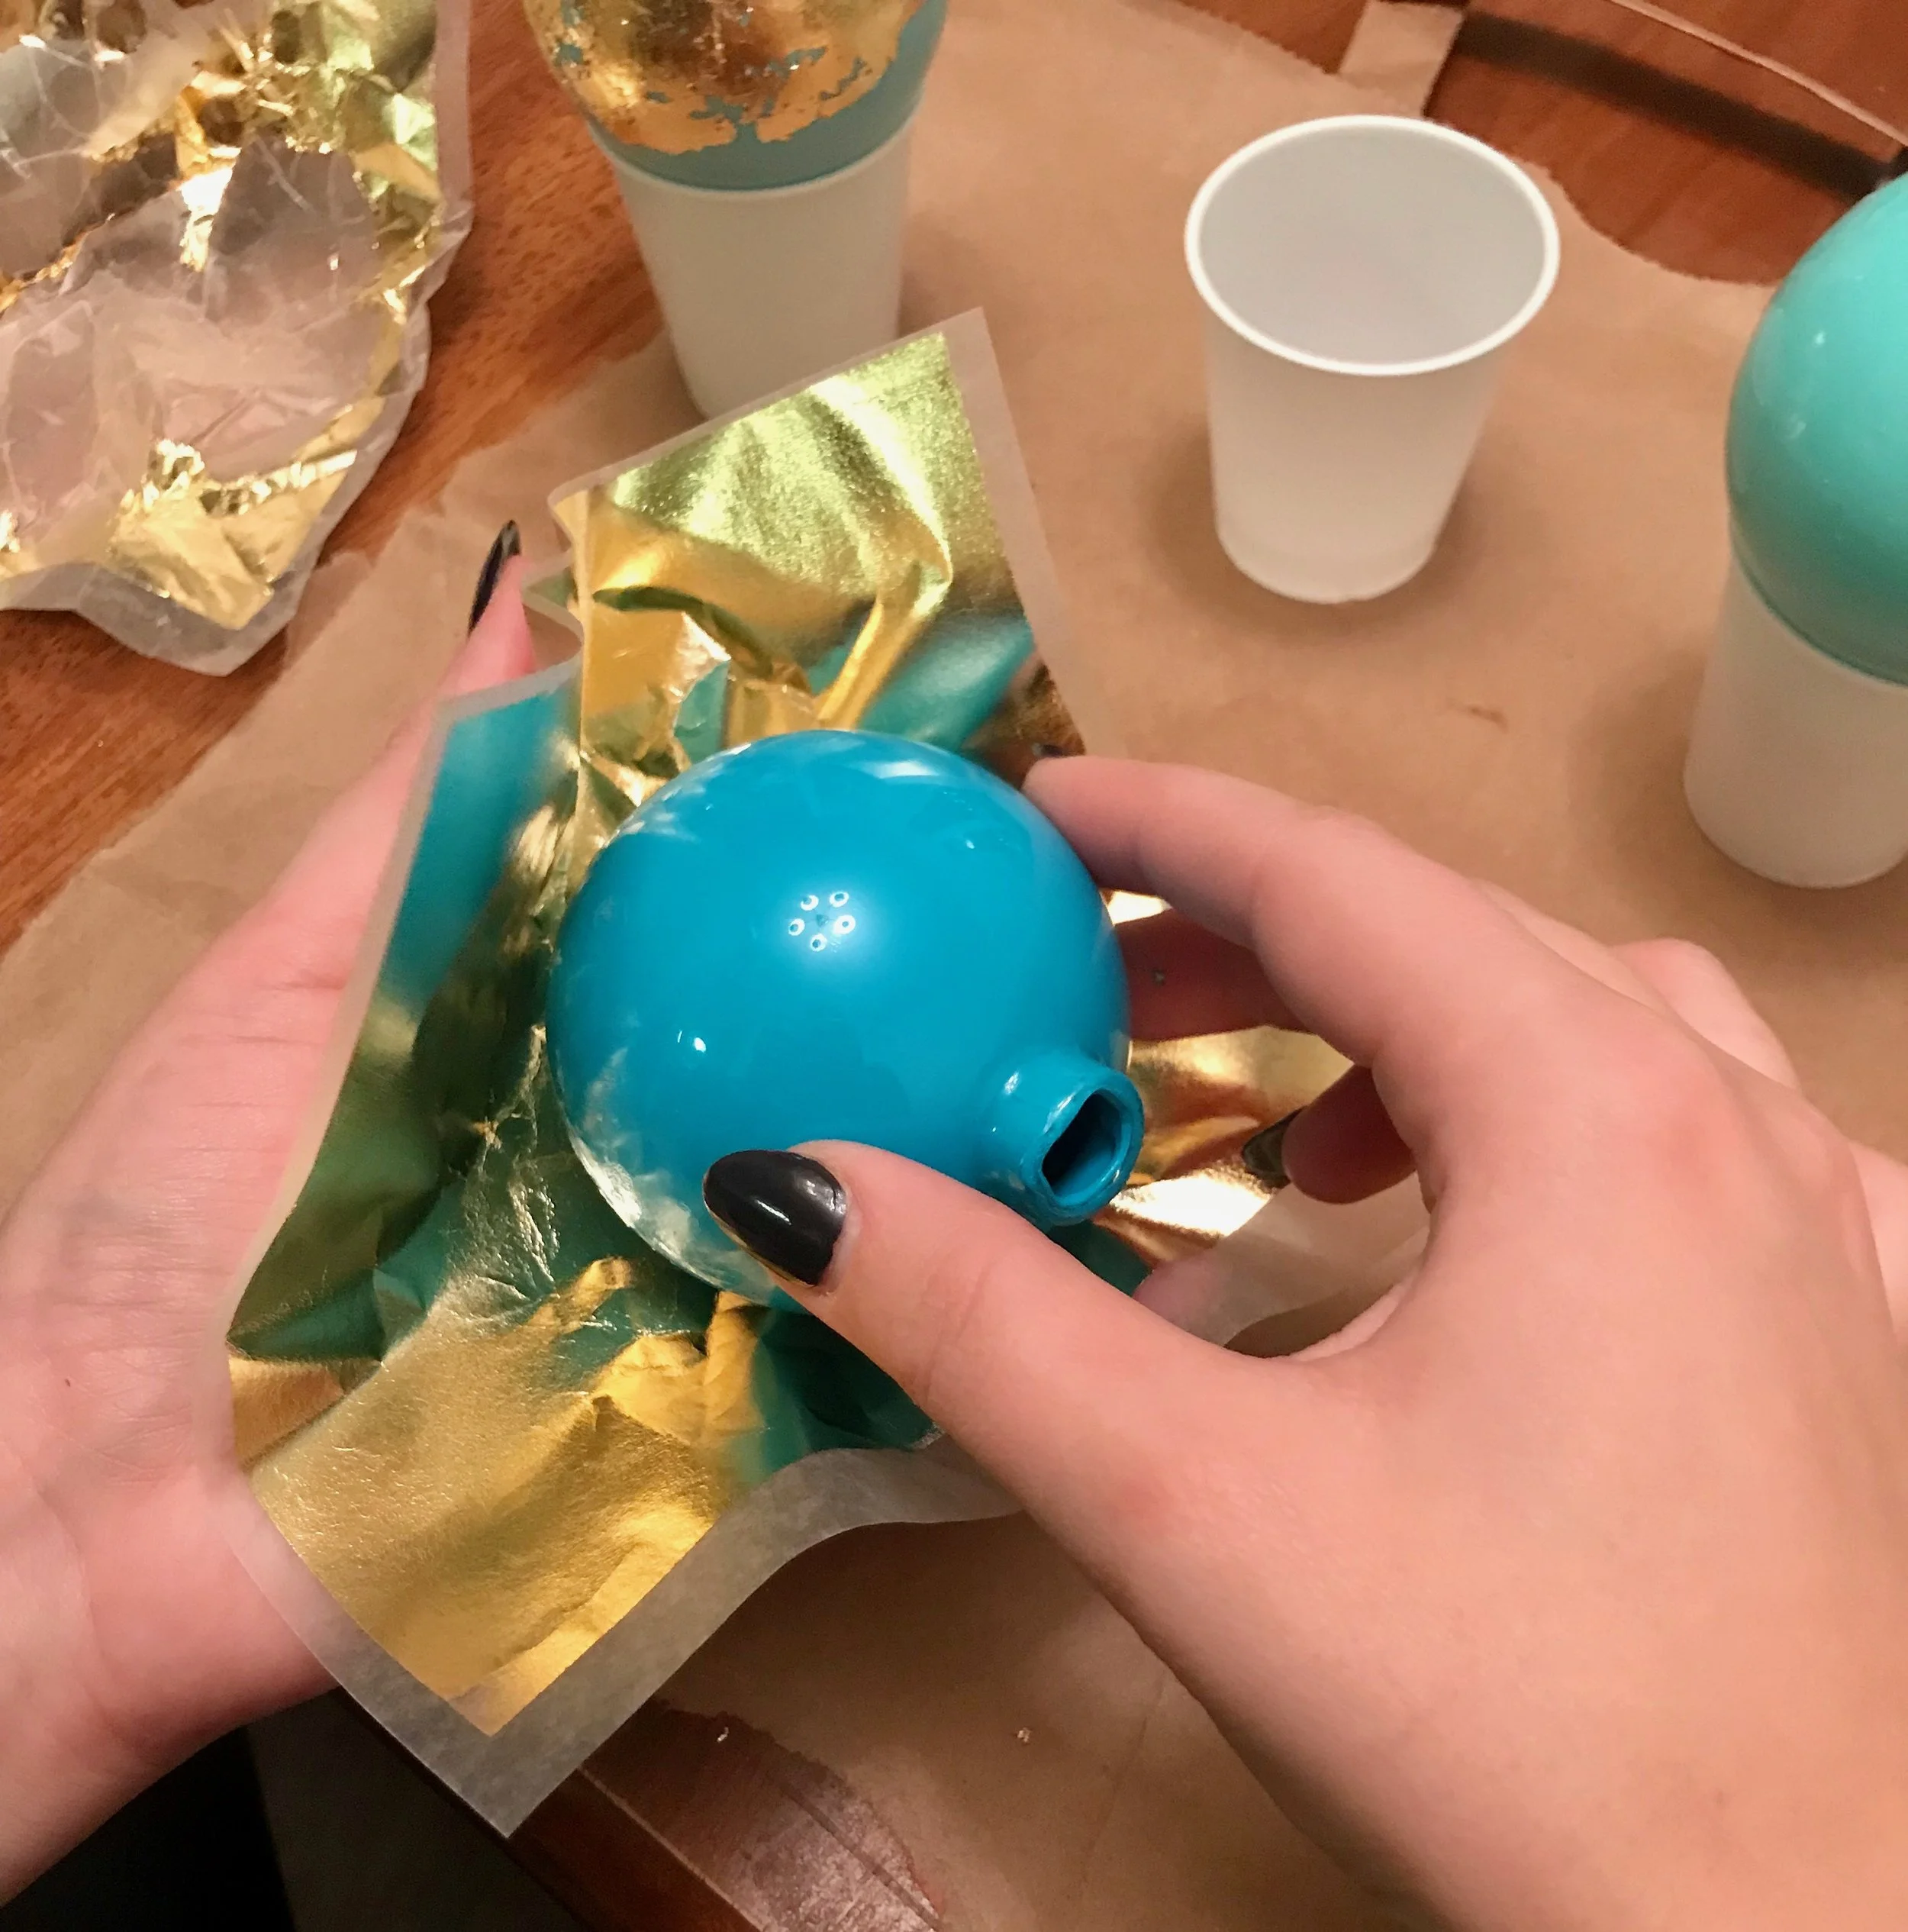
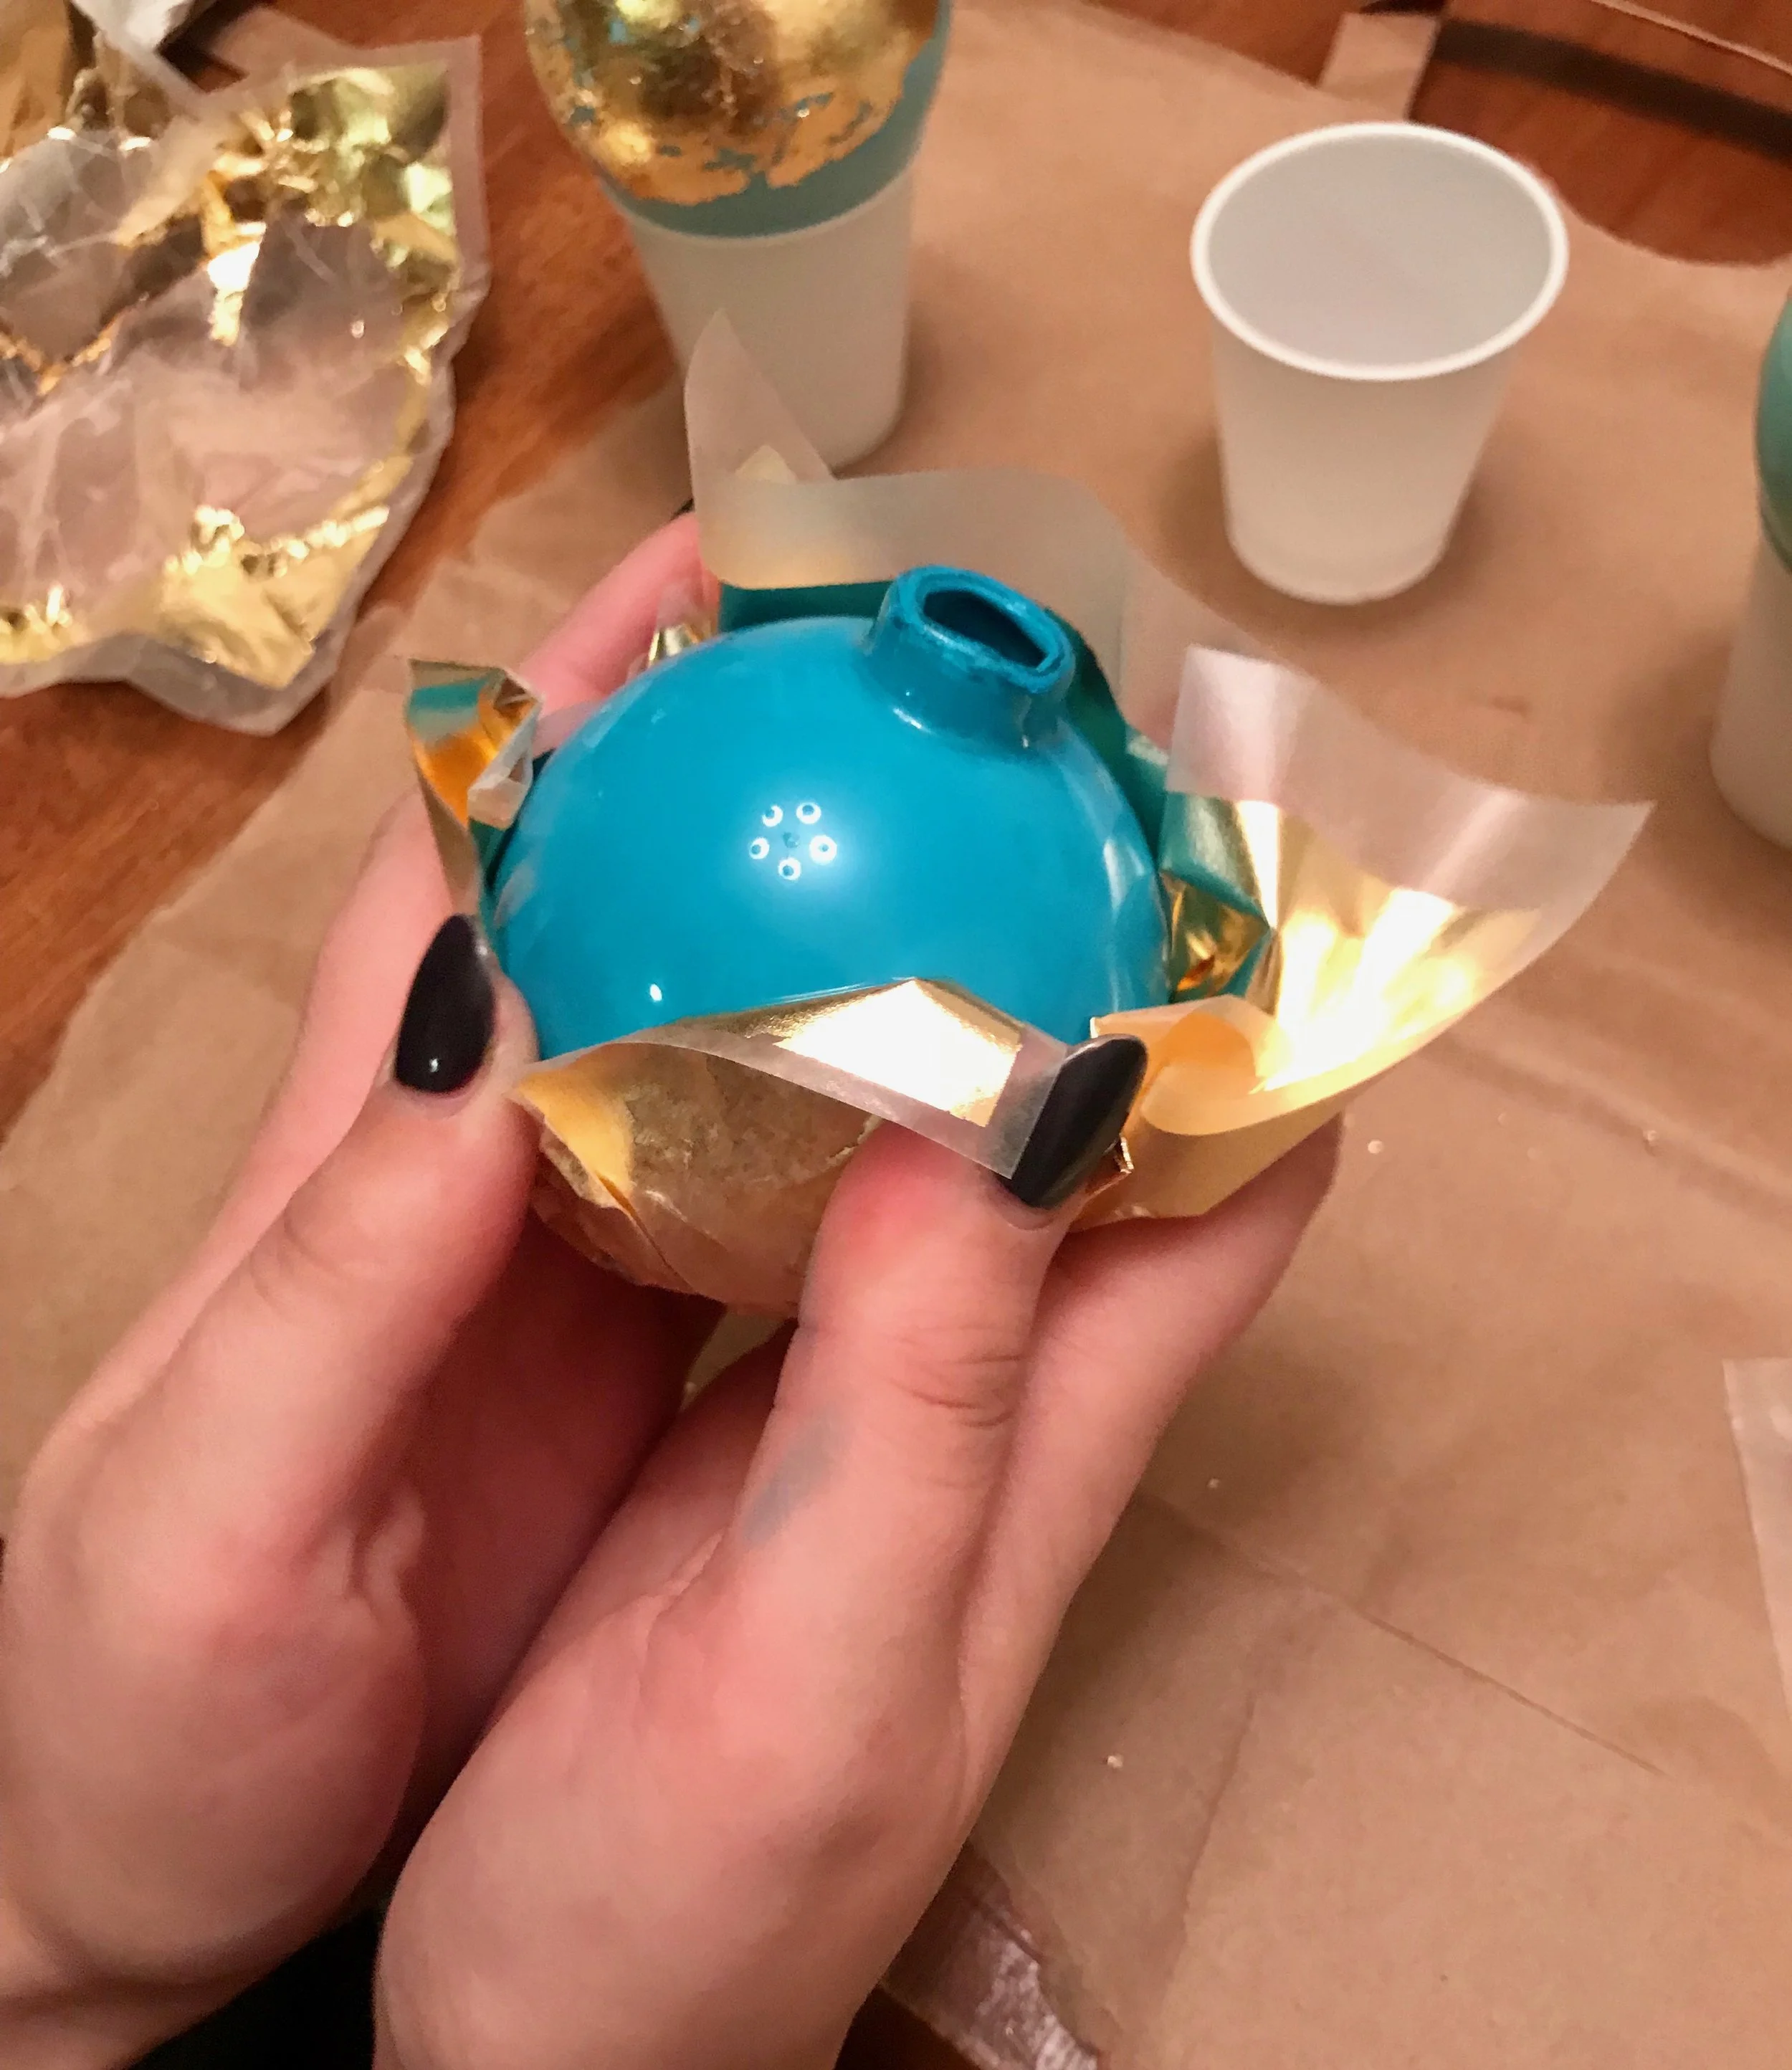


Step 6: Crinkle up the gold foil, then cup around the globe. Peel off the wax paper. Using your fingers or a temping brush, flick off excess gold. Let dry for a few minutes.

Step 7: Brush on sealer. Set globes back on cups and let dry (don't worry, it dries clear!)

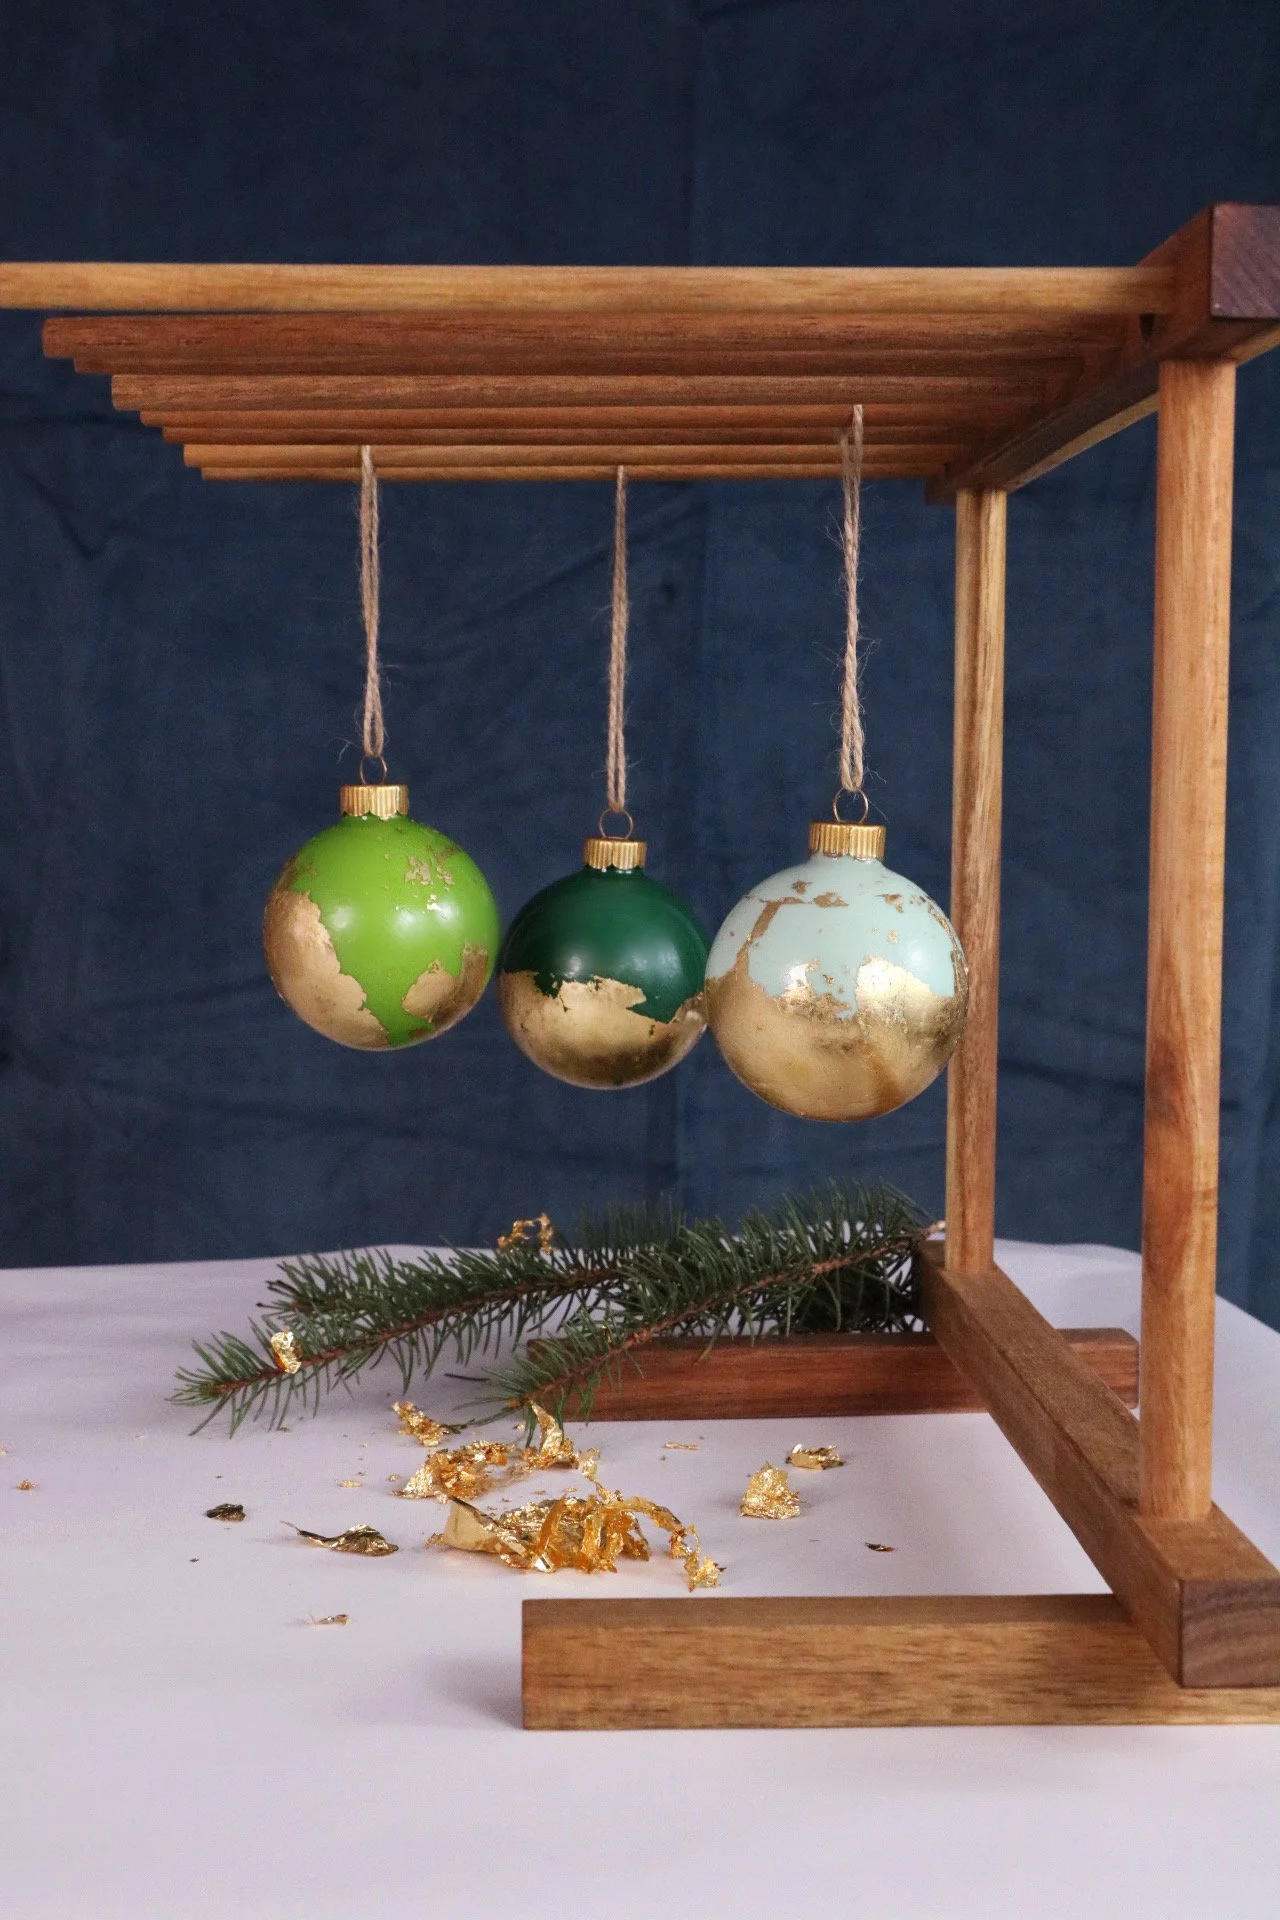
Use white ribbon or twine to tie onto your Christmas tree.

Or, gift them in a set!
A few days later, I decided to use the same technique but a different color scheme. I can't decide which ones I like more!


Thank you so much Taylor, my Christmas loving elf! I hope your friends and family love the ornaments you made this year and I can't wait to gift these babies!
HOW TO DIY (step-by-step):
1. Remove the tops of the ornaments. Be careful and take it slow, otherwise the glass might break.
2. Fill the ornaments with paint. Tilt and squeeze down the side - trust me, this helps later.
3. Cover the top with your finger and shake, shake, SHAKE. Make sure the entire surface area is covered with paint. You may need to squeeze in more, but the more paint, the more drying time.
4. Brush on Adhesive Size. Let dry to 20-25 minutes.
5. While the globes are drying with the adhesive, spray the tops of the ornaments with gold spray paint. I stuck them all onto a brown paper bag first, which worked great.
6. Crinkle up the gold foil, then cup around the globe. Peel off the wax paper. Using your fingers or a temping brush, flick off excess gold. Let dry for a few minutes.
7. Brush on sealer. Set globes back on cups and let dry (don't worry, it dries clear!)
8. Reattach the gold spray painted tops, tie on ribbon and hang on your tree!