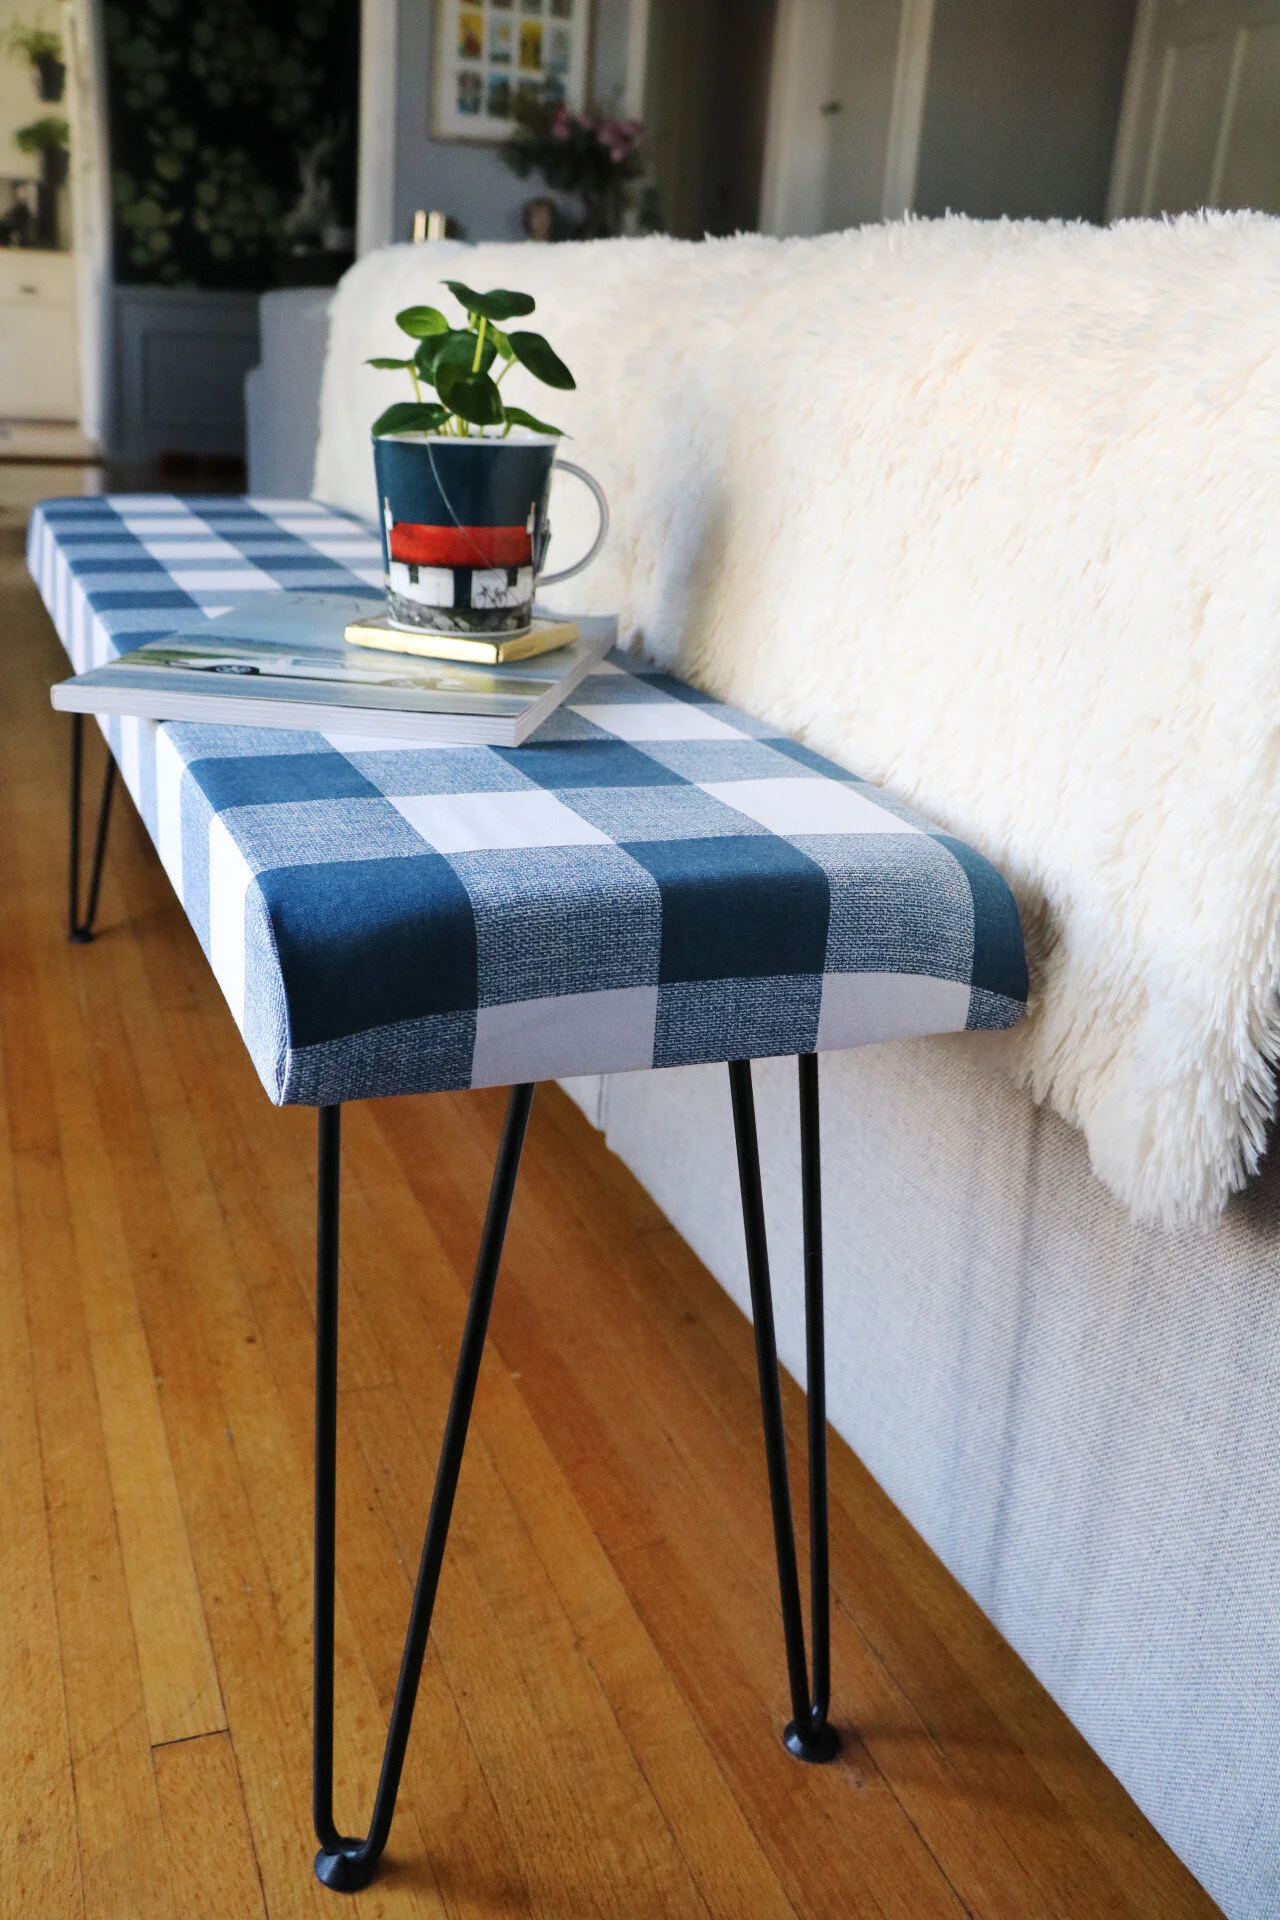
Buffalo Plaid Bench Reupholster
I made this DIY bench for a Tastemade ‘Weekend Refresh’ episode last year to go in the bay window area in our house. This was back when we still had our pretty blue velvet sofa and a totally different color scheme going on. Lots of rich colors and high contrast between the living room and dining room spaces.

Looking at this picture, I still love it - and that blue sofa was just SO damn pretty!! - but now that we have a neutral grey sectional, the light green bench just isn’t doing it for me anymore. Not enough contrast, and not really in the style I’ve been gravitating towards as I’ve continued to hone in on my design aesthetic.
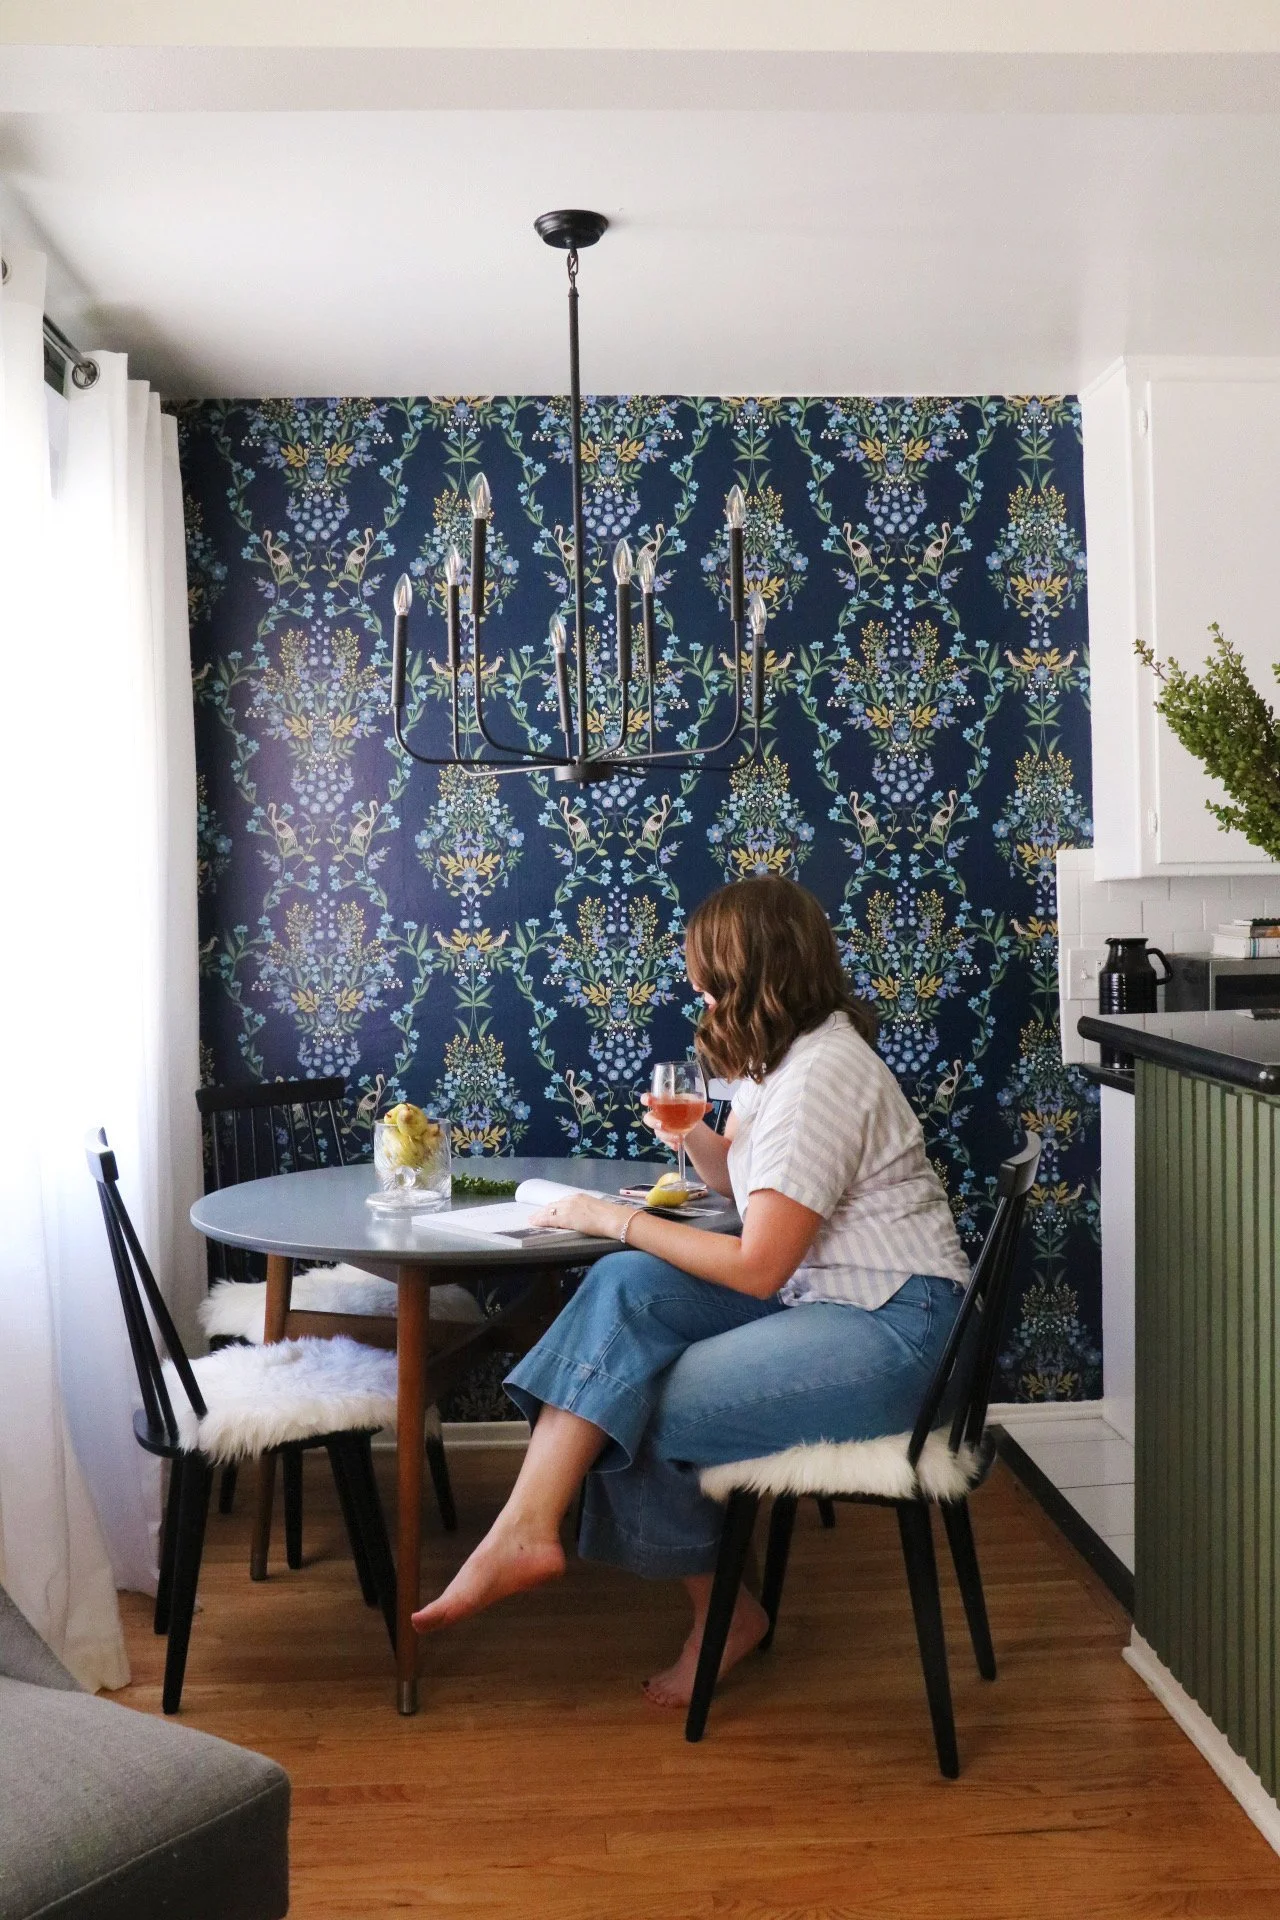
So I decided to host a fun ‘fabric bracket’ competition on Instagram to help me pick out the new bench fabric! I wasn’t finding the right one in person at regular big-box stores like Joann’s Fabric, so I turned to the interwebs and stumbled upon Decorative Fabrics Direct, which turned out to be a gold mine. So many options and styles that felt modern and “cool”. The bracket-style-competition was a lot of fun for me because I got to see what you all gravitated towards. (One thing to keep in mind was that it needed to be complimentary to the bold wallpaper in the dining room, since both rooms are visible when you’re in either one of them).
Here’s how the fabric bracket played out:

Loved this opportunity to play with mixing patterns - which can totally work, as long as all patterns fall within the same color scheme. But I ran into an issue when I went to order the winner…
IT WAS $30 PER YARD!!!
Oops. I probably should have checked the price before picking it to go in the fabric bracket. But I guess this also means that the DIY Darlings out there have expensive taste? Which, honestly, same. HOWEVER, the whole point of this blog is to design your dream life on a dime. So I searched a little further, keeping the buffalo plaid parameters on my mind, to find a fabric more affordable…
SUCCESS!!!

$30/yard
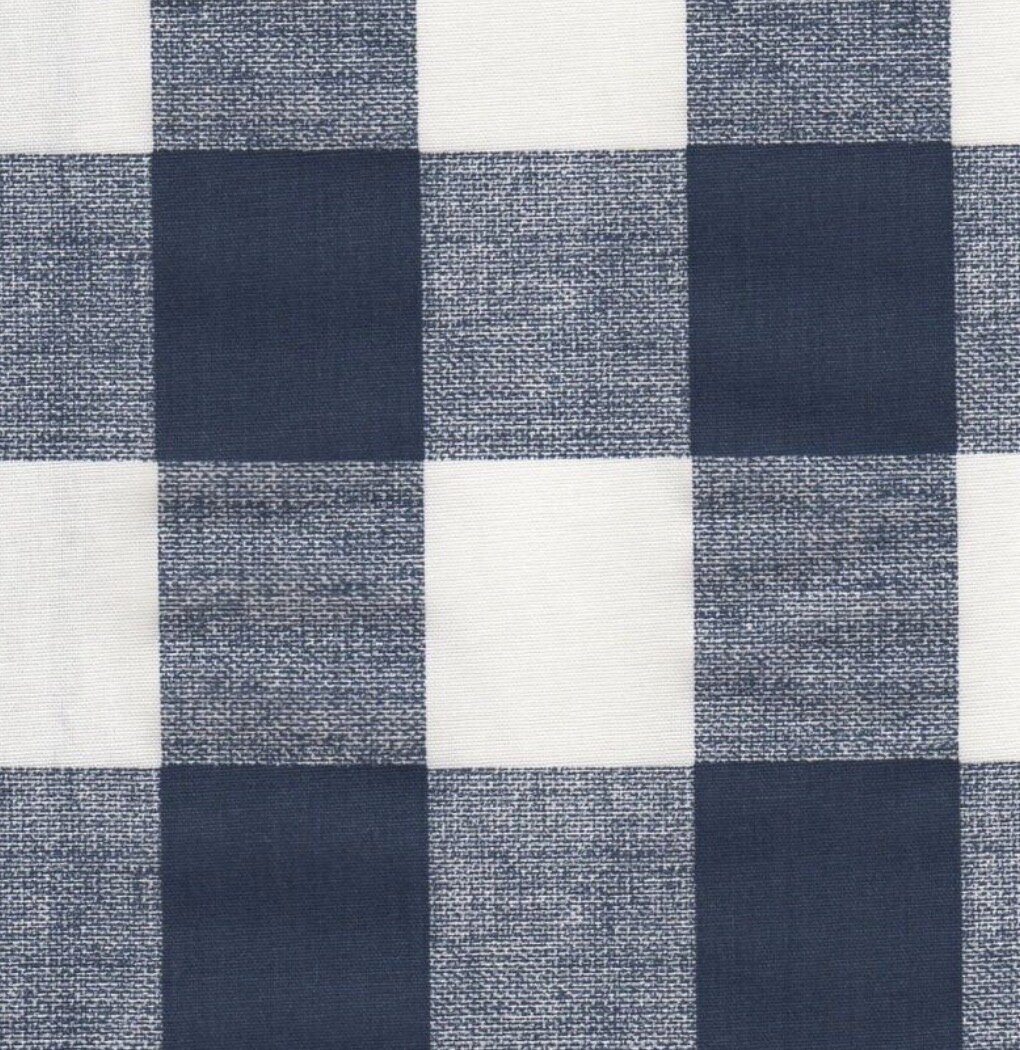
$9/yard
I actually love this one even more. It was going to go beautifully in the space, picking up existing colors in the rug and my office chair.

So now onto the process of reupholstering. Check out this video for the entire process (if you’re more of a directions-kind-of-person, don’t worry - I’ll have them all written out below!)
DIY Bench Reupholster
Directions:
Remove hairpin legs, making sure to keep the hardware safe (I like to use a Ziplock baggie). Using a flathead screwdriver and/or pliers, remove all of the staples. Discard fabric.
Reattach the foam to the wood. I love my Gorilla Glue hot glue gun because it has like triple the strength of other glue guns. And it works fast.
Optional. Cut batting to size and glue or staple into place. In full transparency, I didn’t know what batting was until someone commented on my finished bench post, asking why I hadn’t used it… I looked it up and realized that I probably should have. Learn from my mistake!
Cut fabric to size. Make sure you have enough on all sides to pull and staple in place.
Using a upholster staple gun, attached the two long sides of the fabric to the wood. Because the buffalo plaid pattern had lines directly on it, it was easy for me to work in a straight line. Pull excess fabric tightly and staple into place. You’ll see me hammering a few pesky nails into place. Leave the short sides/corners for the next step.
Fold up the short side starting from the center and working out, stapling into place. Don’t go all the way to the edge, instead leaving the corners free.
Roll the corners inside itself, pulling taunt. Cut a right-triangle out of the piece sticking up (to get rid of some of the bulk). Fold back into place and secure with a few staples.
Trim excess fabric. Reattach hairpin legs. Done!


I love how it turned out. The colors are beautiful, and it looks so good pushed up against the window. I’ve since updated the pillows on the sectional - now the whole room feels put-together and complete! This bench cost about $100 to make the first time around. The buffalo plaid fabric cost $26 (including shipping), and I was able to reuse all the original materials. That’s a pretty good deal for a custom bench. I’d definitely recommend this DIY to anyone, as the difficulty was low but the impact was high.
Now I need a new project….