Sauna Sign in Home Sauna Space
My mom is the OG DIY Darling. All my life, I’ve been inspired by her creativity and her ability to look at a space and imagine how to make it even better. For example, when I was little, she walked into my room one day, pointed up to my vaulted ceiling, and said, “Let’s put your bed up there.” And then (with my Dad’s help) proceeded to build a to-code, fully decked out loft, complete with stairs and carpet. It was even more amazing than it sounds.
Oh - I forgot to mention that she is an architect. So she has all the knowledge necessary to execute major projects that involve building and construction.
Cut to last year when she decided to do an addition to her house. The main reasoning was to expand the kitchen and dining areas on the top floor, which opened up a whole host of opportunities with what to do with the bottom floor.


If you draw your attention to the pink circle, that is where we are focussing today! My mom decided to use the lower level addition to include a gardening “she-shed” and a home sauna. Fun!! I’ll walk you through how they built the sauna first, and then get to the sauna sign. Read on.
First comes first, the construction had to be completed. This was not a DIY moment, that’s for sure. Always know when to hire out, and building an addition to your home almost always qualifies. Despite the social distancing brought upon us by COVID, my mom and her husband, Craig, were able to safely have the construction crew complete the build.

Entrance room.

Soon-to-be sauna room.
Here’s the status of the sauna space post-construction, but pre-sauna. Now my Mom and Craig could take over and complete the rest of the project themselves.

Enter Cedarbrook Sauna Company. They sell prefab indoor sauna kits (how cool is that?!) and once you have the space built to the correct dimensions, they send you all the wood, pre-cut, and you install it!
Prices range anywhere from $2,000 to $10,000, depending on the size and complexity of your space. By using a prefab kit, this element of the project can be installed by you (the homeowner), so you’ll save money on labor for sure.
Here’s a few progress photos during installation (if only I had been there to take a time-lapse!!)

Ceiling getting installed.

Ceiling complete.

Craig installing the wall panels.

Back wall complete.

All walls complete. Ready for bench build.

Sauna is complete!!
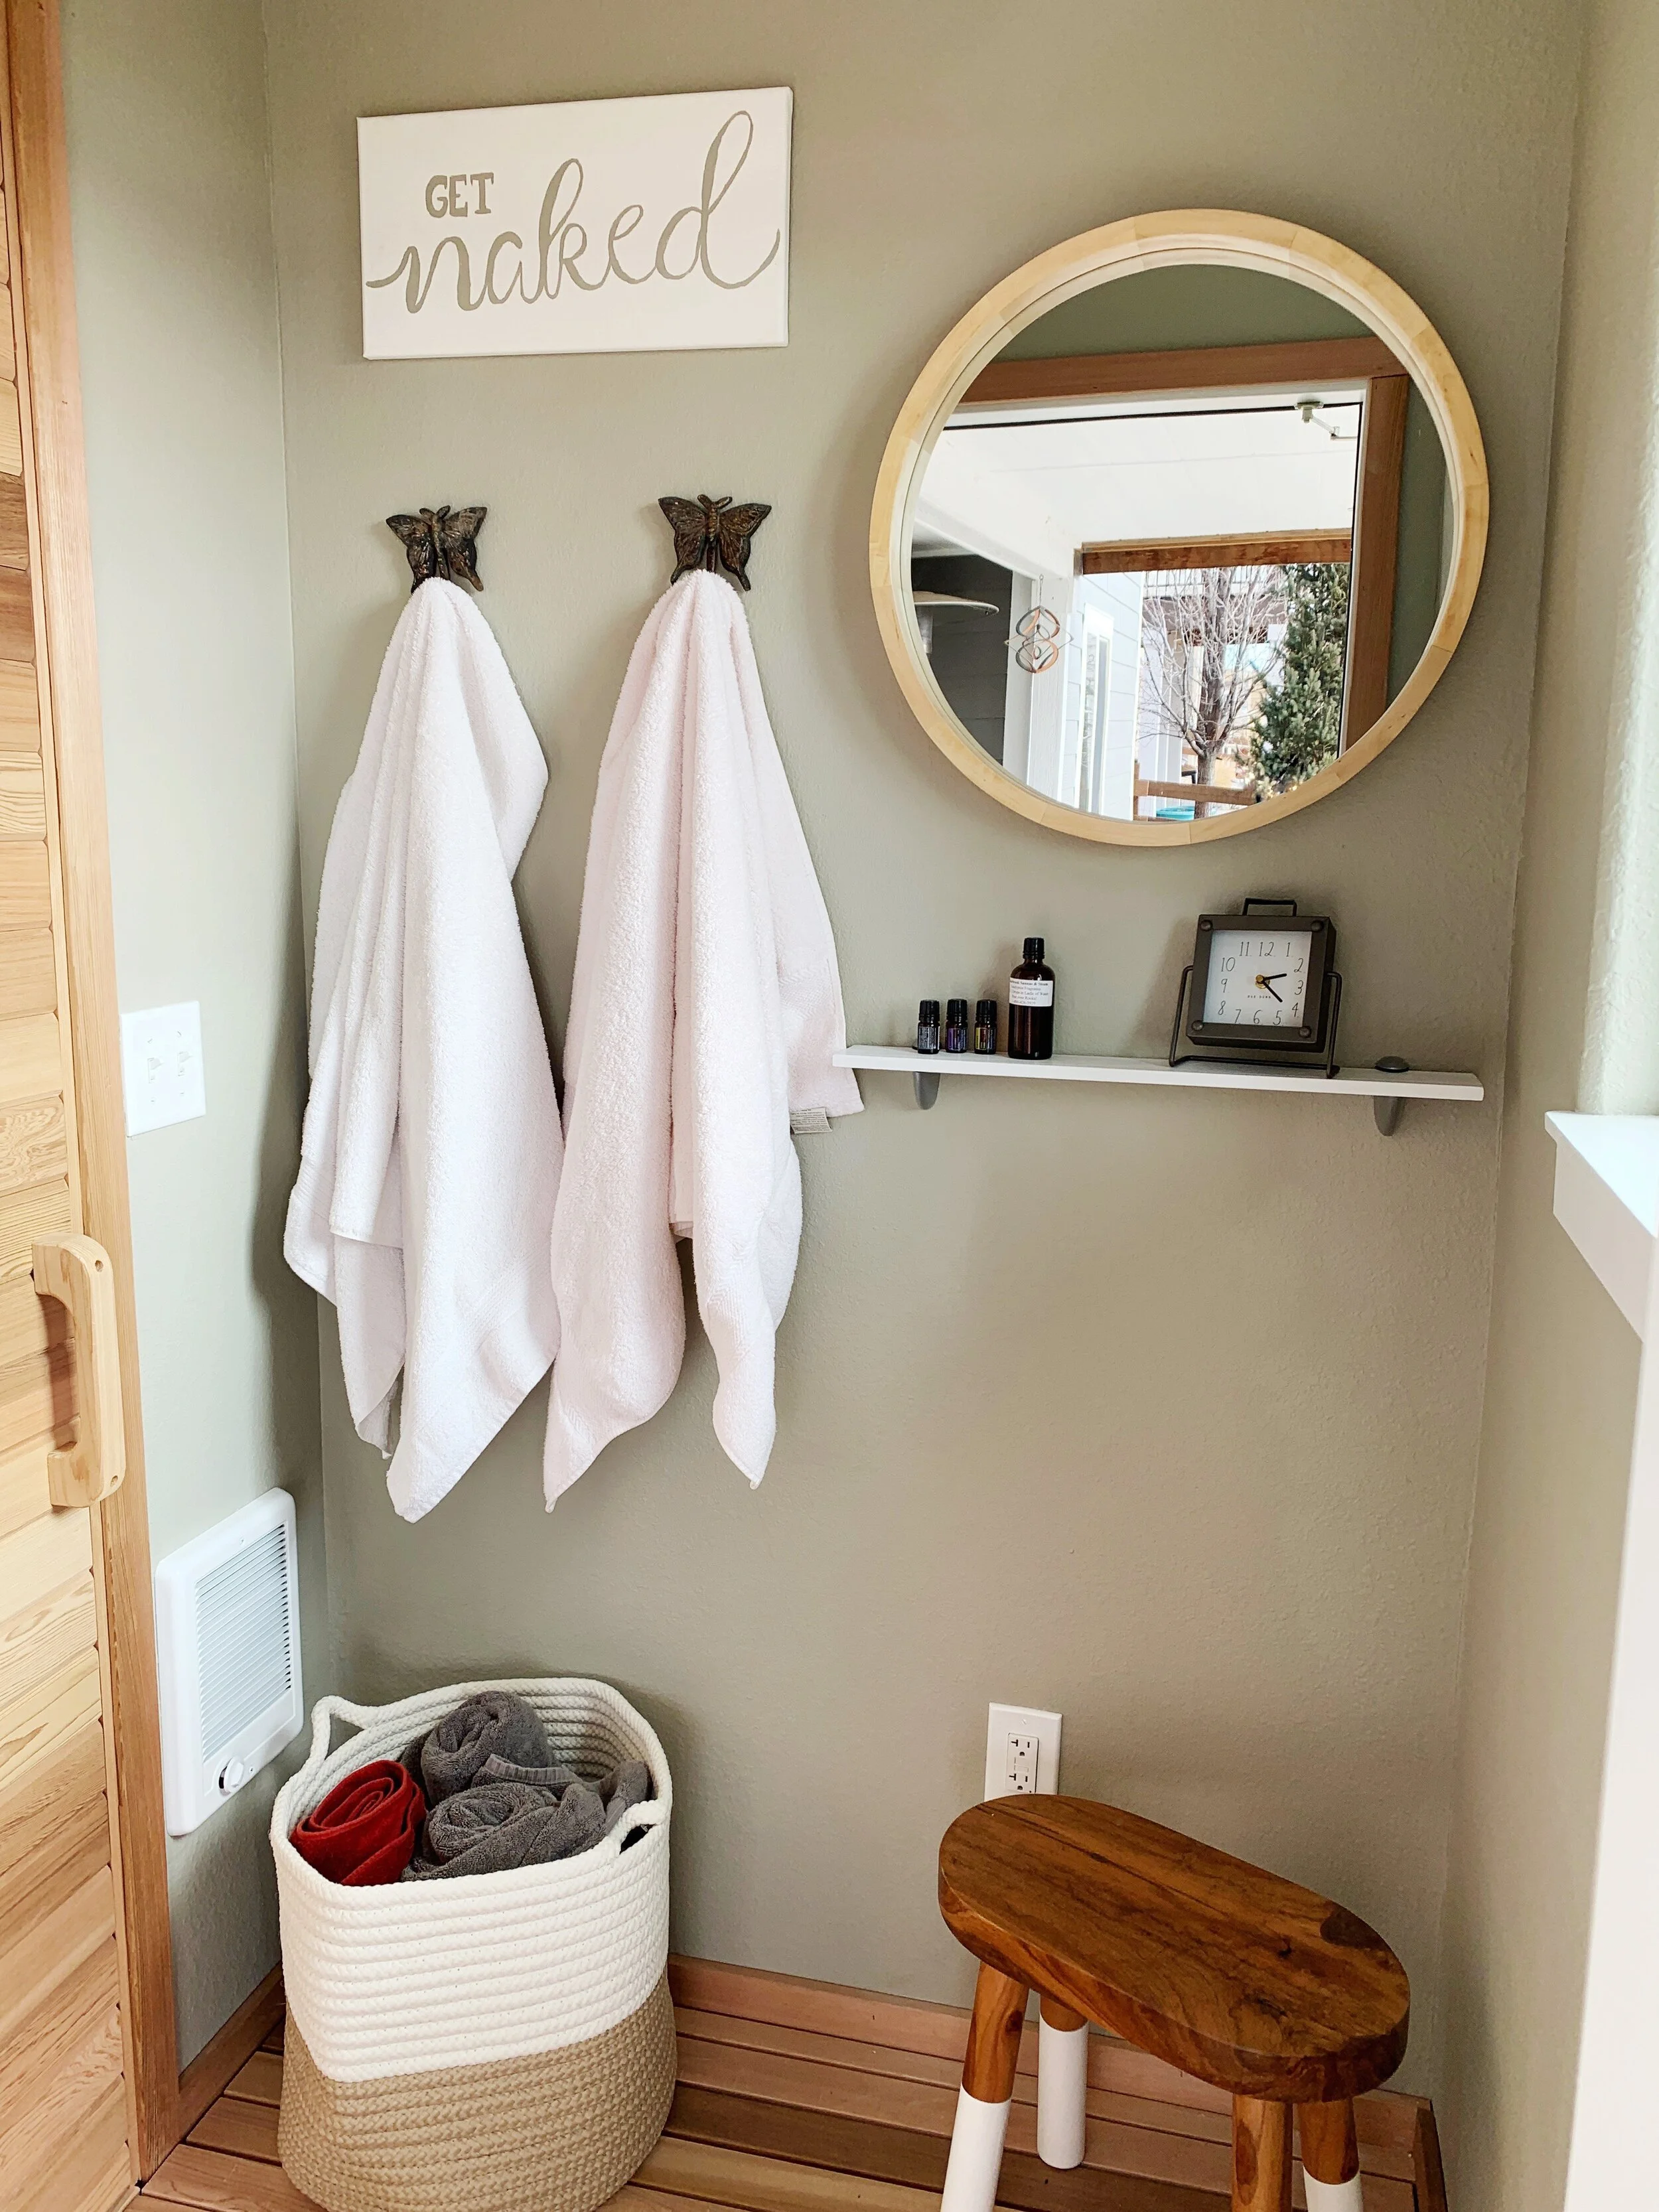
Now that the sauna part was done, my mom could move along to decorating the entrance room. (Mudroom? Holding room? Lounge?) This is where I came in to help in a small way. She sent me supplies and asked if I could make a fun sign for the decor. As it was months into lockdown, and with ample time to spare, I, of course, said YES!
We all may not be lucky enough to have home saunas, but we all can definitely have fun making a hand-lettered sign. Here’s a quick video that shows the whole process - and if you want more detailed instruction, read on:

Materials Needed:
Canvas
Paint (I got a sample that matched the wall color)
Fine-tipped paint brush
Pencil + eraser
Ruler
How-To:
Practice, practice, practice. Use a bit of scrap paper that is similar in size to your canvas and sketch out your letters. Get all your mistakes out here! Once you have the look you’re going for, practice again until it feels like second nature.
With the cursive words, let your hand flow freely across the canvas. Because you’ve already practiced a few times, you know the proper spacing. Using your pencil, lightly write out your letters onto the canvas.
With the block letters, you’ll want to be more cognizant of straight lines. Using your ruler, lightly draw three horizontal lines on top of each other. The top line will be where you start all the letters, the bottom line will be where you end all the letters, and the middle will act as a general guide for spacing. Sketch out the letters with your pencil. Erase the excess straight lines.
Shake your paint to mix. Dip the tip of your paint brush into the paint and begin to apply to the canvas. Try not to let your hand rest on the canvas directly, as this can smudge the pencil lines.
Let dry completely. Do a second coat if needed.


I can’t wait for my next visit to Colorado to try out the sauna! I can’t picture anything more luxurious and cozy than enjoying a steam while it snows outside. I loved getting to contribute in a small way, and I hope this helps you in your hand-lettering endeavors!